Memelihara Servis Sistem Rem Cakram Hidrolik
Summary
TLDRThis instructional video offers a comprehensive guide on maintaining a hydraulic brake system, specifically for a Honda Beat motorcycle. It covers the necessary tools, such as a toolbox and manual book, and outlines the steps for inspection, including releasing brake caliper bolts and checking the brake pads' thickness. The video demonstrates how to bleed air from the brake system, clean the brake pads, and measure the thickness of the brake disc using a micrometer. It also includes the installation of a daily indicator on the wheel hub and concludes with a test of the brake's performance after reassembly.
Takeaways
- 🔧 The video discusses maintaining a hydraulic brake system, specifically using a Honda Beat motorcycle as an example.
- 🛠️ A toolbox and a manual book for the Honda Beat with PGM-FI are required for the maintenance process.
- 👀 Initial inspection involves visually checking the condition of the brake disc and removing the brake hose from the frame.
- 🔩 The brake caliper is removed using a 4mm Allen wrench, and the lower bolts are removed by hand.
- 💧 The hydraulic brake system includes a nipple bolt for bleeding to remove air bubbles if the brakes are problematic.
- 🔩 A 10mm wrench is used to remove the brake pad retainer or clamp.
- 📏 The thickness of the brake pads is measured using a depth gauge, with a minimum limit of 2mm.
- 🧼 The brake pads are cleaned with paper to remove any dirt or noise when in use.
- 🚿 The brake pads are washed with soapy water to reduce dirt and grime, then dried with compressed air.
- 📏 A micrometer is used to measure the thickness of the brake disc, with a minimum limit of 3.0mm.
- 🔧 A daily indicator is installed on the wheel hub to check the alignment and ensure the wheel spins straight.
- 🔩 After reassembling, the brake caliper is secured back onto the motorcycle's front fork, and the brake hose is reattached.
- 🛑 Finally, the brake functionality is tested by spinning the wheel and ensuring the brake can stop the wheel effectively.
Q & A
What is the main topic of the video?
-The main topic of the video is the maintenance and repair of a hydraulic brake system, specifically using a Honda Beat motorcycle as an example.
What tools are needed for the brake maintenance process described in the video?
-The tools needed include a toolbox, an Allen wrench (size 4), a 10mm wrench, a screwdriver, a depth gauge, a micrometer, and a pressure washer.
Why is it important to visually inspect the brake disc before maintenance?
-Visual inspection of the brake disc is important to assess its condition and determine if it is still in good shape before proceeding with the maintenance.
What is the purpose of removing the brake caliper bolts and the brake pads?
-The brake caliper bolts and brake pads are removed to access and replace the brake components, such as the brake pads and to perform tasks like bleeding the brake system.
What is the function of the nipple bolt in the brake system?
-The nipple bolt is used for bleeding the brake system to remove air bubbles and ensure proper brake fluid flow, which is crucial for the effective operation of the hydraulic brake system.
Why is it necessary to measure the thickness of the brake pads?
-Measuring the thickness of the brake pads is necessary to ensure they are within the minimum required thickness for safe operation, which is 2mm as mentioned in the script.
How is the brake pad cleaned in the maintenance process?
-The brake pad is cleaned with soapy water to remove dust and dirt, and then dried using compressed air to prevent noise when the brake is used.
What is the purpose of using a dial indicator to measure the brake disc thickness?
-A dial indicator is used to accurately measure the brake disc thickness to ensure it is within the safe limits, which is a minimum of 3.0mm as stated in the script.
Why is it important to install the brake pads correctly with the piston mark facing inwards?
-The piston mark on the brake pad indicates the correct orientation for installation. Installing the brake pad with the mark facing inwards ensures proper contact with the piston and prevents incorrect assembly.
How is the brake system checked for proper functioning after reassembly?
-After reassembly, the brake system is checked by spinning the front wheel and applying the brake to ensure it stops the wheel effectively and smoothly.
Outlines

Cette section est réservée aux utilisateurs payants. Améliorez votre compte pour accéder à cette section.
Améliorer maintenantMindmap

Cette section est réservée aux utilisateurs payants. Améliorez votre compte pour accéder à cette section.
Améliorer maintenantKeywords

Cette section est réservée aux utilisateurs payants. Améliorez votre compte pour accéder à cette section.
Améliorer maintenantHighlights

Cette section est réservée aux utilisateurs payants. Améliorez votre compte pour accéder à cette section.
Améliorer maintenantTranscripts

Cette section est réservée aux utilisateurs payants. Améliorez votre compte pour accéder à cette section.
Améliorer maintenantVoir Plus de Vidéos Connexes
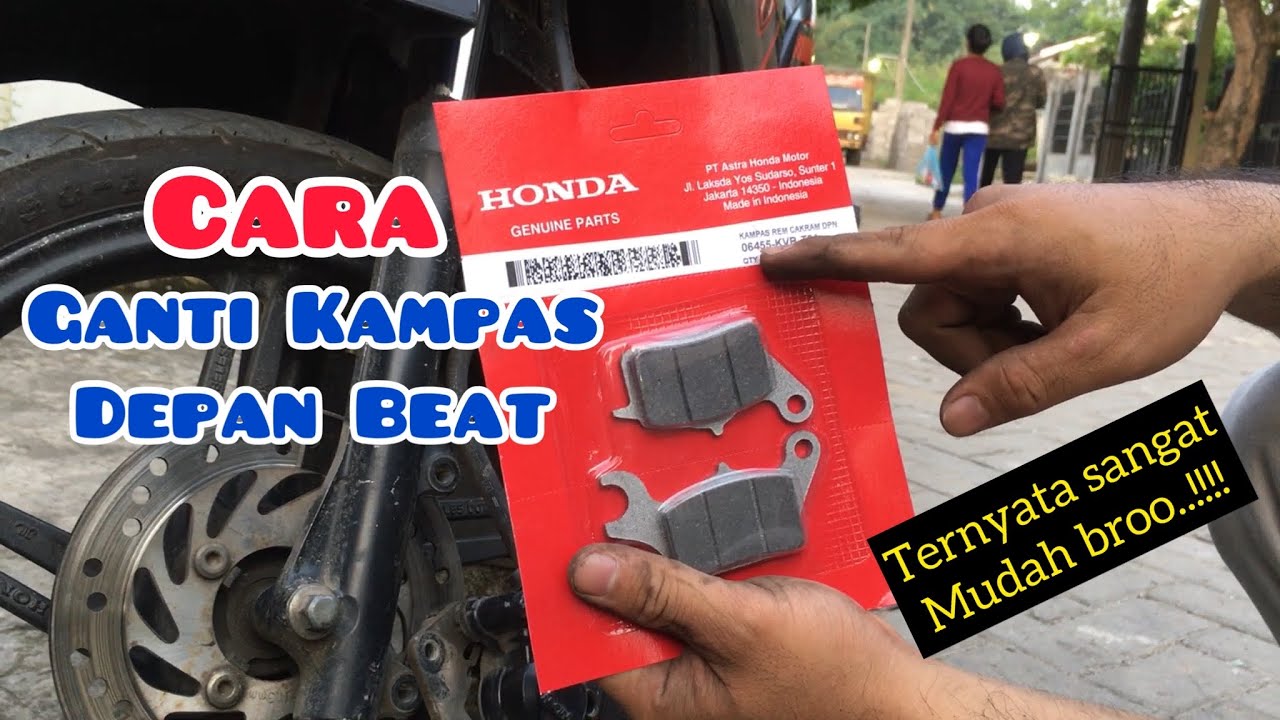
Cara ganti kampas rem depan honda beat

MERAWAT SECARA BERKALA MEKANISME KATUP

Pemeliharaan Kendaraan Ringan Sistem Injeksi (Tambahan) Sistem Rem (FATUR RAHMAN)
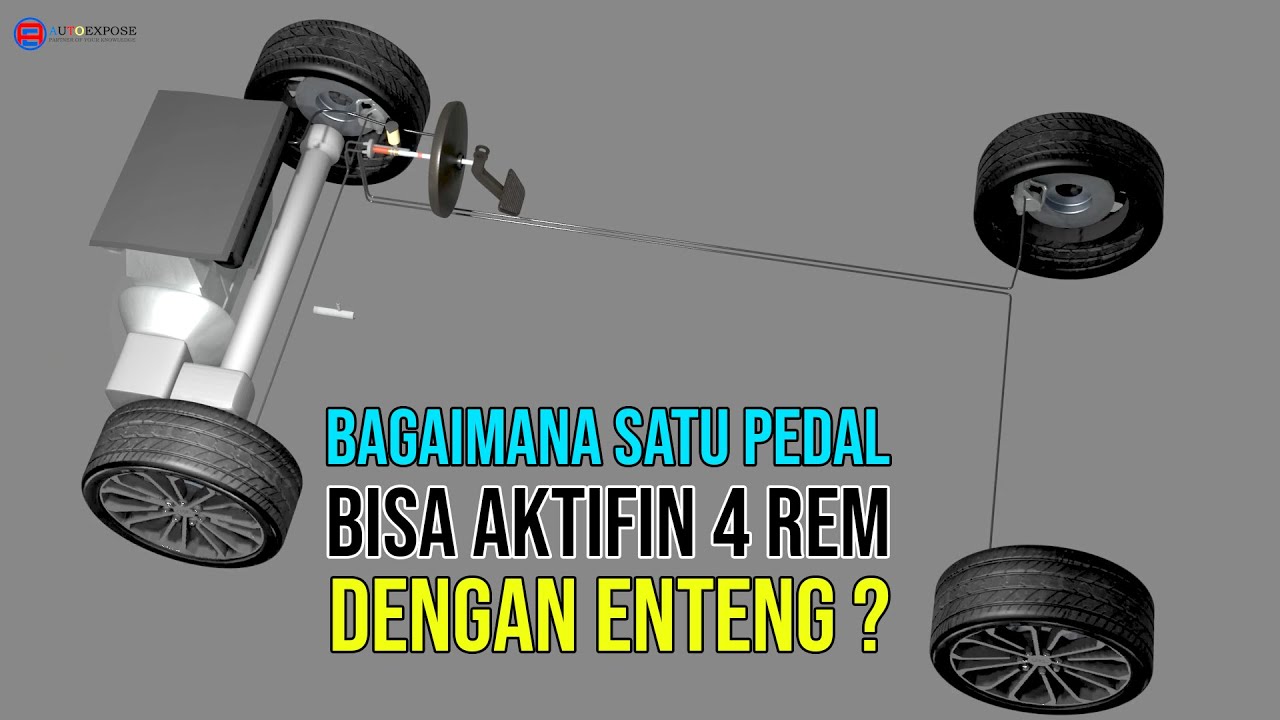
Sistem Rem Hidrolik, Bagaimana Mekanismenya ?
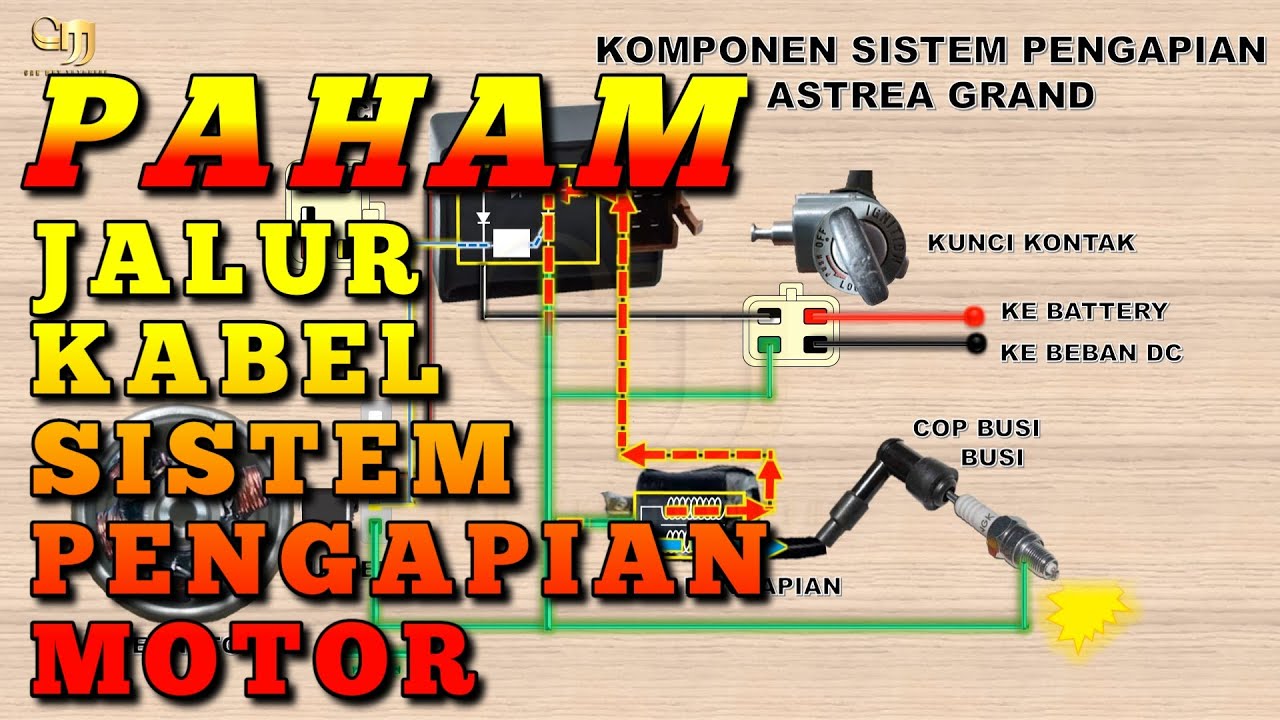
Skema jalur kabel sistem pengapian Astrea grand || Kelistrikan Sepeda Motor 9
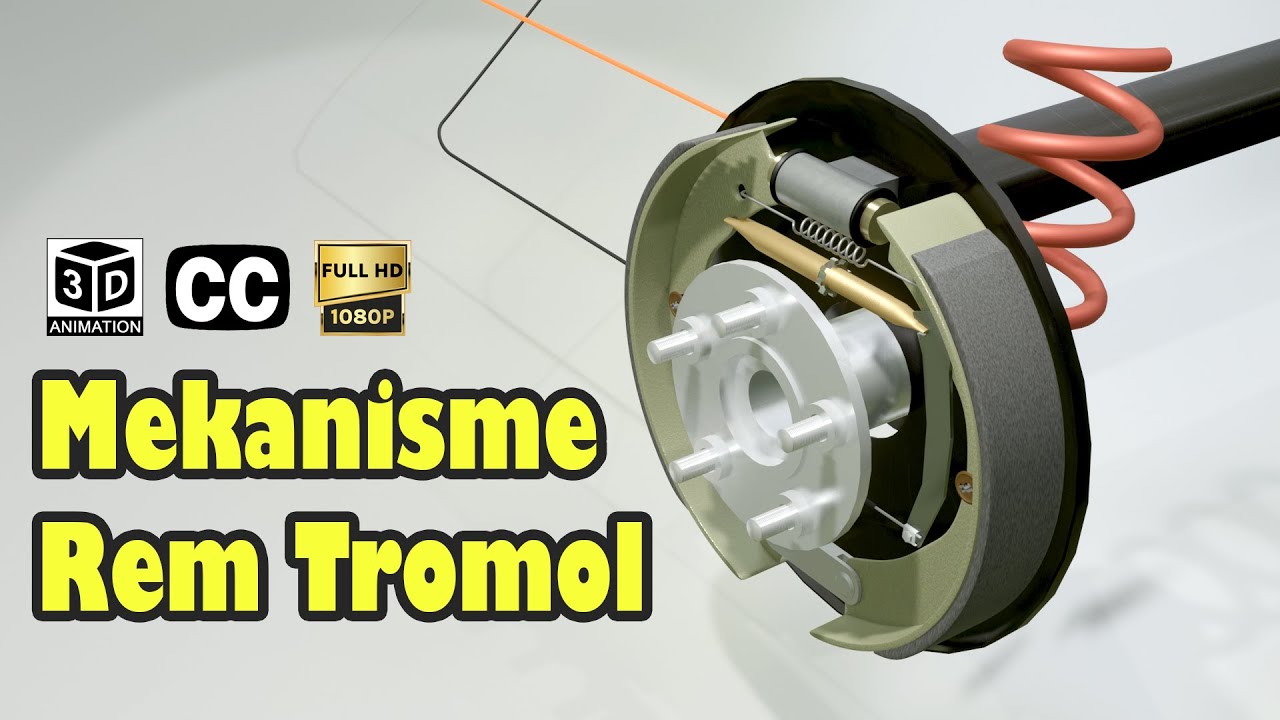
DETAIL & JELAS Animasi Bagaimana Rem Tromol Beroperasi
5.0 / 5 (0 votes)
