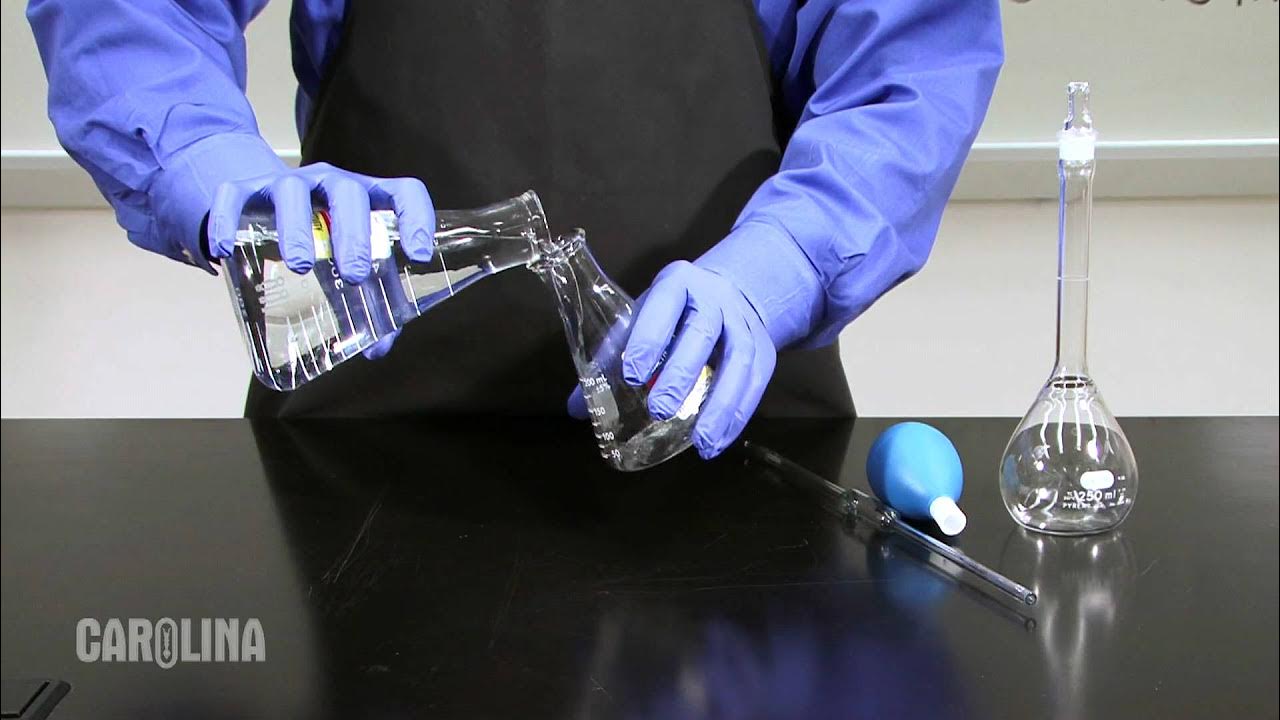
Techniques on the Use of a Pipette
Summary
TLDRThis video tutorial demonstrates the proper technique for using a 10-mL volumetric pipette to accurately measure and transfer 10.00 mL of Solution A into an Erlenmeyer flask. Key steps include inspecting the pipette for damage, acclimatizing it with the solution, filling it below the calibration mark, and carefully releasing the solution to match the mark without air bubbles or hanging drops. The video emphasizes cleanliness, precision, and the importance of not blowing out the pipette after use.
Takeaways
- 🔍 Always inspect the pipette for chips or irregularities at the top end before use.
- 🌡️ Acclimatize the pipette by rinsing it with the solution to be used to prevent contamination.
- 🚫 Avoid pipetting directly from the storage flask to prevent contamination of the entire solution.
- 📏 Choose a beaker with an appropriate volume to facilitate easier pipetting; deeper solutions are preferable.
- 💧 Use a rubber bulb to draw up the solution for acclimatization, filling the pipette bulb partially.
- 👌 Hold the pipette correctly, with the tip submerged to avoid air bubbles and ensure proper filling.
- 💦 Rinely the pipette by tilting it horizontally and ensuring the solution touches the inner walls, then drain and dry.
- 📈 Fill the pipette past the calibration mark when measuring out the exact volume of 10.00 mL.
- 👁️ Align the pipette with your eye level to accurately read the meniscus and ensure precise volume measurement.
- 💧 Ensure there are no hanging drops at the pipette tip by touching it to the beaker wall if necessary.
- ⏱️ After transferring the solution to the Erlenmeyer flask, wait for 10 seconds before removing the pipette to allow for complete drainage.
Q & A
What is the purpose of the video?
-The purpose of the video is to demonstrate the proper technique for using a 10-mL volumetric pipette to deliver 10.00 mL of solution into an Erlenmeyer flask.
Why is it important to inspect the pipette before use?
-Inspecting the pipette ensures that the tip is not chipped and the top end is smooth and flat, which are crucial for accurate pipetting and to avoid contamination.
What does acclimatizing the pipette entail?
-Acclimatizing the pipette involves rinsing it with the solution to be used, which helps to prevent the pipette from affecting the solution's temperature or composition.
Why should you not pipet the solution directly from the storage flask?
-Pipetting directly from the storage flask could contaminate the entire solution. It's safer and cleaner to use a small amount in a separate, labeled beaker.
How does the depth of the solution in a beaker affect pipetting?
-A beaker with a greater depth of solution, like the 50-mL beaker, is easier to pipette from because it provides a larger volume of solution for the pipette to draw from without risk of air bubbles.
What is the correct technique for filling the pipette for acclimatization?
-The correct technique involves using a rubber bulb to pull up the solution, keeping the tip below the liquid surface, and ensuring the solution rises up the pipette without draining back into the beaker.
How should you hold the pipette during the acclimatization process?
-If right-handed, you should hold the pipette bulb in the palm of your right hand and the pipette itself in your left hand, with your index finger near the top to control the solution level.
What is the purpose of rinsing the inner walls of the pipette during acclimatization?
-Rinsing the inner walls ensures that the pipette is fully acclimated to the solution, preventing any residual water or other substances from affecting the pipetting accuracy.
How do you ensure accurate pipetting to the calibration mark?
-You fill the pipette past the calibration mark, then slowly release pressure on the index finger until the bottom of the meniscus is at eye level with the calibration mark, ensuring accuracy.
Why is it important to check for a hanging drop at the pipette tip before delivering the solution?
-A hanging drop can cause an inaccurate volume to be delivered. Checking for and removing a hanging drop ensures that the precise volume marked on the calibration is transferred.
What is the correct method for delivering the solution into the Erlenmeyer flask?
-The correct method involves touching the pipette tip to the flask wall, releasing the pressure on the index finger to drain the solution, and waiting 10 seconds before removing the pipette to ensure all liquid is transferred.
Outlines

Cette section est réservée aux utilisateurs payants. Améliorez votre compte pour accéder à cette section.
Améliorer maintenantMindmap

Cette section est réservée aux utilisateurs payants. Améliorez votre compte pour accéder à cette section.
Améliorer maintenantKeywords

Cette section est réservée aux utilisateurs payants. Améliorez votre compte pour accéder à cette section.
Améliorer maintenantHighlights

Cette section est réservée aux utilisateurs payants. Améliorez votre compte pour accéder à cette section.
Améliorer maintenantTranscripts

Cette section est réservée aux utilisateurs payants. Améliorez votre compte pour accéder à cette section.
Améliorer maintenant5.0 / 5 (0 votes)


