💗Easy No-Sew Crochet Pencil Case | Back-to-School Crochet | *Beginner-friendly Tutorial
Summary
TLDRIn this tutorial, the creator demonstrates how to make a beginner-friendly, aesthetic crochet pencil case. Starting with a simple slip knot and single crochet stitches, the project involves creating a rectangular body and folding it to form the case. The video walks through step-by-step instructions for crocheting the sides together, creating a flap, and adding straps. It includes helpful tips for beginners, such as how to handle yarn tails and make decreases. The final result is a cute, customizable pencil case that can fit various supplies, perfect for back-to-school or as a personal project.
Takeaways
- 😀 The tutorial demonstrates how to make a simple and beginner-friendly back-to-school pencil case using crochet.
- 😀 The materials needed include yarn (any color) and crochet tools, such as a hook.
- 😀 The project starts by creating a slip knot and making 39 chains to begin the body panel of the pencil case.
- 😀 The body of the pencil case is made with 36 rows of single crochet, and each row consists of 38 stitches.
- 😀 After finishing the body panel, the piece is folded in half, and the sides are crocheted together using single crochets.
- 😀 The flap is made by crocheting along the first row and then continuing with rows 1 to 8, where each row consists of 38 single crochets.
- 😀 A decrease technique is introduced in rows 9 and 10 to gradually reduce the width of the flap.
- 😀 The final rows of the flap (row 11 and row 12) also involve decreases at both ends, leaving a slimmer middle section.
- 😀 Edging is done along the three sides of the flap to smooth out the edges and make the flap cleaner and neater.
- 😀 The pencil case is finished by adding straps to the flap and body, with the straps being adjustable in length based on user preference.
Q & A
What is the first step in starting the pencil case project?
-The first step is to make a slip knot, which is done by wrapping the yarn around your finger to form an 'X' pattern, pulling the yarn tail through the loop, and tightening it.
How many chains are needed to begin the body panel of the pencil case?
-You need to chain 39 to start the body panel of the pencil case.
How do you know when to stop crocheting for Row 1?
-You stop crocheting Row 1 when you have made 38 single crochet stitches across the 39 chains.
What is the process for moving from Row 1 to Row 2?
-To move to Row 2, you chain 1, turn your piece, and make 1 single crochet into each of the 38 stitches from Row 1.
How many total rows should be made for the body of the pencil case?
-You should crochet a total of 36 rows for the body of the pencil case.
How do you close the sides of the pencil case body?
-To close the sides, fold the piece in half and crochet single crochets through both opposite rows, creating a seam that holds the body together.
What is the purpose of crocheting the flap starting from the first row?
-The flap is created by crocheting single crochets into the lower parts of the chains from the first row, ensuring a clean and neat edge for the top of the pencil case.
How do you decrease stitches when making the flap?
-To decrease stitches, insert your hook into the first two stitches, pull up a loop, and then complete the stitch by pulling the yarn through all three loops. This is done at both ends of the rows.
How do you add the straps to the pencil case?
-To add the straps, you count to the 5th row of the flap and crochet the first strap in the middle. Then, you repeat the process by counting three rows down from the flap and attaching another strap to the body.
What is the finishing touch for the pencil case?
-The finishing touch involves tying the pencil case closed with the straps or a ribbon, and weaving in the yarn ends to complete the project.
Outlines

Esta sección está disponible solo para usuarios con suscripción. Por favor, mejora tu plan para acceder a esta parte.
Mejorar ahoraMindmap

Esta sección está disponible solo para usuarios con suscripción. Por favor, mejora tu plan para acceder a esta parte.
Mejorar ahoraKeywords

Esta sección está disponible solo para usuarios con suscripción. Por favor, mejora tu plan para acceder a esta parte.
Mejorar ahoraHighlights

Esta sección está disponible solo para usuarios con suscripción. Por favor, mejora tu plan para acceder a esta parte.
Mejorar ahoraTranscripts

Esta sección está disponible solo para usuarios con suscripción. Por favor, mejora tu plan para acceder a esta parte.
Mejorar ahoraVer Más Videos Relacionados

Skirt & Swimsuit Wrap | Crochet Tutorial

☀️ SUN GRANNY SQUARE PATTERN ☀️ | step-by-step crochet tutorial

crochet riley mesh shrug tutorial | beginner friendly - for any sizes | moon and baileys
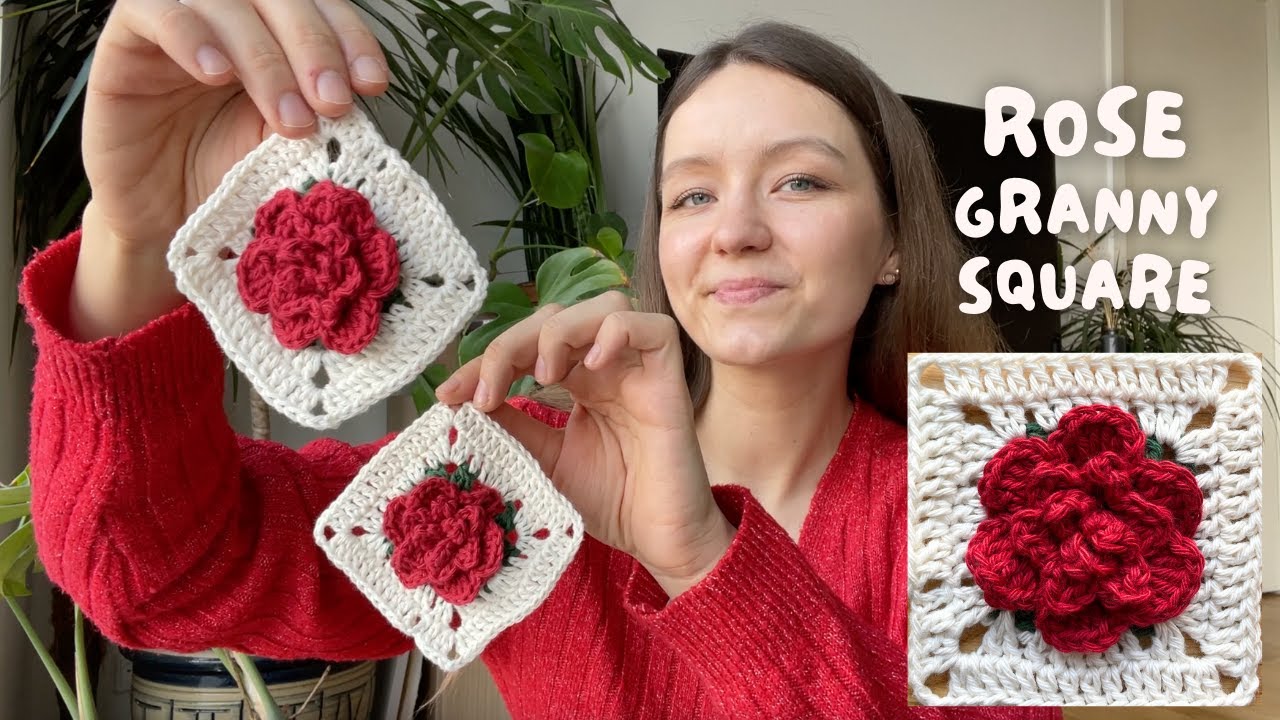
🌹 ROSE CROCHET GRANNY SQUARE | beginner friendly tutorial - step-by-step pattern

CARA MEMBUAT TEMPAT PENSIL DARI BOTOL DAN KORAN/MAJALAH BEKAS
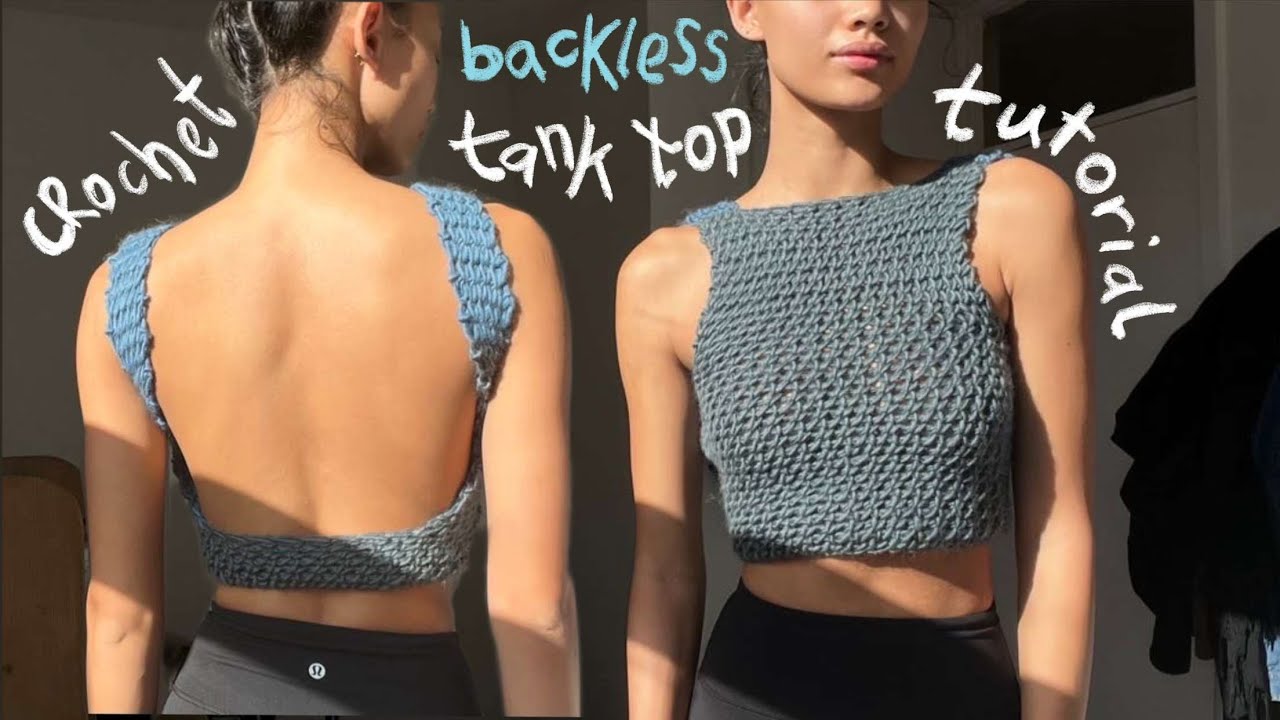
crochet backless tank top tutorial
5.0 / 5 (0 votes)
