This Social Media AI System Creates Unique Content Daily! (100% Automated)
Summary
TLDREste script detalla cómo configurar un sistema de automatización de publicaciones en redes sociales utilizando Make.com, una herramienta de RPA. Se utiliza una hoja de Google Sheets para desencadenar la automatización, la cual utiliza Perplexity para resúmenes de artículos y luego Cloud y OpenAI para crear contenidos para Facebook, Instagram, LinkedIn y Twitter. El proceso también incluye la generación de imágenes con OpenAI. Finalmente, se conecta la automatización a las cuentas de redes sociales para publicaciones diarias a las 8:23 a.m., permitiendo al usuario revisar y ajustar contenidos antes de activar la publicación automática.
Takeaways
- 😀 El video enseña cómo automatizar las publicaciones en redes sociales utilizando AI.
- 🔧 Se utiliza la herramienta 'make.com' para crear un flujo de trabajo automatizado.
- 📊 Se puede crear un escenario sin código, facilitando la configuración de la automatización.
- ⏰ El disparador de la automatización es un nuevo registro en una hoja de cálculo de Google.
- 📝 La AI lee un artículo y luego escribe publicaciones para diferentes plataformas sociales.
- 🤖 Se utiliza 'perplexity' para resumir artículos en tiempo real desde la web.
- 📈 'Perplexity' tiene la capacidad de acceder a la información más reciente en línea.
- 🗣️ Se configuran módulos adicionales para generar contenido para Facebook, Instagram, LinkedIn y Twitter.
- 🖼️ Se genera una imagen para Instagram utilizando OpenAI y DALL-E.
- 🔗 Se conectan las plataformas sociales para publicar automáticamente los contenidos creados por la AI.
Q & A
¿Qué problema busca resolver el script proporcionado?
-El script busca resolver el problema de tener que publicar manualmente en redes sociales después de un largo día de trabajo, automatizando el proceso con AI.
¿Cuál es la herramienta que se utiliza para crear la automatización descrita en el script?
-Se utiliza la herramienta llamada make.com, una herramienta de RPA (Robotic Processing Automation), para crear la automatización.
¿Cómo se activa la automatización en make.com?
-La automatización se activa mediante un desencadenador, que en este caso es un nuevo registro en una hoja de Google Sheets.
¿Qué información se pone en la hoja de Google Sheets para activar la automatización?
-Se pone el URL de un artículo reciente sobre la industria o nicho en la hoja de Google Sheets.
¿Qué hace la automatización una vez que se activa?
-Una vez activada, la automatización utiliza AI para leer el artículo y generar publicaciones para las redes sociales.
¿Qué herramienta se usa para leer y resumir el artículo de la hoja de Google Sheets?
-Se utiliza la herramienta Perplexity para leer y resumir el artículo en tiempo real.
¿Cómo se conecta Perplexity con make.com?
-Se conecta mediante una clave API de Perplexity que se introduce en un módulo adicional en make.com.
¿Cuál es el propósito de utilizar un router en la automatización?
-El router permite realizar múltiples acciones a la vez, como generar publicaciones para diferentes redes sociales.
¿Qué otras herramientas se mencionan para generar publicaciones en redes sociales?
-Se mencionan OpenAI y Cloud (CLA) como herramientas para generar publicaciones en redes sociales.
¿Cómo se conectan las publicaciones generadas por AI a las cuentas de redes sociales?
-Se conectan a través de módulos adicionales en make.com que se autentican con las cuentas de redes sociales correspondientes.
¿Cómo se puede revisar el contenido generado por la automatización antes de que se publique?
-Se puede enviar el contenido generado a uno mismo por correo electrónico o a un documento de Google para su revisión antes de activar la publicación automática.
Outlines

Esta sección está disponible solo para usuarios con suscripción. Por favor, mejora tu plan para acceder a esta parte.
Mejorar ahoraMindmap

Esta sección está disponible solo para usuarios con suscripción. Por favor, mejora tu plan para acceder a esta parte.
Mejorar ahoraKeywords

Esta sección está disponible solo para usuarios con suscripción. Por favor, mejora tu plan para acceder a esta parte.
Mejorar ahoraHighlights

Esta sección está disponible solo para usuarios con suscripción. Por favor, mejora tu plan para acceder a esta parte.
Mejorar ahoraTranscripts

Esta sección está disponible solo para usuarios con suscripción. Por favor, mejora tu plan para acceder a esta parte.
Mejorar ahoraVer Más Videos Relacionados

Automatiza TODO con Agentes de IA GRATIS e Ilimitados… Tutorial Completo con N8N en LOCAL y Servidor

🌸 Así ganas dinero vendiendo un EBOOK Con Canva y Chat GPT - Tutorial paso a paso
AUTOMATE ANY TASK with these 3 AI tools [Make Tutorial - N8N - ChatGPT]
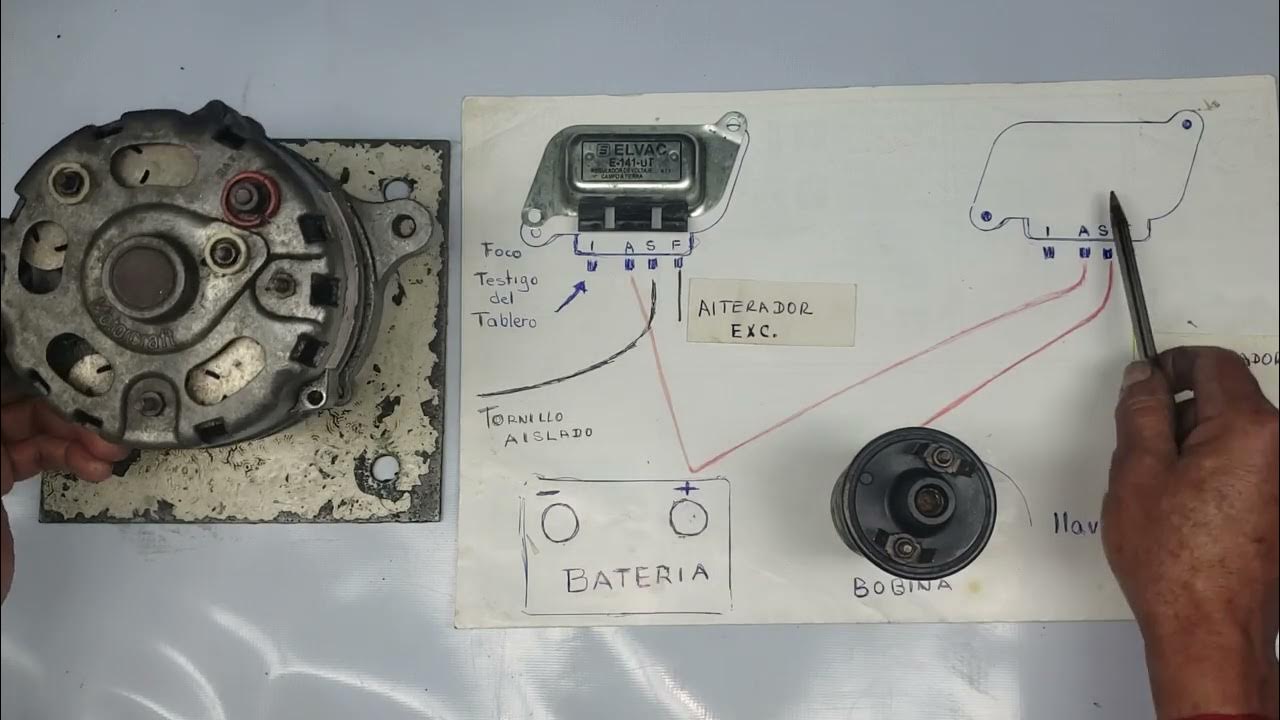
ALTERNADOR DE FORD MODELOS VIEJITOS ,DOS MANERAS DE CONECTAR UN MISMO REGULADOR DE FORD

Script para crear Backup del sistema Linux Completo

How To Setup Zapier Wix Automations (Quick Guide)
Envía E-MAIL 📧 AUTOMÁTICO al crear registro | Tarea o acción automatizada SIN código Odoo
5.0 / 5 (0 votes)