Cara Membuat Kerucut Dari Kertas Karton || Jaring Jaring Kerucut Dari Kertas
Summary
TLDRIn this tutorial, Patmawati Hasan demonstrates how to create a cone-shaped paper model using cardboard. The process begins with measuring and cutting an F4 size cardboard, followed by drawing and cutting a semicircular pattern. After folding the cardboard, the pieces are glued together to form a cone. The tutorial provides clear, step-by-step instructions, showing how to assemble the cone with simple tools like a ruler, compass, and glue. Viewers are encouraged to experiment with different colors and designs, and the video concludes with a call to support the channel and thank viewers.
Takeaways
- 😀 Start by preparing a piece of F4 size cardboard, a ruler, and a marker.
- 😀 Draw a 20 cm line on the cardboard and find the center point.
- 😀 Leave a 1 cm margin at the bottom for gluing purposes.
- 😀 Using a compass, create a half-circle starting from the center of the 20 cm line.
- 😀 Measure a 5 cm radius with the compass and draw a circle for the base.
- 😀 Draw a triangle shape inside the half-circle for the gluing area.
- 😀 Cut the cardboard along the drawn pattern to shape the pieces.
- 😀 Fold the extra paper at the bottom inward before applying glue.
- 😀 Use glue (such as Fox glue) to adhere the folded section.
- 😀 Attach the two halves of the circle to form the cone shape.
- 😀 Finally, glue the circular base to the folded triangle section to complete the cone-shaped 3D figure.
Q & A
What materials are needed to make the cone-shaped structure?
-The materials required are F4-sized cardboard, a ruler, a pen, a compass, and glue (Fox glue is used in the video).
What is the first step in making the cone?
-The first step is to prepare the F4-sized cardboard and use a ruler to draw a 20 cm line. Then, find the midpoint and leave a 1 cm margin for the part that will be glued.
How do you create the base of the cone?
-To create the base, use a compass to draw a semi-circle from the midpoint, and then measure 5 cm with the compass to form the circular base.
Why is there a 1 cm margin left at the bottom part of the cardboard?
-The 1 cm margin is left for the area where glue will be applied to join the cardboard, ensuring that the cone holds its shape.
What should be done after drawing the semi-circle and triangle on the cardboard?
-Once the semi-circle and triangle are drawn, cut along the outlines to create the desired shape of the cone.
How is the cone shape created after cutting the cardboard?
-After cutting, fold the excess cardboard inward and apply glue to the folded part. Then, join the two halves of the semi-circle to form the cone shape.
How is the base of the cone attached?
-The base is attached by gluing the folded triangular section to the circular base, securing the cone’s bottom part.
What type of glue is used in the video?
-The video uses Fox glue to adhere the different parts of the cone together.
What additional creative step is suggested in the video?
-The video encourages viewers to get creative with different colors for the cone structure, allowing for personalized designs.
How does the video conclude?
-The video concludes by thanking viewers for watching, encouraging them to support the channel, and wishing them success in their own cone-making projects.
Outlines

Esta sección está disponible solo para usuarios con suscripción. Por favor, mejora tu plan para acceder a esta parte.
Mejorar ahoraMindmap

Esta sección está disponible solo para usuarios con suscripción. Por favor, mejora tu plan para acceder a esta parte.
Mejorar ahoraKeywords

Esta sección está disponible solo para usuarios con suscripción. Por favor, mejora tu plan para acceder a esta parte.
Mejorar ahoraHighlights

Esta sección está disponible solo para usuarios con suscripción. Por favor, mejora tu plan para acceder a esta parte.
Mejorar ahoraTranscripts

Esta sección está disponible solo para usuarios con suscripción. Por favor, mejora tu plan para acceder a esta parte.
Mejorar ahoraVer Más Videos Relacionados

Cara Membuat Bangun Ruang Tabung Dari Kertas Karton || Jaring Jaring Tabung || Buat Bangun Ruang
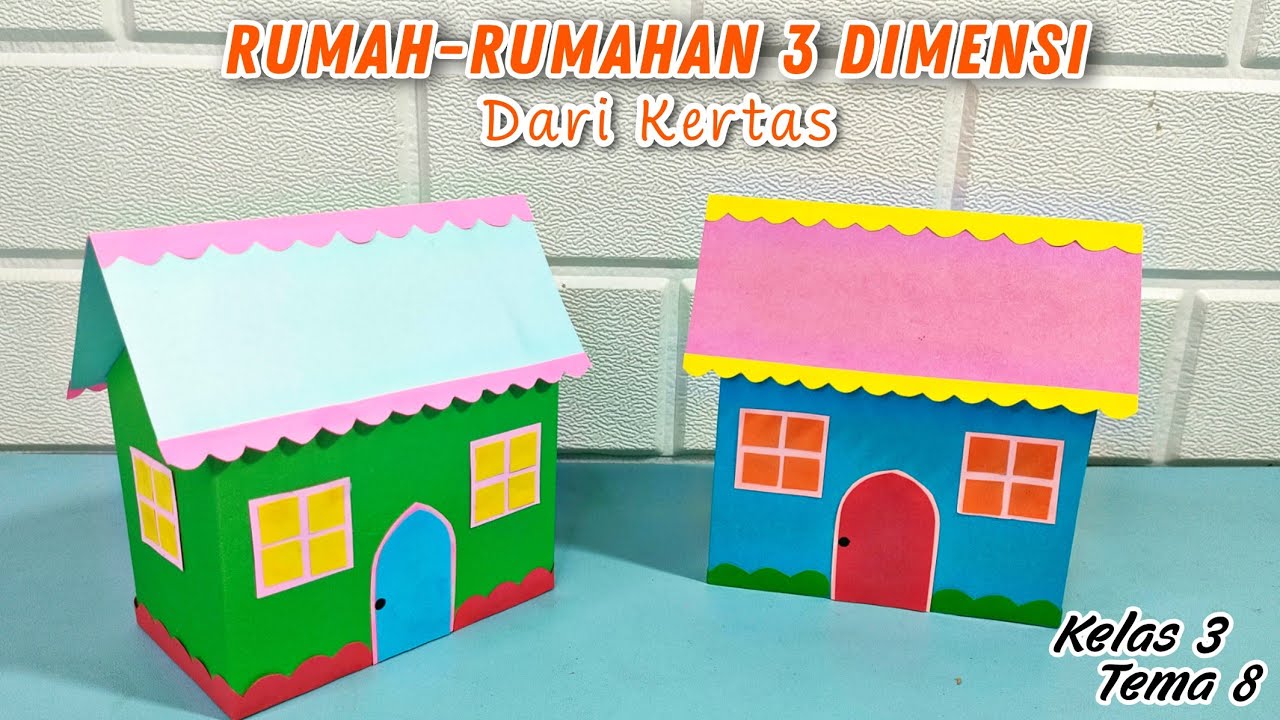
Cara Membuat Rumah Rumahan 3 Dimensi Dari Kertas Tugas Kelas 3 Tema 8 || Membuat Rumah Kertas

Cara Membuat Tabung Dari Kertas Karton || Jaring Jaring Tabung || Membuat Pola Tabung

DIY Bingkai foto dari kardus dan kertas kado||Photo frame with cardboard@TamtamArtandCraft
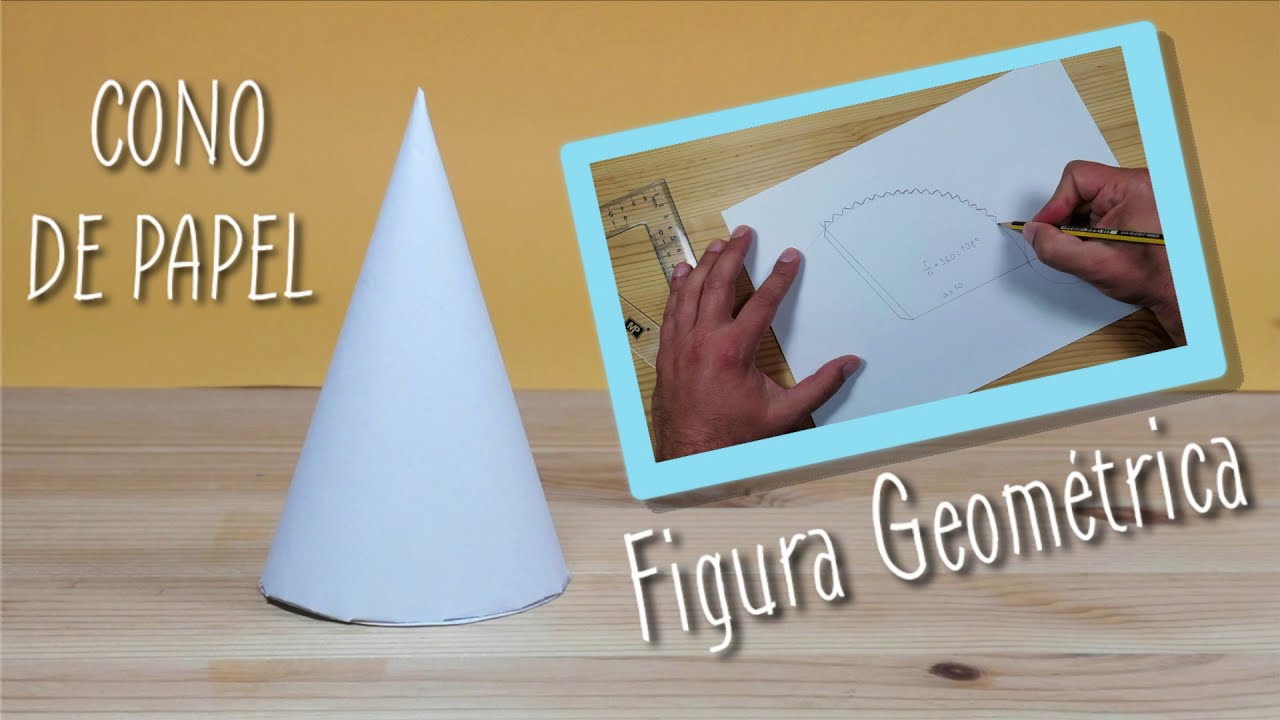
COMO HACER UN CONO DE PAPEL FIGURA GEOMETRICA

Tempat Pensil Dari Botol Bekas || Kerajinan Botol Bekas || Kerajinan Limbah Anorganik
5.0 / 5 (0 votes)
