How To Make a Paper Crane - Origami Crane Step by Step - Easy
Summary
TLDRIn this tutorial, viewers learn to create a paper origami crane using highlighters to illustrate each step clearly. The instructor guides beginners through the folding process, starting from a square piece of origami or printer paper. Key steps include making precise folds, inverting sections, and forming wings. Additional tips enhance clarity, ensuring a smooth experience for novices. The tutorial emphasizes simplicity and visual guidance, making origami accessible to everyone.
Takeaways
- 😀 The tutorial demonstrates how to create a paper origami crane using highlighters for clearer instructions.
- ✂️ Start with a square piece of paper, which can be made from printer paper by cutting it down.
- 📏 Make the first fold by bringing one corner down to align with the edge, then cut off the excess paper.
- 🔄 Flip the paper over and fold it in half in the opposite direction to create rectangles.
- 🔺 Fold the two opposite corners inward to meet at the bottom, creating triangular flaps.
- 🌀 Always keep the flaps on the bottom while working through the steps.
- 📐 Fold the edges towards the center crease for both sides to refine the shape.
- 🔄 Open all four sides to prepare for the next folds, ensuring all creases are well-defined.
- 🐦 Form the crane's body by inverting the flaps and folding the upper parts to create the wings.
- 🎉 The final steps involve refining the wings and creating the head, completing the origami crane.
Q & A
What materials do I need to create an origami crane?
-You will need origami paper or printer paper that can be cut into a square.
How do I cut printer paper into a square?
-To make a square, fold one corner of the paper down to align with the opposite edge and cut off the excess paper.
What is the first fold I need to make after creating a square?
-The first fold is to take the opposite corner and fold it down, creating an X-shaped crease.
How many total folds are involved in the initial steps of making the crane?
-There are a total of four initial folds: two diagonal folds and two vertical folds.
What should I do after creating the four initial folds?
-After making the four folds, tilt the paper and fold the two points inward to meet at the bottom.
What is the purpose of creating a crease at the top after folding the sides inward?
-Creating a crease at the top helps guide a fold later on in the process.
What do I do with the bottom flap after opening up the sides?
-Push the bottom flap up and crease it, then fold the two inside creases inward.
How do I form the crane's wings?
-To form the wings, pinch the two flaps together and invert them, then fold the bottom parts over.
What is the final step in completing the origami crane?
-The final step is to push down the top part to create the head and pinch it in.
What technique is used to emphasize the creases in this tutorial?
-Highlighters are used to illustrate each crease, making it easier to follow along.
Outlines

Esta sección está disponible solo para usuarios con suscripción. Por favor, mejora tu plan para acceder a esta parte.
Mejorar ahoraMindmap

Esta sección está disponible solo para usuarios con suscripción. Por favor, mejora tu plan para acceder a esta parte.
Mejorar ahoraKeywords

Esta sección está disponible solo para usuarios con suscripción. Por favor, mejora tu plan para acceder a esta parte.
Mejorar ahoraHighlights

Esta sección está disponible solo para usuarios con suscripción. Por favor, mejora tu plan para acceder a esta parte.
Mejorar ahoraTranscripts

Esta sección está disponible solo para usuarios con suscripción. Por favor, mejora tu plan para acceder a esta parte.
Mejorar ahoraVer Más Videos Relacionados

Origami: Tsuru - Instruções em Português BR
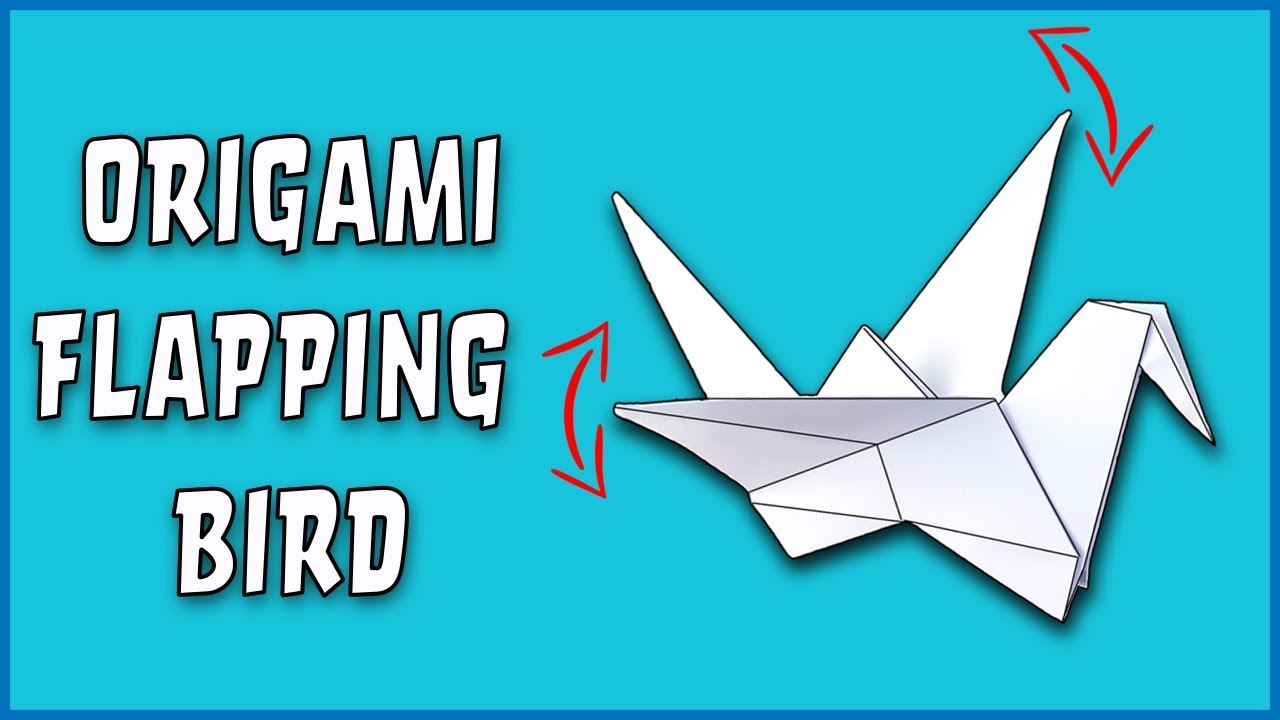
How To Make an Origami Flapping Bird - EASY step by step!

Procedure Text - How To Make Tulip Flower Origami

Origami Birds Tutorial - Procedure Text

How to make a Paper Speedboat that Floats - NEW VERSION!
Cara Membuat Rumah Rumahan 3 Dimensi Dari Kertas Tugas Kelas 3 Tema 8 || Membuat Rumah Kertas
5.0 / 5 (0 votes)
