instalasi listrik prakarya kelas 9.
Summary
TLDRThis video provides a step-by-step guide on how to create a simple home electrical installation using basic materials like cardboard, light bulbs, cables, and switches. The process begins with creating a layout for different rooms, including the kitchen, living room, bedroom, and terrace. It then demonstrates how to wire and connect each switch and light, ensuring safety and precision by carefully securing the cables and using appropriate tools. The video emphasizes using hot glue to secure the fittings and ensuring everything is properly insulated to avoid electric shocks.
Takeaways
- 🏠 Start by preparing two pieces of cardboard with dimensions 50x25 cm.
- 🔌 Gather materials such as electrical wires, small switches, terminals, and a small lamp.
- 📐 Create a simple blueprint of a house layout including kitchen, living room, dining area, and terrace.
- 🖼️ Attach cardboard to the panel room and press until the switch penetrates the back of the cardboard.
- 🔑 Label each leg of the switch with numbers 1, 2, 3, and 4 using a writing tool.
- 🛠️ Use a utility knife to cut the cardboard to install the switch.
- 🧵 Prepare the terminal wires, cut them to the required size, and strip the ends.
- 🔗 Connect the wires from each switch leg to the corresponding lamp location.
- 🔌 Connect the main electrical cable to the terminal, ensuring the white wire connects to the white wire and the blue wire to the blue wire.
- 🔵 Route the blue wires to each lamp location, marking them accordingly.
- 🔨 Secure the wiring fittings with a screwdriver to prevent them from coming loose.
Q & A
What are the materials needed for the simple home electrical installation project?
-The materials needed include two pieces of cardboard (50x25 cm), a light bulb, wires, an outlet, a small switch, a terminal cable, a light holder, and a small lamp.
What is the first step in setting up the electrical installation?
-The first step is to draw a simple layout of the house, marking areas like the kitchen, bedroom, living room, panel space, and terrace on the cardboard.
How are the switches connected to different areas in the house model?
-Each switch is connected to a specific area: Switch 1 controls the terrace light, Switch 2 controls the living room light, Switch 3 controls the bedroom light, and Switch 4 controls the kitchen light.
What tools are required to work with the materials during the installation process?
-You will need a pencil to mark connections, a cutter to make holes in the cardboard, and hot glue to secure the fittings.
What precautions should be taken while handling the wires during installation?
-It is important to carefully strip the wire ends using a cutter, ensuring not to harm your hands. Also, securing the wires tightly to the switch connections is crucial.
How are the wires connected to the switches in this installation?
-Wires are attached to each leg of the switches, and each connection is labeled (e.g., Switch 1, Switch 2) to indicate where the wire should lead.
What role does the terminal cable play in this installation?
-The terminal cable is used to connect the main electrical flow, ensuring that the wires from each switch are linked correctly for powering the lights.
How is the main power cable connected to the installation?
-The main power cable is connected by matching the white wire from the power cable with the white wire from the terminal, and the blue wire is connected similarly. These connections are then routed to the light points.
What steps are taken to ensure the installation is safe from electrical hazards?
-The back of the cardboard is covered with another piece of cardboard to prevent any electrical shocks. Additionally, hot glue is applied to secure the fittings and prevent loose connections.
What final steps should be taken once the electrical wiring is complete?
-After all wires are connected and secured, the lamps should be installed one by one. Finally, black electrical tape should be used to secure and neaten the wire paths drawn on the cardboard.
Outlines

Esta sección está disponible solo para usuarios con suscripción. Por favor, mejora tu plan para acceder a esta parte.
Mejorar ahoraMindmap

Esta sección está disponible solo para usuarios con suscripción. Por favor, mejora tu plan para acceder a esta parte.
Mejorar ahoraKeywords

Esta sección está disponible solo para usuarios con suscripción. Por favor, mejora tu plan para acceder a esta parte.
Mejorar ahoraHighlights

Esta sección está disponible solo para usuarios con suscripción. Por favor, mejora tu plan para acceder a esta parte.
Mejorar ahoraTranscripts

Esta sección está disponible solo para usuarios con suscripción. Por favor, mejora tu plan para acceder a esta parte.
Mejorar ahoraVer Más Videos Relacionados

Instalasi Listrik Rumah - Material Instalasi Listrik - Nama dan Fungsi
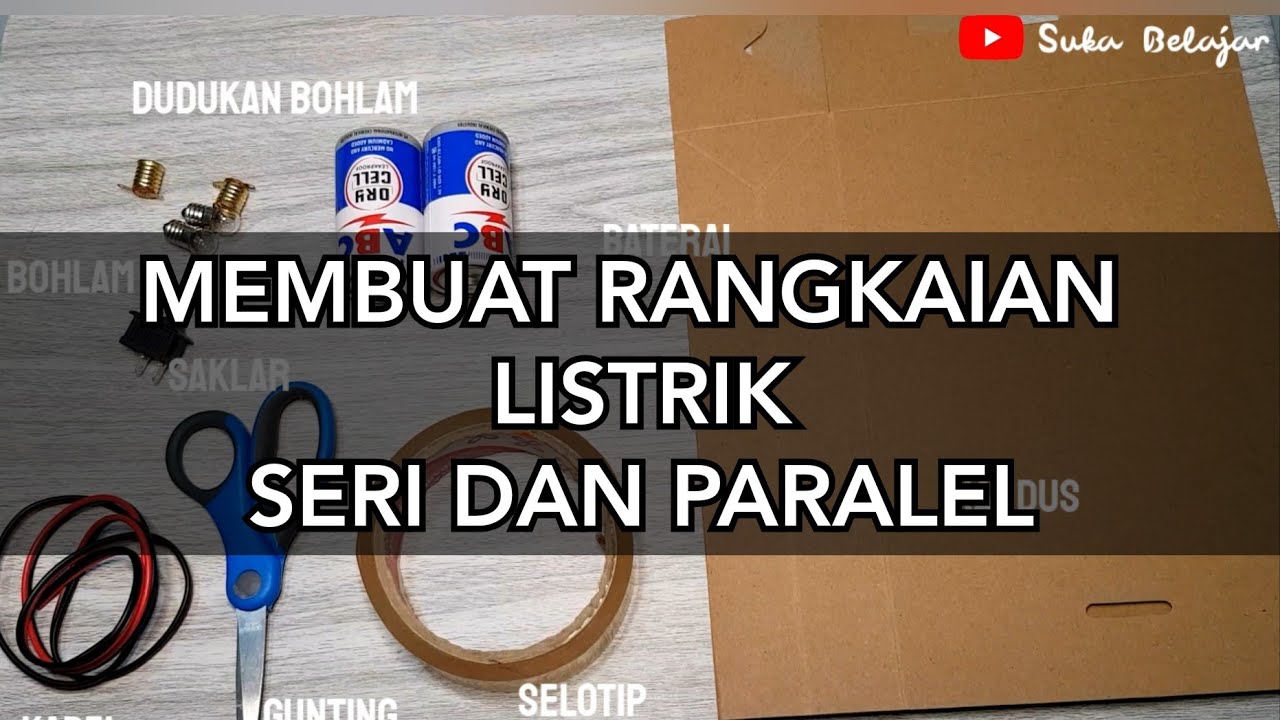
#SukaBelajar #Tematik MEMBUAT RANGKAIAN LISTRIK SERI DAN PARALEL

Cara membuat rangkaian seri dan paralel sederhana / tugas kelas 6 tema 3

PERCOBAAN INTERFERENSI CELAH GANDA
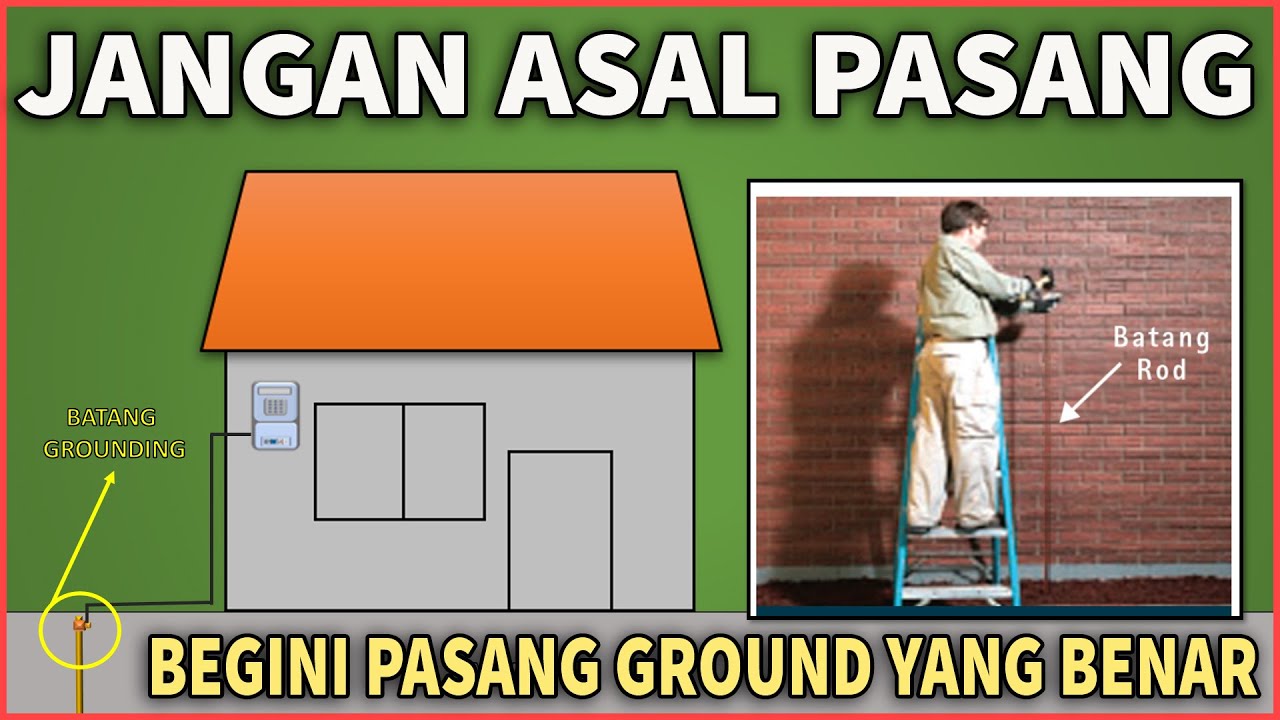
CARA MEMASANG GROUNDING RUMAH SESUAI PUIL

Praktikum Hukum Pascal - Mesin Hidrolik | SaBiKum | Eksperimen Sains | DIY
5.0 / 5 (0 votes)
