The Best Watering Technique You've Never Heard Of
Summary
TLDRDiscover the ancient olla, a terracotta clay pot, as an efficient passive irrigation system for gardens. Originating in northern Africa and popularized in Mexico, ollas slowly release water to plant roots, conserving up to 70% of water usage compared to traditional methods. Learn how to bury and refill these unglazed pots in your garden for optimal watering, or create DIY ollas with simple materials. This eco-friendly technique is perfect for dry climates and drought-stricken areas.
Takeaways
- 😀 An olla is a passive irrigation system, likely originating in northern Africa and used for over 2,000 years in China.
- 🏺 Ollas are unglazed terracotta pots that allow water to seep out slowly through the porous material for watering plants.
- 💧 The narrow neck of an olla helps to minimize evaporation, ensuring water is used efficiently.
- 🌱 When buried, ollas release water slowly, which can be absorbed by the soil and roots of nearby plants.
- 🚰 Ollas can be refilled with various water sources, including gray water from laundry or outdoor sinks.
- 📏 The spread of water from an olla is determined by its diameter, with a 6-inch diameter olla spreading water about 4.5 to 5 inches around.
- 🛠 To maximize water usage, plants should be spaced around the olla based on the spread of water, not the size of the olla itself.
- 🌿 In a garden bed, ollas should be placed in a central location to allow for even distribution of water to surrounding plants.
- 🔄 Refilling ollas is necessary as they deplete, ideally when about 50% empty to maintain consistent moisture levels.
- ❄️ In cold climates, it's recommended to remove ollas before frost to prevent cracking due to freeze-thaw cycles.
- 🛠️ DIY ollas can be created using simple materials like terracotta pots, silicone, or mounting putty, but may not perform as well as professionally made ones.
Q & A
What is an olla and what is its primary use?
-An olla is a passive irrigation system, typically an unglazed terracotta pot, used to slowly release water to plants in dry or drought-stricken areas, making efficient use of water resources.
Where is the concept of using ollas believed to have originated from?
-The concept of using ollas is thought to have originated in northern Africa, with records in China dating back over 2,000 years, and later popularized in the Americas, especially in Mexico and pre-Mexico native cultures.
How does an olla work as an irrigation system?
-An olla works by being buried in the soil with a narrow neck exposed. The porous terracotta material allows water to seep out slowly to the exterior, where the soil can absorb it as needed, and roots can draw water directly from the olla's surface.
What are the advantages of using ollas for watering plants compared to other irrigation methods?
-Ollas offer several advantages, including efficient water use, reducing water consumption by 50% to 70% compared to traditional methods, the ability to use gray water, and support for direct sowing of seedlings by providing consistent moisture.
How can one determine the spacing for plants around an olla in the garden?
-The spacing for plants around an olla should be roughly half the distance of the olla's water spread, which can be estimated based on its diameter. For multiple ollas, ensure there is no excessive overlap or gaps in the water coverage area.
What is the significance of the olla's narrow neck in its functionality?
-The narrow neck of the olla helps to minimize evaporation loss, as there is less surface area at the top for the water to evaporate into the air, thus preserving more water for the plants.
Can you use water from non-traditional sources to fill an olla?
-Yes, you can use gray water from sources like laundry or sink water to fill ollas, provided it is safe for plants and does not contain harmful substances.
How should an olla be buried in the garden for optimal performance?
-An olla should be buried so that its narrow neck is just above the soil level, ensuring the soil touches the clay for effective water seepage and root access.
What is the recommended refilling frequency for an olla?
-Ollas should be refilled when about 50% of the water has been drained, which could be a daily or weekly task depending on soil quality, plant needs, and olla size.
How can one create a DIY olla, and what are the performance differences compared to manufactured ones?
-DIY ollas can be made using two unglazed terracotta pots sealed together with silicone or mounting putty, or by using a single pot with a lid and putty to seal the drainage hole. However, these DIY ollas may not perform as well as manufactured ones due to differences in design, such as the narrow top that minimizes evaporation.
What are some considerations for using ollas in cold climates?
-In cold climates, it's important to dig out and store ollas in a frost-free area before the frost date to prevent the terracotta from cracking due to freeze-thaw cycles.
Outlines

Dieser Bereich ist nur für Premium-Benutzer verfügbar. Bitte führen Sie ein Upgrade durch, um auf diesen Abschnitt zuzugreifen.
Upgrade durchführenMindmap

Dieser Bereich ist nur für Premium-Benutzer verfügbar. Bitte führen Sie ein Upgrade durch, um auf diesen Abschnitt zuzugreifen.
Upgrade durchführenKeywords

Dieser Bereich ist nur für Premium-Benutzer verfügbar. Bitte führen Sie ein Upgrade durch, um auf diesen Abschnitt zuzugreifen.
Upgrade durchführenHighlights

Dieser Bereich ist nur für Premium-Benutzer verfügbar. Bitte führen Sie ein Upgrade durch, um auf diesen Abschnitt zuzugreifen.
Upgrade durchführenTranscripts

Dieser Bereich ist nur für Premium-Benutzer verfügbar. Bitte führen Sie ein Upgrade durch, um auf diesen Abschnitt zuzugreifen.
Upgrade durchführenWeitere ähnliche Videos ansehen
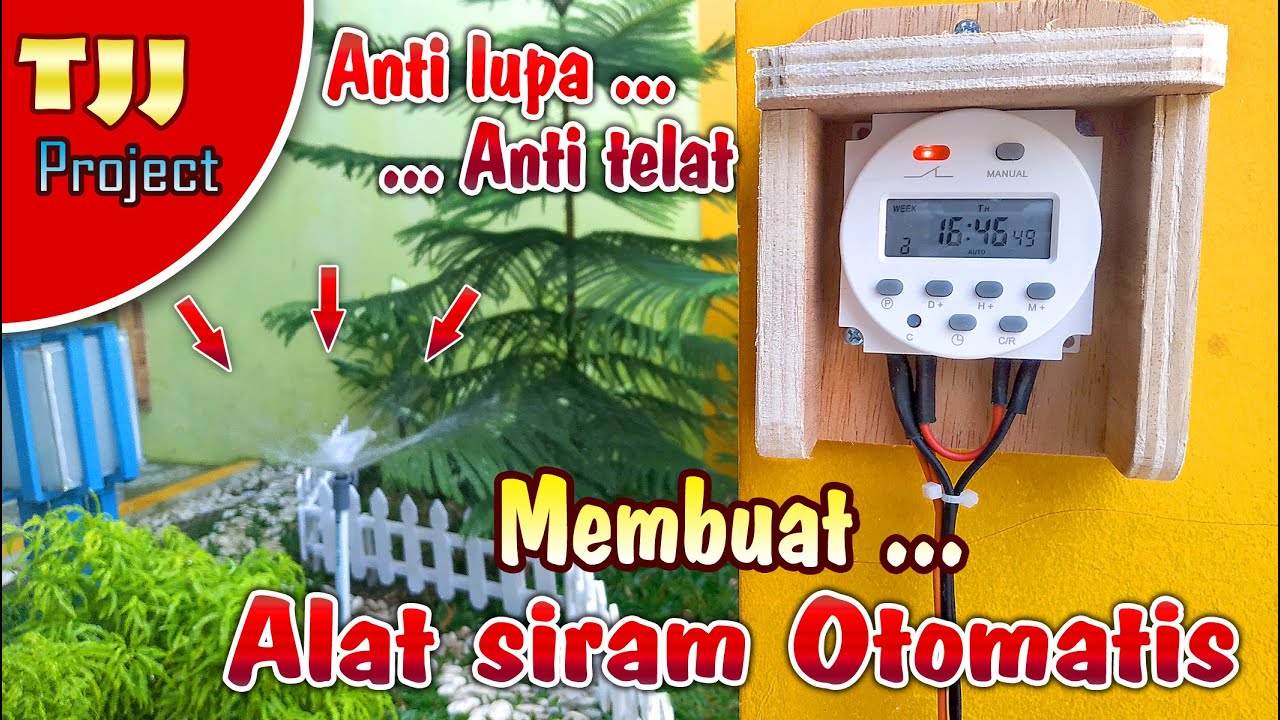
Anti lupa Anti telat, membuat alat siram tanaman otomatis

Top 10 Most Popular Tourist Destinations in China | Travel Diaries

The incredible history of China's terracotta warriors - Megan Campisi and Pen-Pen Chen
Sistem Irigasi di Indonesia (Kuliah Irigasi dan Bangunan Air)

Terracotta Krater, Ancient Greece

SIRAM OTOMATIS! Cara Seting Irrigation Timer
5.0 / 5 (0 votes)
