Heidelberg Printmaster GTO, Training Video 2 of 9
Summary
TLDRThis instructional video provides a detailed, step-by-step guide on operating a printing press, specifically focusing on sheet handling, plate processing, and ink application. Viewers learn how to set up and adjust the pile, sheet stops, suction elements, powder settings, and double sheet detectors to ensure smooth paper travel. The video also demonstrates proper techniques for handling and clamping printing plates, including punching, folding, and securing plates, as well as adjusting pressure between cylinders according to paper thickness. Additionally, the tutorial covers setting the ink fountain and ensuring accurate registration, providing a comprehensive workflow for efficient and precise printing operations.
Takeaways
- 📝 The crank handle and control bushing are used to move the paper pile up and down and to adjust transport speed.
- 📄 Paper placement and alignment are critical: position sheets in the delivery and adjust rear and lateral stops with the crank handle and rotary knobs.
- ⚡ Sheet joggers and sheet brakes can be adjusted for proper paper handling according to sheet format.
- 💨 Suction air quantity for each element can be individually set, and elements can be removed if necessary for guiding paper sheets.
- 🔧 Delivery drum components, like detachable spring-mounted star wheels, can be adjusted for lateral movement or printfree areas.
- 🌟 Powder width and length must be set according to sheet format, and powder quantity is adjustable based on ink volume and paper type.
- 🔍 Use the electronic double sheet detector and verify correct sheet separation, height, and feeding for smooth operation.
- ⏱ Chain gripper opening time must be matched to the printing stock and press speed to avoid smearing freshly printed sheets.
- -
- 🖨️ Printing plates and films of 0.5–8 mm thickness can be punched and clamped securely using standardized procedures to ensure proper registration from pre-press to press.
- 🛠️ Plate insertion involves folding, guiding into front and rear clamping bars, and tightening clamping screws and head screws to secure the plate.
- ⚖️ Pressure between blanket and impression cylinders must be adjusted to the thickness of the printing stock using the scale wheel on both drive and operator sides.
- 🖌️ The ink fountain must be filled with ink and fitted with ink fountain cheeks on both the drive and operator sides before printing begins.
Q & A
How is the pile moved up and down in the machine?
-The pile is moved up and down by slipping the crank handle into the control bushing, which allows manual adjustment of the pile height.
How can the transport speed of the pile be adjusted?
-The pile can be transported faster or slower by engaging or disengaging the control bushing.
What is the correct way to set the rear sheet stop?
-Place a sheet of paper in the middle of the delivery and move the rear sheet stop to the rear edge of the paper using the crank handle.
How do you set the lateral sheet stops?
-Loosen the rotary knobs, move the sheet stops up against the edges of the paper, and then retighten the knobs.
What is the function of the sheet joggers and sheet brakes?
-Sheet joggers can be switched on or off at will to align the sheets, and sheet brakes can be adjusted to the particular paper format to control sheet movement.
How is the quantity of suction air for each suction element adjusted?
-The quantity of suction air can be set individually at the valves, and suction elements can be removed from the crossbar if needed.
What adjustments are made for powder application in printing?
-The powder width is set using rotary bushes to match the sheet format, the powder length is set on a scale wheel, and the quantity of powder is adjusted with the lever based on printing stock and ink volume.
What is the purpose of the electronic double sheet detector?
-It automatically detects double sheets during printing, ensuring proper sheet feeding and eliminating the need for manual monitoring.
How are printing plates punched and positioned?
-Printing plates are punched using a standardized punch lever system and positioned using side stops for correct alignment. This applies to metal plates, polyester films, and mounting films.
What steps are involved in clamping a new printing plate?
-The new plate is guided into the front clamping bar and secured, then moved forward until the rear clamping bar is visible, clamped securely, and the knurled head screws and clamping screws are tightened for proper fixation.
How is the press pressure between the blanket and impression cylinders adjusted?
-The pressure is set according to the thickness of the printing stock, using the scale wheel on both the drive and operator's sides to ensure uniform pressure.
How is the ink fountain initially prepared?
-Ink fountain cheeks are fitted on both the drive and operator sides, and the ink distribution is then adjusted according to the printing requirements.
Outlines

Dieser Bereich ist nur für Premium-Benutzer verfügbar. Bitte führen Sie ein Upgrade durch, um auf diesen Abschnitt zuzugreifen.
Upgrade durchführenMindmap

Dieser Bereich ist nur für Premium-Benutzer verfügbar. Bitte führen Sie ein Upgrade durch, um auf diesen Abschnitt zuzugreifen.
Upgrade durchführenKeywords

Dieser Bereich ist nur für Premium-Benutzer verfügbar. Bitte führen Sie ein Upgrade durch, um auf diesen Abschnitt zuzugreifen.
Upgrade durchführenHighlights

Dieser Bereich ist nur für Premium-Benutzer verfügbar. Bitte führen Sie ein Upgrade durch, um auf diesen Abschnitt zuzugreifen.
Upgrade durchführenTranscripts

Dieser Bereich ist nur für Premium-Benutzer verfügbar. Bitte führen Sie ein Upgrade durch, um auf diesen Abschnitt zuzugreifen.
Upgrade durchführenWeitere ähnliche Videos ansehen
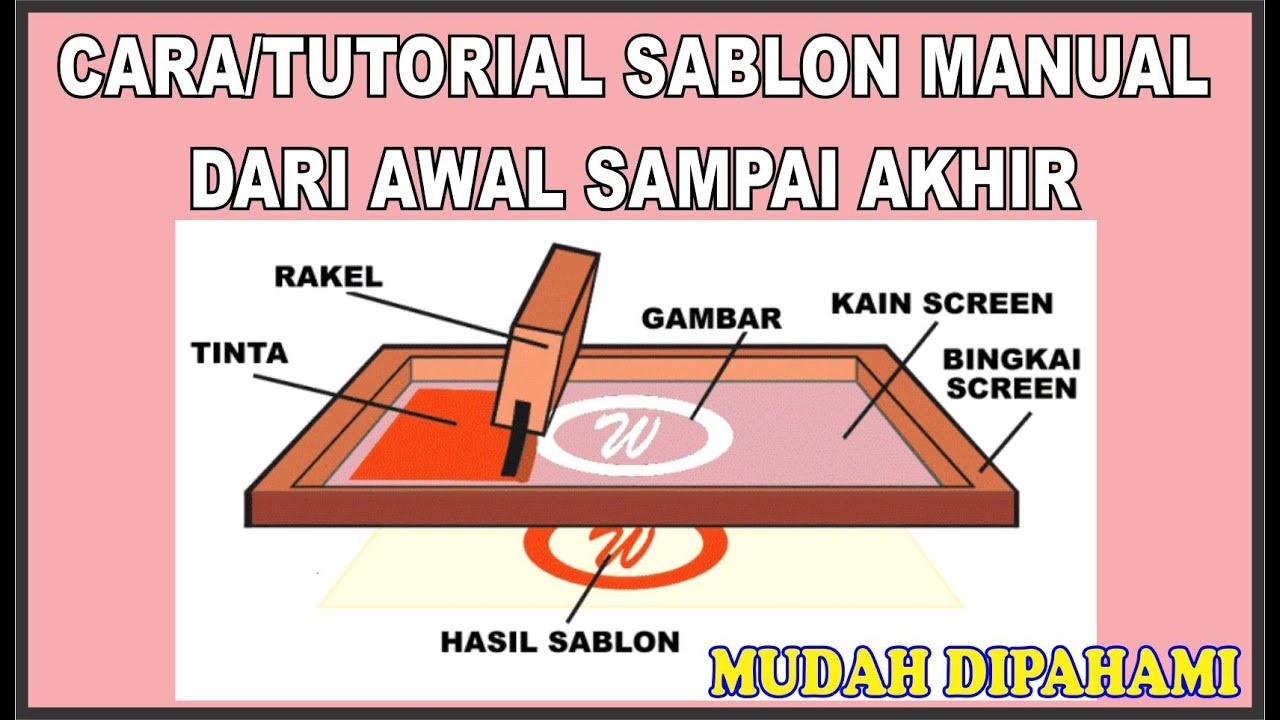
SABLON KAOS MANUAL PRAKTIS DARI AWAL HINGGA AKHIR DIJAMIN BISA
Mengoperasikan Mesin Cetak Digital - Teknik Grafika

Lino-Cut Printmaking Process - Tips and Tricks - EHollingsheadArt
CARA SABLON PLASTISOL | CARA SABLON KAOS MANUAL | CARA SABLON KAOS MANUAL MEMAKAI TINTA PLASTISOL

PART 8 PEMBUATAN APLIKASI EXCEL AKUNTANSI 2023 | NERACA - POSISI KEUANGAN
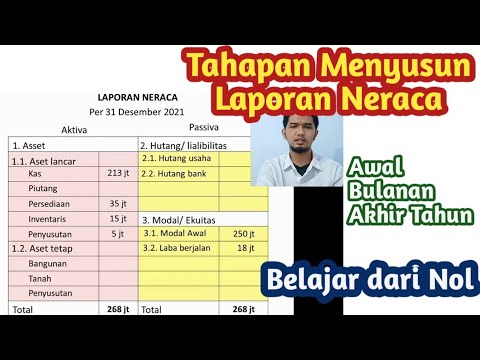
Cara Membuat Laporan Neraca dan laporan akhir tahun
5.0 / 5 (0 votes)
