Simulasi Lampu Lalu Lintas Menggunakan Arduino UNO di Wokwi
Summary
TLDRIn this tutorial, Selamat Rahayu demonstrates how to create a traffic light simulation using an Arduino Uno and a free online simulator. The video guides viewers step-by-step, from setting up LEDs and resistors to wiring and coding the pins for red, yellow, and green lights. Detailed explanations cover declaring variables, configuring pin modes, programming the light sequence with delays, and using the serial monitor to display traffic instructions. The tutorial emphasizes hands-on practice, allowing learners to experiment virtually before working with physical components, making it ideal for beginners eager to understand microcontroller programming and traffic light logic.
Takeaways
- 😀 The video demonstrates how to simulate a traffic light using an Arduino Uno in an online simulator at wwi.com.
- 😀 Users can create a free account on the simulator to save projects and build a digital portfolio.
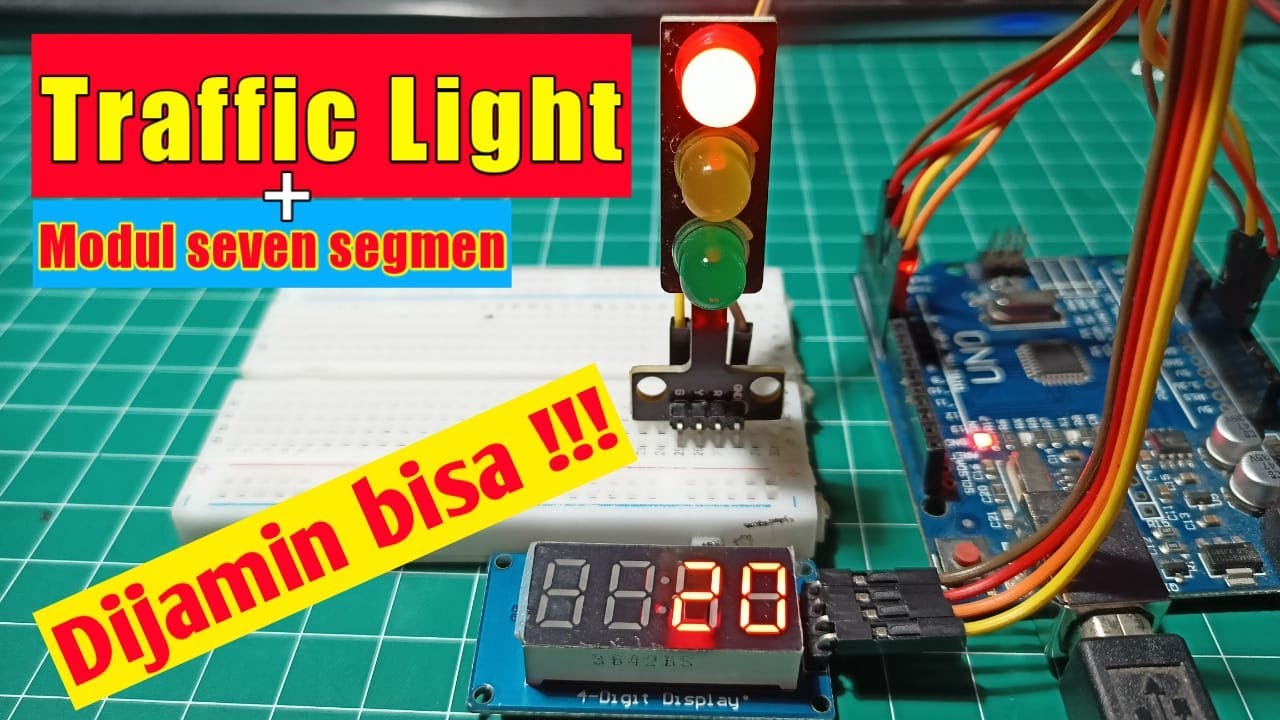
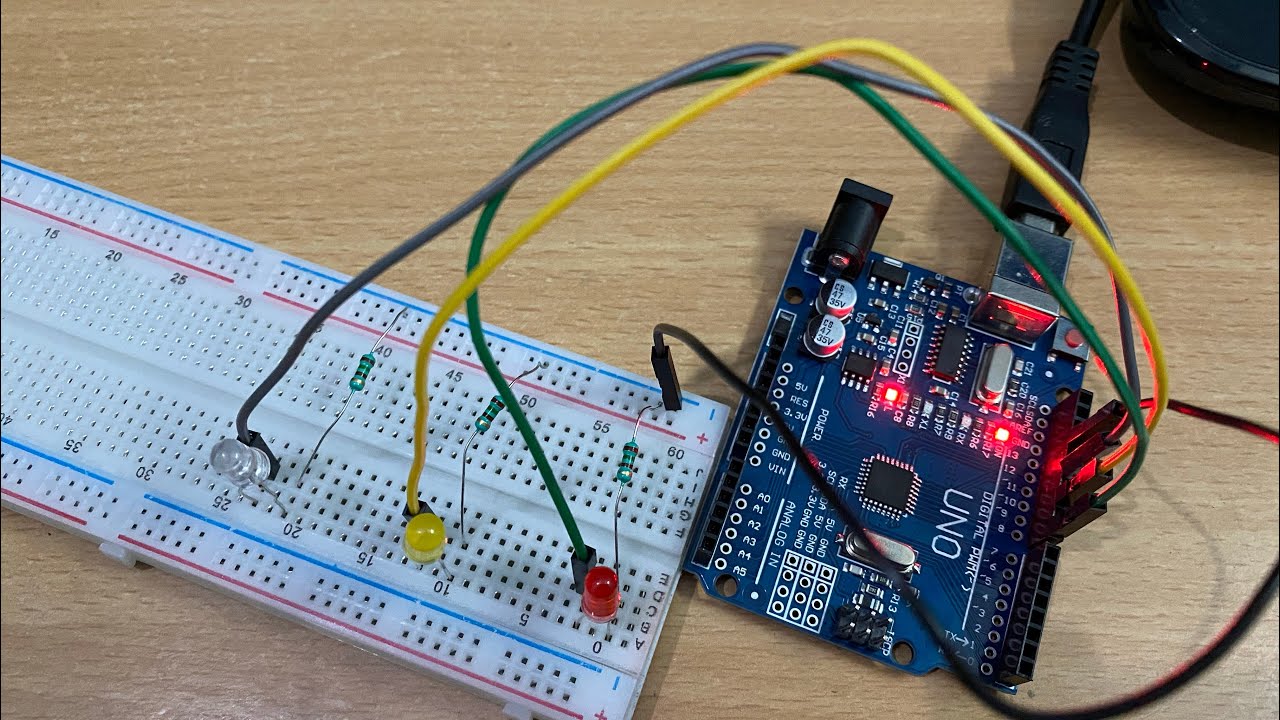
- 😀 The traffic light consists of three LEDs: red, yellow, and green, each representing standard traffic signals.
- 😀 Resistors are added to each LED to stabilize current and prevent burnout.
- 😀 LEDs are connected with the positive leg to the digital pins (Red → 8, Yellow → 9, Green → 10) and the negative leg to GND.
- 😀 In the code, each LED is declared as an integer variable and configured as OUTPUT in the setup function.
- 😀 The Serial Monitor is used to display the current status of each LED (e.g., 'Red on, stop', 'Yellow on, slow down', 'Green on, go').
- 😀 The loop function controls the sequence: Red ON → Yellow ON → Green ON, with delays to set the duration for each light.
- 😀 The simulator allows testing and adjusting light durations before implementing the physical circuit with real components.
- 😀 Viewers are encouraged to comment with their results or issues, subscribe for updates, and practice on the simulator before buying hardware.
Q & A
What is the purpose of using an online simulator like wwi.com in this tutorial?
-The online simulator allows beginners to practice working with Arduino and microcontrollers without needing to buy physical components, making it easier and safer to learn and create projects.
Which microcontroller is used in this traffic light simulation tutorial?
-The tutorial uses the Arduino Uno microcontroller for the traffic light simulation.
How many LEDs are required for the traffic light simulation, and what are their colors?
-Three LEDs are required: one red, one yellow, and one green, representing a standard traffic light.
Why is a resistor connected to each LED in the circuit?
-The resistor stabilizes the current, preventing too much voltage from reaching the LED, which could damage it.
How are the LEDs connected to the Arduino pins in this project?
-The red LED is connected to pin 8, the yellow LED to pin 9, and the green LED to pin 10. The negative leg of each LED is connected to the GND (ground) pin.
What is the purpose of declaring pin modes in the Arduino code?
-Declaring pin modes using `pinMode(pin, OUTPUT)` sets the pins to output mode so they can send current to the LEDs, allowing them to turn on and off.
How does the code simulate the traffic light sequence?
-The code uses the `digitalWrite()` function to turn LEDs HIGH or LOW in sequence: red light for stop, yellow light for caution, and green light for go, with delays controlling the duration of each light.
What is the purpose of the Serial Monitor in this project?
-The Serial Monitor displays the current status of the traffic lights, such as 'Red - Stop', 'Yellow - Caution', or 'Green - Go', providing real-time feedback while simulating.
How can the duration of each traffic light be adjusted in the code?
-The duration is controlled by the `delay()` function in milliseconds. For example, `delay(3000)` keeps a light on for 3 seconds. Changing the value will adjust how long the light stays on.
What is the significance of connecting the LED negative legs to GND?
-Connecting the negative legs to GND completes the electrical circuit, allowing current to flow properly and ensuring the LEDs work correctly.
What is a beginner-friendly approach emphasized in this tutorial?
-The tutorial emphasizes practicing on a simulator first, using step-by-step instructions, and testing code with the Serial Monitor before moving on to physical hardware, ensuring learners gain confidence and understanding.
Outlines

Dieser Bereich ist nur für Premium-Benutzer verfügbar. Bitte führen Sie ein Upgrade durch, um auf diesen Abschnitt zuzugreifen.
Upgrade durchführenMindmap

Dieser Bereich ist nur für Premium-Benutzer verfügbar. Bitte führen Sie ein Upgrade durch, um auf diesen Abschnitt zuzugreifen.
Upgrade durchführenKeywords

Dieser Bereich ist nur für Premium-Benutzer verfügbar. Bitte führen Sie ein Upgrade durch, um auf diesen Abschnitt zuzugreifen.
Upgrade durchführenHighlights

Dieser Bereich ist nur für Premium-Benutzer verfügbar. Bitte führen Sie ein Upgrade durch, um auf diesen Abschnitt zuzugreifen.
Upgrade durchführenTranscripts

Dieser Bereich ist nur für Premium-Benutzer verfügbar. Bitte führen Sie ein Upgrade durch, um auf diesen Abschnitt zuzugreifen.
Upgrade durchführenWeitere ähnliche Videos ansehen
Simulasi Lampu Lalu Lintas - Arduino

SIMULASI PALANG KERETA API OTOMATIS MENGGUNAKAN ARDUINO UNO DENGAN SIMULATOR WOKWI
Program Arduino Lampu Kedip Secara Online Gunakan WOKWI Tutorial DIY @tptumetro

[CUEE Camp 2nd] Part 2 : Condition and Loop
Making Traffic Lights with Arduino Uno - Beginner Level (algorithm, coding, circuit design)

How to Make Simon Memory Game Using Arduino | Simon Says Game
5.0 / 5 (0 votes)
