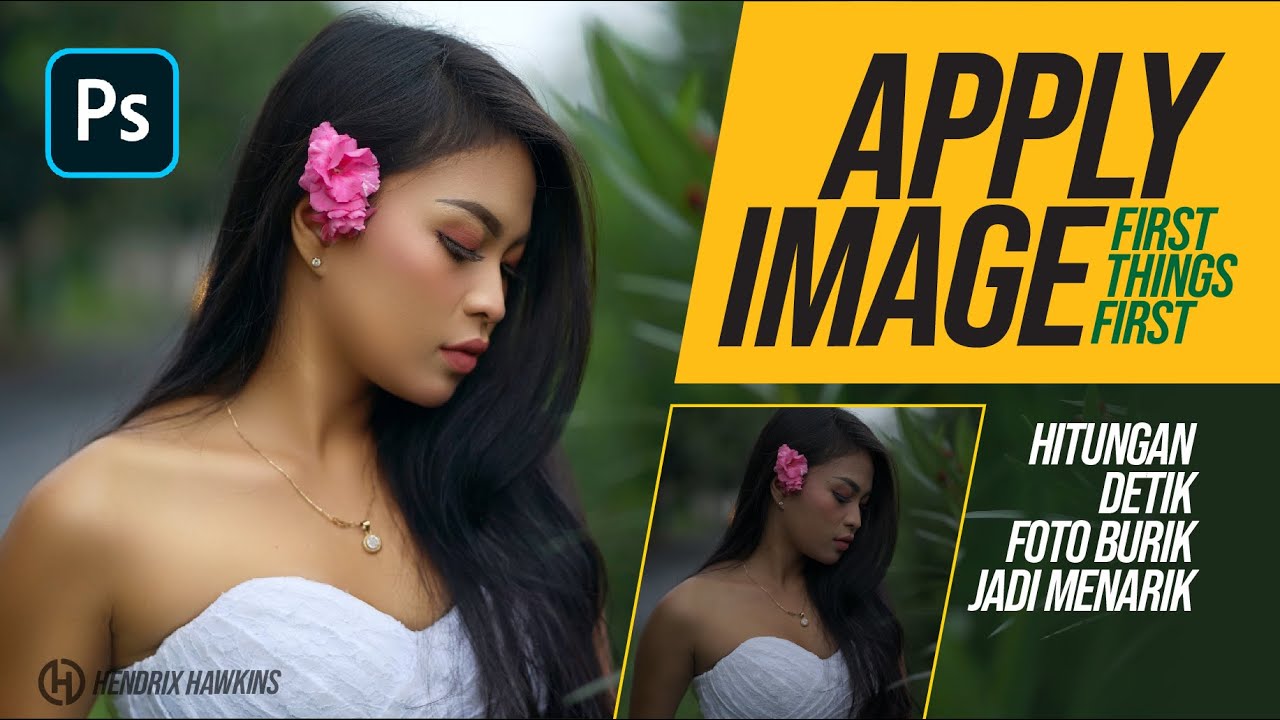
How To Color Grade and Make Photos Pop In Photoshop
Summary
TLDRIn this video, the presenter demonstrates how to enhance and transform ordinary photos into vibrant, eye-catching images using Photoshop. The process begins with creating a backup layer and adjusting contrast, followed by color grading, including enhancing skin tones and background adjustments. Key techniques involve using the Camera Raw filter, color mixer, and selective color layers to fine-tune individual colors. The tutorial also covers vibrance adjustments, background manipulation, and utilizing levels to improve image contrast. By the end, viewers can see a dramatic transformation in the image, learning effective Photoshop tools to make photos 'pop' and look more professional.
Takeaways
- 😀 Backup your image layer by duplicating it before applying any edits to ensure non-destructive editing.
- 😀 Convert your backup layer to a smart object in Photoshop to allow easy changes and adjustments later on.
- 😀 Increase the contrast of your image to give it more depth and make it visually more engaging.
- 😀 Use the 'Camera Raw' filter for precise color grading, especially adjusting the saturation of the blue primary to enhance image vibrancy.
- 😀 Warm up the midtones of the image to make skin tones look more natural and visually appealing.
- 😀 Cool down the shadows by adding a slight blue tint to give the image a dynamic contrast between warm and cool tones.
- 😀 Add a hint of green to the highlights to bring out subtle details and add depth to bright areas of the image.
- 😀 Utilize the 'Color Mixer' to target specific colors (like skin tones or reds) and adjust their saturation for a more vibrant look.
- 😀 Use the 'Point Color' option to fine-tune specific colors, such as enhancing reds or skin tones, for a more polished and professional appearance.
- 😀 Apply the vibrance tool to balance colors, making less saturated tones match the intensity of more saturated ones without overdoing the adjustments.
- 😀 For background manipulation, use the masking tool to select and adjust specific areas of the image (like the background), enhancing the overall composition.
Q & A
Why is it important to create a backup layer when editing an image in Photoshop?
-Creating a backup layer ensures that you have an original copy of the image to revert to if you make any mistakes or want to compare the changes made during the editing process.
What is the purpose of converting a layer into a smart object in Photoshop?
-Converting a layer into a smart object allows you to apply non-destructive edits, meaning you can change or remove effects like filters at any time without permanently altering the image.
How can adjusting the contrast enhance an image in Photoshop?
-Increasing the contrast makes the light and dark areas of an image more distinct, which helps make the image look more dynamic and vibrant by adding depth.
What does adjusting the saturation of the blue primary do in the calibration settings?
-Increasing the saturation of the blue primary in the calibration settings intensifies the blue hues in the image, improving the overall color balance and making the image more visually striking.
Why is it beneficial to warm up the midtones of an image?
-Warming up the midtones, especially skin tones, creates a more natural and aesthetically pleasing look by adding warmth, which helps make the subject's skin appear more lively and appealing.
What effect does cooling down the shadows have on an image?
-Cooling down the shadows by shifting the color balance toward blue gives the image a cooler tone, creating contrast with the warmer midtones and highlights, which can enhance the depth and mood of the photo.
How does adjusting the color grading in the highlights affect an image?
-Adding a hint of green to the highlights can make certain areas of the image, such as bright spots or highlights, appear more vibrant and balanced by introducing subtle color variation.
What is the difference between the 'Hue,' 'Saturation,' and 'Luminance' sliders in the Color Mixer?
-'Hue' changes the color itself, 'Saturation' controls the intensity of the color, and 'Luminance' adjusts the brightness of the color. These three controls help fine-tune how individual colors appear in an image.
Why is it important not to overdo the saturation adjustments when editing an image?
-Overdoing saturation can make colors look unnatural or overly intense, which may result in a garish or unrealistic appearance. It’s important to make subtle adjustments to maintain a balanced, professional look.
How can using the vibrance tool improve an image’s color balance?
-The vibrance tool adjusts the less saturated colors in the image, making them more vivid without affecting already saturated colors. This helps maintain a natural look while enhancing overall color intensity.
Outlines

Dieser Bereich ist nur für Premium-Benutzer verfügbar. Bitte führen Sie ein Upgrade durch, um auf diesen Abschnitt zuzugreifen.
Upgrade durchführenMindmap

Dieser Bereich ist nur für Premium-Benutzer verfügbar. Bitte führen Sie ein Upgrade durch, um auf diesen Abschnitt zuzugreifen.
Upgrade durchführenKeywords

Dieser Bereich ist nur für Premium-Benutzer verfügbar. Bitte führen Sie ein Upgrade durch, um auf diesen Abschnitt zuzugreifen.
Upgrade durchführenHighlights

Dieser Bereich ist nur für Premium-Benutzer verfügbar. Bitte führen Sie ein Upgrade durch, um auf diesen Abschnitt zuzugreifen.
Upgrade durchführenTranscripts

Dieser Bereich ist nur für Premium-Benutzer verfügbar. Bitte führen Sie ein Upgrade durch, um auf diesen Abschnitt zuzugreifen.
Upgrade durchführenWeitere ähnliche Videos ansehen

# 8 TUTORIAL PHOTOSHOP - Membuat Ukuran Foto (Cropping)

Hitungan Detik Foto Burik jadi Menarik dengan Photoshop

TIPS EDITING SEDERHANA UNTUK FOTOGRAFI PEMULA | 5 basic editing in photoshop for your photography

Cara Otomatis Input Data dan Foto ID Card - Auto Create Photoshop

Double Colour Exposure Photoshop Tutorial

Create Viral Hooks with Nano Banana and Veo 3 (AI workflow)
5.0 / 5 (0 votes)
