How to Debug a Circuit (Lesson #3)
Summary
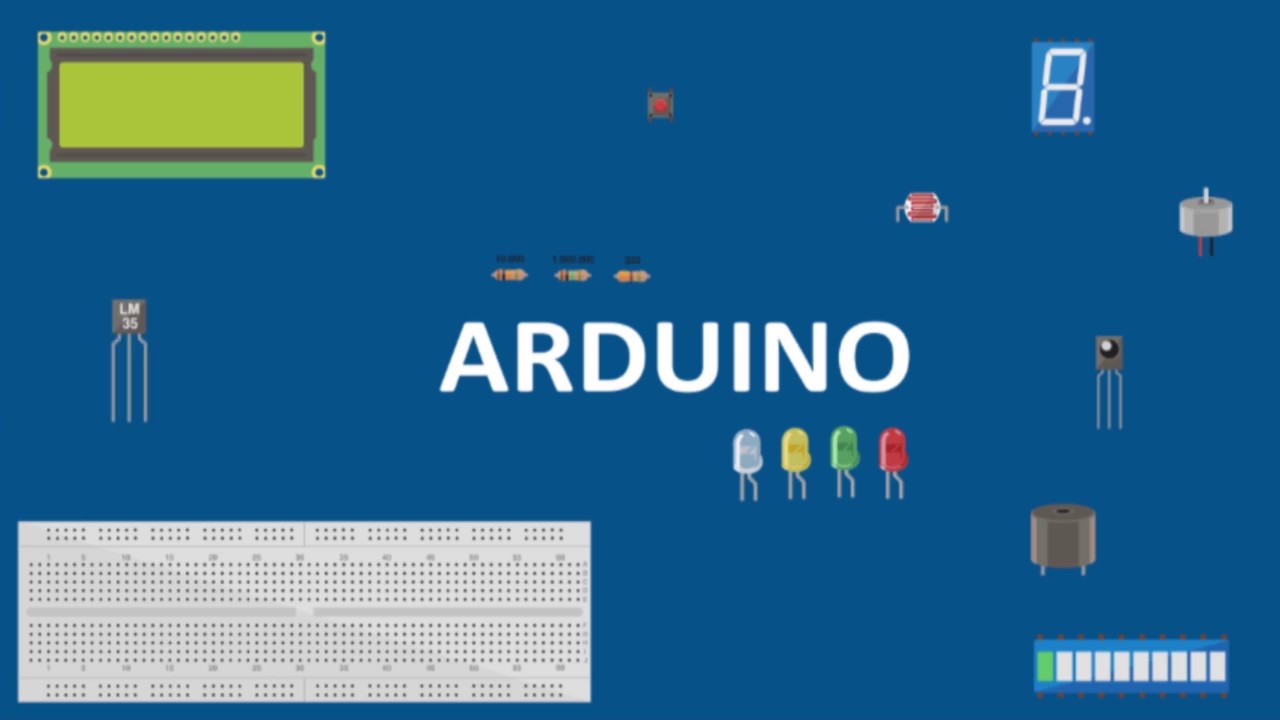
TLDRThis video tutorial walks through common troubleshooting steps for debugging an Arduino circuit, particularly when an LED isn't working as expected. It covers key areas such as ensuring power is supplied, checking for open circuits on the breadboard, confirming correct pin connections, and flipping components like LEDs to ensure proper polarity. The video also advises on swapping potentially broken parts, such as LEDs or jumper wires, and provides tips for preventing short circuits. It's a practical guide for beginners looking to solve common hardware issues with their Arduino projects.
Takeaways
- 😀 Make sure your Arduino has power—if it isn't plugged in, nothing will work.
- 😀 Double-check your breadboard connections—ensure parts are inserted in the correct rows to avoid open circuits.
- 😀 Verify your jumper wires are connected to the correct Arduino pins as specified in your program.
- 😀 Check the polarity of components like LEDs—incorrect placement can prevent them from working.
- 😀 If your LED isn't lighting up, try flipping it around to ensure it's oriented correctly.
- 😀 Components like resistors are non-polar, so orientation doesn’t matter, but LEDs do have a positive and negative side.
- 😀 If everything seems fine but the LED still doesn’t work, swap it with another LED to rule out a broken component.
- 😀 If your LED still doesn't work, try switching to a different pin on your Arduino and adjusting your code.
- 😀 Keep your Arduino unplugged while building circuits to prevent potential short circuits and damage.
- 😀 Look out for loose connections in your circuit; ensure everything is securely pressed into the breadboard for consistent operation.
Q & A
What should you do first when troubleshooting an Arduino circuit?
-The first step is to ensure that your Arduino has power. If it isn't plugged in, the circuit won't function, even if everything else is set up correctly.
What is an open circuit on a breadboard, and how can you fix it?
-An open circuit occurs when the electrical components are not properly connected in the same row on the breadboard. To fix it, ensure that all parts in the circuit are inserted into the correct rows, where the holes are electrically connected.
Why is it important to check the Arduino pins you're using in your program?
-It's important to verify that the physical pins on the Arduino match the ones used in your code. If the jumper wire is connected to the wrong pin, the circuit won't work as expected.
What should you check if the LED is still not lighting up after correcting wiring and pin connections?
-If the LED is still not lighting up, check if the LED is inserted backwards. LEDs have polarity, so the long leg should be connected to the positive side, and the short leg should be connected to the negative side.
What could be the issue if the LED doesn't light up even after flipping it around?
-The LED might be damaged. If the LED appears burned out or you suspect it's broken, swapping it with a new one is an easy way to check if the component is faulty.
How can you determine if an input or output pin on the Arduino is damaged?
-If everything else seems fine but your LED still isn't working, try switching to a different pin and update your code to match the new pin. If it works with a different pin, the original pin may be damaged.
What safety precaution should you take when building your circuit?
-Always keep your Arduino unplugged while building your circuit. If you smell smoke or the circuit feels hot, disconnect the power immediately as this may indicate a short circuit.
What causes a short circuit in an Arduino setup?
-A short circuit can occur if you accidentally connect the power bus directly to the ground bus on the breadboard, causing a large current to flow between the 5V and ground, potentially damaging the circuit or the Arduino.
Why does the circuit sometimes work intermittently, and how can you fix it?
-If your circuit works inconsistently, it may be due to loose connections. Ensure all components, such as wires, resistors, and LEDs, are firmly pressed into the breadboard to establish reliable connections.
Is this troubleshooting guide exhaustive for fixing Arduino circuits?
-No, this guide is not exhaustive. While it covers common issues with simple circuits like LEDs, there could be other potential problems not addressed here. Additionally, debugging code is a separate topic.
Outlines

Dieser Bereich ist nur für Premium-Benutzer verfügbar. Bitte führen Sie ein Upgrade durch, um auf diesen Abschnitt zuzugreifen.
Upgrade durchführenMindmap

Dieser Bereich ist nur für Premium-Benutzer verfügbar. Bitte führen Sie ein Upgrade durch, um auf diesen Abschnitt zuzugreifen.
Upgrade durchführenKeywords

Dieser Bereich ist nur für Premium-Benutzer verfügbar. Bitte führen Sie ein Upgrade durch, um auf diesen Abschnitt zuzugreifen.
Upgrade durchführenHighlights

Dieser Bereich ist nur für Premium-Benutzer verfügbar. Bitte führen Sie ein Upgrade durch, um auf diesen Abschnitt zuzugreifen.
Upgrade durchführenTranscripts

Dieser Bereich ist nur für Premium-Benutzer verfügbar. Bitte führen Sie ein Upgrade durch, um auf diesen Abschnitt zuzugreifen.
Upgrade durchführenWeitere ähnliche Videos ansehen


5.0 / 5 (0 votes)
