1.1 Head. How to make a Pipe Cleaners Dragon? Head 1/2 (Chenille stem dragon tutorial)
Summary
TLDRThis tutorial provides step-by-step instructions for creating a dragon's head using pipe cleaners. The video covers how to create the basic frame, adjust the shape, and design different styles of dragon heads, from round and cute to longer, flatter designs. Viewers are guided through shaping techniques, making tight bindings, and using additional materials for details like eyes and noses. It emphasizes flexibility in adjusting the structure and offers tips for beginners to create a neat, detailed dragon head with patience and practice.
Takeaways
- 😀 Start by tying the structure together loosely to allow for adjustments and shaping later.
- 😀 When designing the dragon's head, consider different styles—round, flat, long, or short.
- 😀 The size of the dragon's head should be roughly two-thirds the size of the folded base.
- 😀 To shape the dragon's head, start by curving the frame gently, making sure not to over-tighten it.
- 😀 Adding additional pipe cleaners can help enhance the structure and shape of the dragon's face and features.
- 😀 Keep the winding of the wire or pipe cleaners tidy and in the same direction for a cleaner result.
- 😀 Adjust the frame shape carefully to avoid unwanted changes in direction that could distort the design.
- 😀 When shaping the head, use pliers or nails to secure and hide the ends of the wire neatly inside the frame.
- 😀 Always check the overall frame shape, ensuring it stays balanced and aligned with the desired design.
- 😀 Patience is key when shaping the dragon—take your time to adjust and refine details like the nose and eyes.
- 😀 Once the basic head shape is done, focus on finalizing details like the eyes, making sure the frame remains flexible enough for small adjustments.
Q & A
What is the first step in creating the dragon's frame?
-The first step involves tying the materials together using nails or a bias, ensuring they are tightly connected. Then, curve the materials in the same direction and tie the tails together, making sure the frame is stable but not too tight for adjustments.
How should the shape of the dragon's head be designed?
-The shape of the dragon's head can vary depending on the style desired. For a cute dragon, a small, round head is ideal, but for a different look, the head can be made longer, flatter, and sharper at the front. The overall size should be about two-thirds of the folded-up frame.
What types of head shapes are mentioned for the dragon?
-The script mentions several head shapes: a small, round head with a protruding forehead, a longer, flatter head, and even one inspired by the dragon 'Toothless' with an incomplete head design.
Why is it important to not tie the frame too tightly at the beginning?
-Not tying the frame too tightly allows for adjustments in the shape and design later. It ensures flexibility in shaping the dragon's head and other features, allowing for better precision when refining the look.
What is the purpose of using pipe cleaners in the construction?
-Pipe cleaners are used to add structure and details to the dragon's head and body. They help in maintaining the shape of the frame while allowing flexibility for adjustments and fine-tuning the design.
How should the frame be adjusted if the shape changes during the process?
-If the frame changes shape, it is important to gently push or pinch the frame back into position. Adjustments should be made carefully to maintain the intended design, ensuring the frame stays consistent with the desired shape.
What is the recommended method for securing the frame as you work?
-To secure the frame, wrap the pipe cleaners around the frame, ensuring each wrap is neat and tidy. It’s important to keep the tension consistent and avoid pulling too hard, which might alter the frame's shape.
What does the script suggest about shaping the dragon's features after the frame is complete?
-Once the frame is complete, focus on shaping the dragon's head, adjusting the nose, forehead, and other features. This involves fine-tuning the curve of the head and deciding where to place the eyes for a more defined look.
How should the details of the dragon's face be added?
-Details like the eyes and nose can be added after the main frame is shaped. Adjust the head's curvature to make sure everything fits correctly. It's recommended to use your fingers or tools to shape these features, as the materials are flexible.
Why is patience emphasized in the script, especially for beginners?
-Patience is emphasized because the process of shaping the dragon’s head and ensuring the details are precise requires careful attention and time. Beginners may find the process slow at first, but with practice, it becomes faster and more efficient.
Outlines

Dieser Bereich ist nur für Premium-Benutzer verfügbar. Bitte führen Sie ein Upgrade durch, um auf diesen Abschnitt zuzugreifen.
Upgrade durchführenMindmap

Dieser Bereich ist nur für Premium-Benutzer verfügbar. Bitte führen Sie ein Upgrade durch, um auf diesen Abschnitt zuzugreifen.
Upgrade durchführenKeywords

Dieser Bereich ist nur für Premium-Benutzer verfügbar. Bitte führen Sie ein Upgrade durch, um auf diesen Abschnitt zuzugreifen.
Upgrade durchführenHighlights

Dieser Bereich ist nur für Premium-Benutzer verfügbar. Bitte führen Sie ein Upgrade durch, um auf diesen Abschnitt zuzugreifen.
Upgrade durchführenTranscripts

Dieser Bereich ist nur für Premium-Benutzer verfügbar. Bitte führen Sie ein Upgrade durch, um auf diesen Abschnitt zuzugreifen.
Upgrade durchführenWeitere ähnliche Videos ansehen
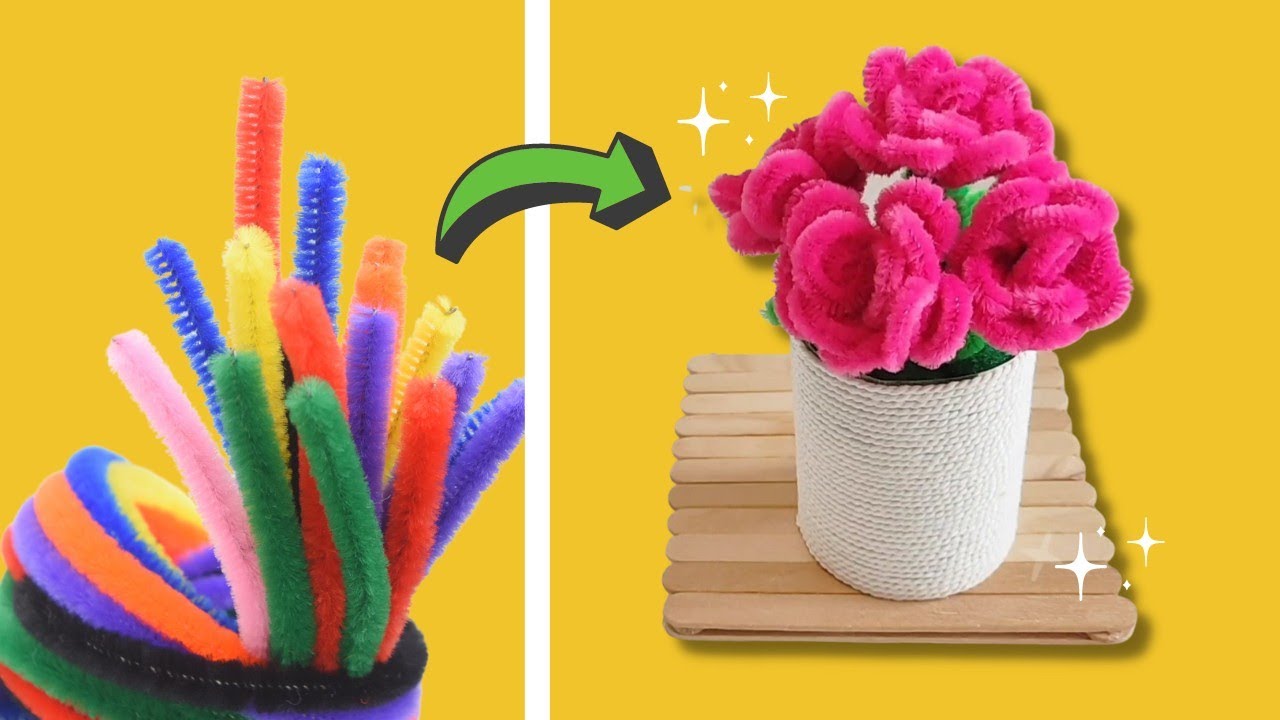
Kreasi MAWAR dari Kawat Bulu PIPE CLEANER 🌹 Pretty ROSE from PIPE CLEANER

Tracheostomy Care and Cleaning
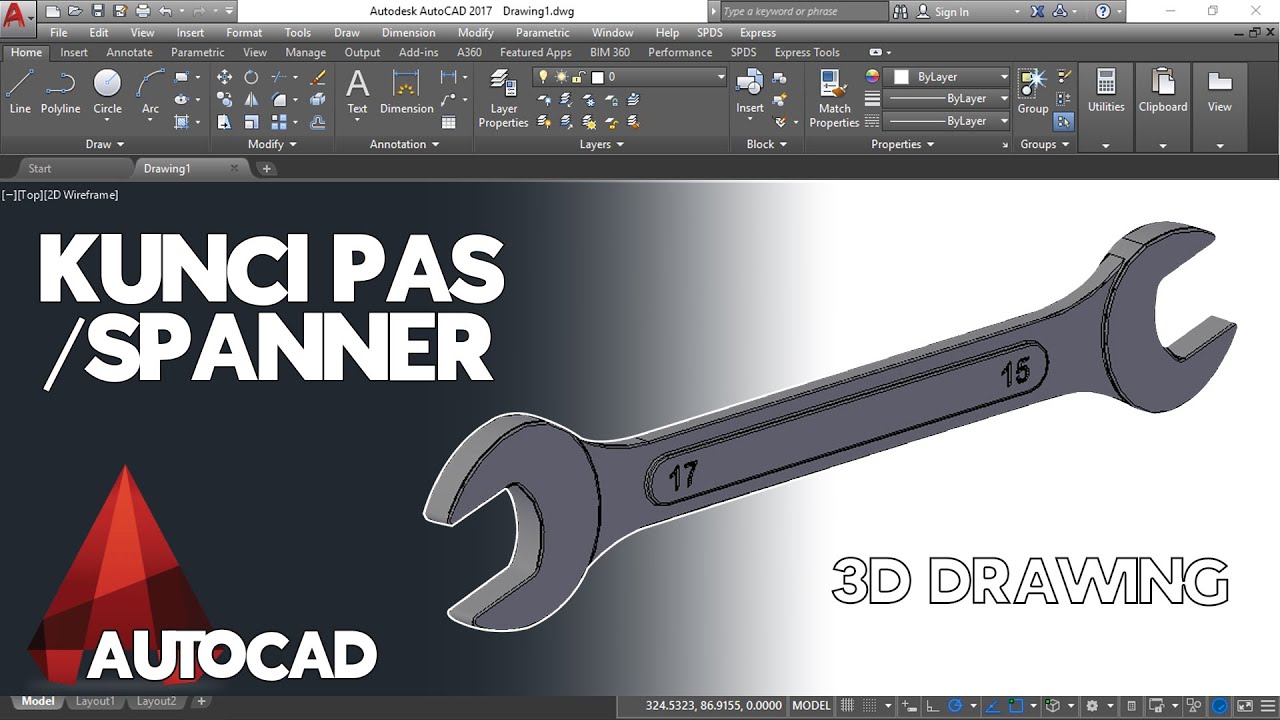
Cara Menggambar Kunci Pas / Spanner di AutoCAD

KALO MAU JADI TUKANG CUKUR HARUS TAU TEKNIK INI❗️full teknik pengguntingan❗️

Clase 9 inst t3we gas (parte 1)

Every Pipe Fitter Must Know This Pipe Fitting Techniques.
5.0 / 5 (0 votes)
