Raspberry Pi Pico Project - Thermometer & Clock ST7735 & DS3231
Summary
TLDRIn this tutorial, the creator demonstrates how to build a low-cost real-time clock and thermometer using a Raspberry Pi Pico, a DS3231 RTC module, and a color TFT display with CircuitPython. The project is easy to assemble, with step-by-step instructions for wiring the components and installing necessary libraries. The creator highlights the advantages of using CircuitPython, including faster development and easier debugging compared to Arduino, despite the slower execution speed. The tutorial also provides insights on setting up the time and temperature readings and offers resources for learning Python and CircuitPython.
Takeaways
- 😀 The project demonstrates how to build a low-cost real-time clock and thermometer using a Raspberry Pi Pico and CircuitPython.
- 😀 CircuitPython is a faster and more user-friendly alternative to Arduino for this type of project, enabling quicker development and testing.
- 😀 The project components include a Raspberry Pi Pico, DS3231 real-time clock module, 1.8-inch TFT display, breadboard, and wires, costing approximately $14.
- 😀 The DS3231 module provides both time and temperature readings, making it an essential part of the project.
- 😀 Wiring the components is straightforward: the RTC module connects to specific pins on the Raspberry Pi Pico, and the TFT display follows a separate wiring scheme.
- 😀 The code for the project is developed in CircuitPython, using libraries like adafruit_st7735r, adafruit_ds3231, and others for display and clock functionality.
- 😀 The setup process includes downloading necessary libraries, placing them in the appropriate folders on the CIRCUITPY drive, and setting up a font for display.
- 😀 The program requires initial time setting when first run, after which the time is stored and maintained by the RTC module's battery.
- 😀 The code is simple, with only 134 lines required to make the system function, highlighting Python's ease of use and speed of development.
- 😀 CircuitPython's interpreted nature allows for fast testing and debugging, making development more efficient compared to traditional compiled languages.
- 😀 Learning Python (and CircuitPython) is accessible even for beginners, and a course is available to help get started with Python programming.
Q & A
What is the primary goal of this video tutorial?
-The primary goal of this video is to guide viewers in building a low-cost real-time clock and thermometer using a Raspberry Pi Pico board, CircuitPython, and a color TFT display.
What are the key components required to build this project?
-The key components needed for this project include a Raspberry Pi Pico board (or an ESP32 S2 board), a DS3231 real-time clock module, a 1.8' color TFT display (ST7735), a small breadboard, and some wires.
Why is CircuitPython preferred over Arduino for this project?
-CircuitPython is preferred because it is an easier and faster development environment compared to Arduino. It allows for rapid development since code does not need to be compiled before running, and debugging is almost instant.
What does the DS3231 real-time clock module do?
-The DS3231 real-time clock module tracks the current time and date, and it also has a built-in temperature sensor that provides temperature readings.
How do you connect the DS3231 module to the Raspberry Pi Pico?
-To connect the DS3231 module to the Raspberry Pi Pico, you need to connect the Ground to the Pico’s Ground, Vcc to the Vbus pin (which outputs 5V), SDA to pin GP0, and SCL to analog pin GP01.
What software tools are used in this project?
-The software tools used in this project include Thonny as the development environment and CircuitPython as the programming language for the Raspberry Pi Pico.
What libraries are required for this project?
-The required libraries for this project include the adafruit_st7735r library (for the TFT display), adafruit_ds3231 library (for the real-time clock module), adafruit_display_text library, adafruit_register library, and adafruit_bitmap_font library.
How do you set the time on the DS3231 real-time clock module?
-To set the time on the DS3231 module, you need to uncomment specific lines in the code, enter the current date and time, and then run the program. Once the time is set, these lines should be commented back out, and the program can be run again.
What is the advantage of using CircuitPython over Arduino IDE in terms of development speed?
-The advantage of using CircuitPython is that it is an interpreted language, meaning there is no need for compilation before running the code. This results in faster testing, debugging, and overall development since changes can be tested immediately.
What should you do if you're not familiar with Python or CircuitPython?
-If you're not familiar with Python or CircuitPython, don't worry! The fundamentals of Python are easy to learn, and there is a detailed course available on the creator's second channel that teaches the basics in just a couple of hours.
Outlines

Dieser Bereich ist nur für Premium-Benutzer verfügbar. Bitte führen Sie ein Upgrade durch, um auf diesen Abschnitt zuzugreifen.
Upgrade durchführenMindmap

Dieser Bereich ist nur für Premium-Benutzer verfügbar. Bitte führen Sie ein Upgrade durch, um auf diesen Abschnitt zuzugreifen.
Upgrade durchführenKeywords

Dieser Bereich ist nur für Premium-Benutzer verfügbar. Bitte führen Sie ein Upgrade durch, um auf diesen Abschnitt zuzugreifen.
Upgrade durchführenHighlights

Dieser Bereich ist nur für Premium-Benutzer verfügbar. Bitte führen Sie ein Upgrade durch, um auf diesen Abschnitt zuzugreifen.
Upgrade durchführenTranscripts

Dieser Bereich ist nur für Premium-Benutzer verfügbar. Bitte führen Sie ein Upgrade durch, um auf diesen Abschnitt zuzugreifen.
Upgrade durchführenWeitere ähnliche Videos ansehen
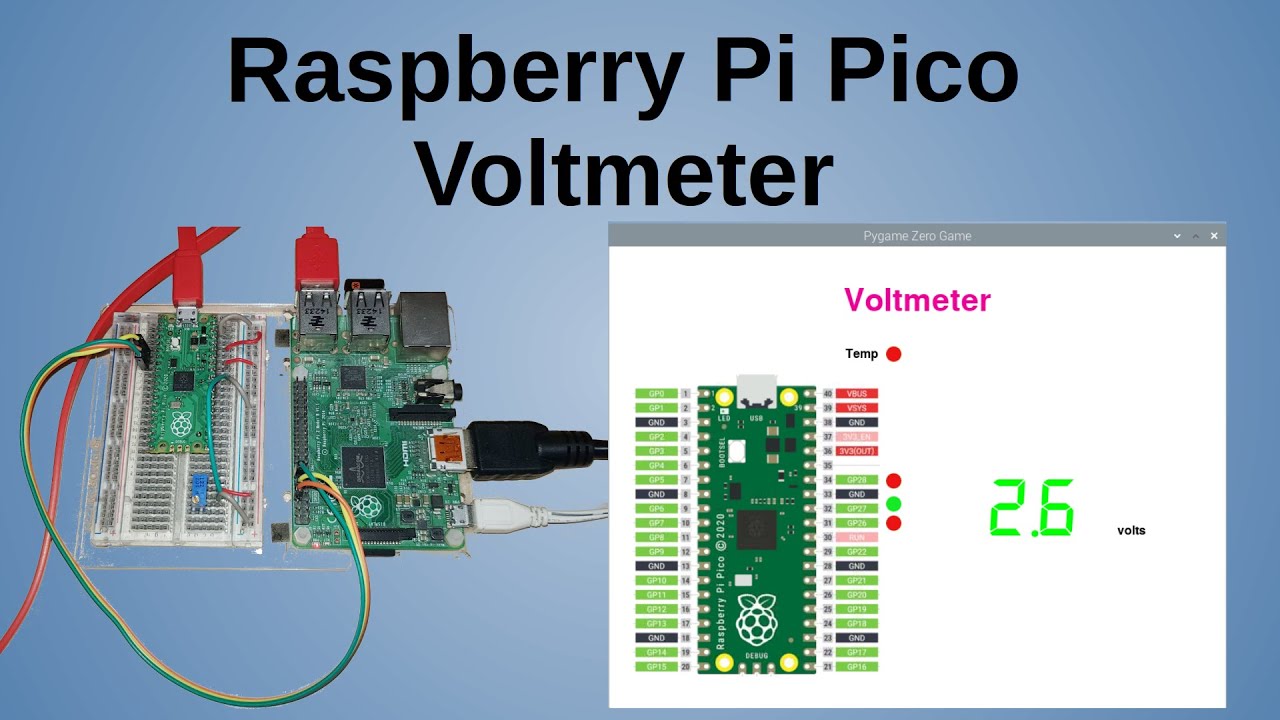
Raspberry Pi Pico Voltmeter - UART serial with the Pico and GUI application in C/C++ and MicroPython

Arduino Automated Coffee Maker Build
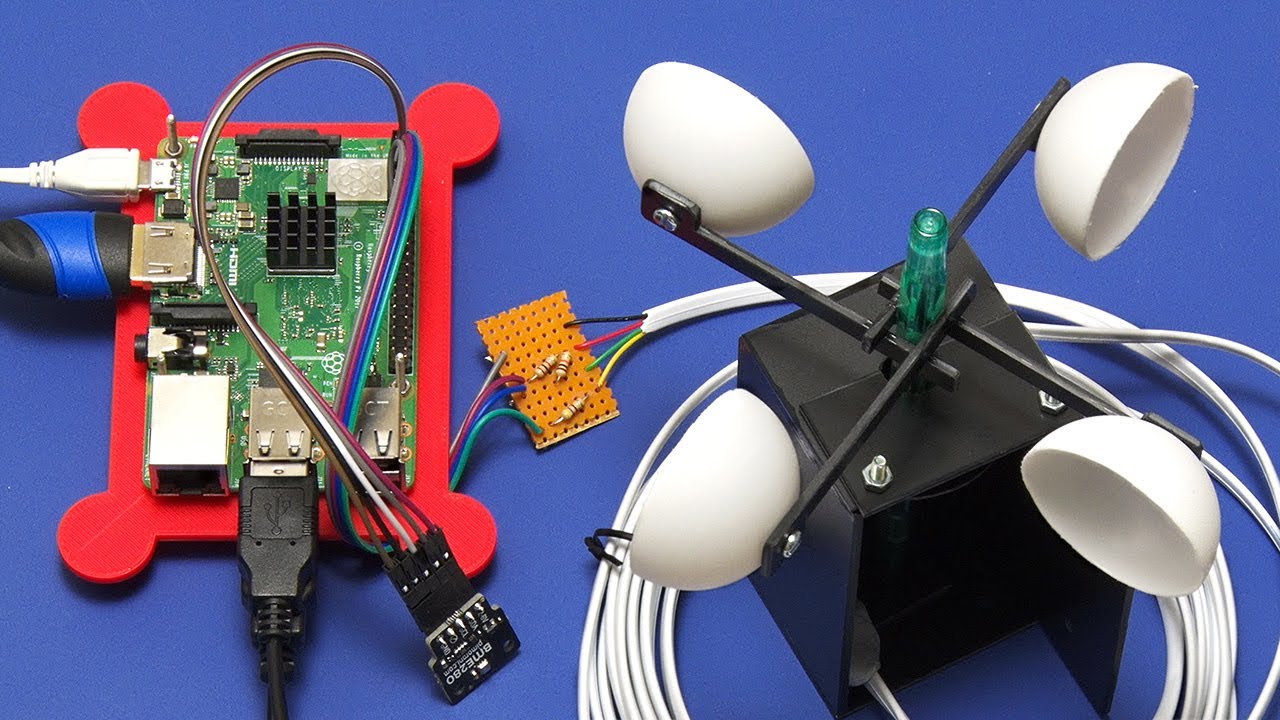
Raspberry Pi Anemometer: Measuring Wind Speed!
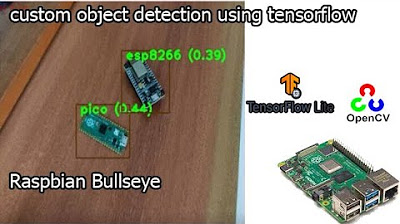
tensorflow custom object detection model | raspberry pi 4 tensorflow custom object detection

How To Install & Set Up Raspberry Pi OS - Pi4 Pi3 Pi2

Talk to Your Pico Over Serial | Raspberry Pi Pico UART Tutorial
5.0 / 5 (0 votes)
