Step by step Nail Art untuk Pemula | Langkah demi langkah nail art pemula | Belajar Nail Art
Summary
TLDRIn this step-by-step nail art tutorial, the presenter guides viewers through the process of shaping and preparing nails for a gel polish manicure. The video covers techniques like using a nail file, cuticle remover, and cuticle scissors, along with tips on buffing the nail surface. It then transitions into applying a base coat, followed by multiple layers of gel polish, including a marble design. Detailed instructions on drying, adding glitter, and finishing with a top coat ensure long-lasting, beautiful nails. This easy-to-follow guide promises a professional result for both beginners and experienced nail artists.
Takeaways
- 😀 Before starting nail art, shape your nails with a nail file to your preference (oval or square).
- 😀 Use cuticle remover between the nail edge and cuticle, then wait 10 seconds before gently rubbing with a cuticle pusher.
- 😀 When pushing the cuticle, keep the pusher angled downward to avoid injury and push slowly for easier cleaning.
- 😀 Cut cuticles carefully with special cuticle scissors, starting from the edge and working toward the middle, cutting slowly to avoid cutting the skin.
- 😀 Use a nail buffer to roughen the surface of your nails for gel polish application, beginning with the roughest part and applying gently to avoid damage.
- 😀 After buffing, smooth the nail surface with the smoothest part of the nail buffer to even out any uneven areas.
- 😀 Clean dust from the nails with a wet tissue after filing and buffing.
- 😀 Apply a thin coat of base coat and dry for 120 seconds; it should not be too thick or thin.
- 😀 Apply three layers of nail gel polish, with the first layer being thin and the second and third layers being thicker for better coverage.
- 😀 When reaching hard-to-reach corners, use a small brush for precise application of polish in these areas.
- 😀 To create marble nail art, mix colors (like gray and white) with a thin brush, and dry each layer for 60 seconds before applying the next layer. Add glitter to the marble design for extra flair, followed by a top coat for lasting results.
Q & A
Why is it important to shape your nails before starting a nail art design?
-Shaping your nails before starting ensures that the base is even, clean, and smooth, allowing for a more polished and professional nail art application.
What is the purpose of using a cuticle remover in the nail preparation process?
-A cuticle remover softens the cuticles, making it easier to push them back and clean the nail area without causing discomfort or injury.
How should you position the cuticle pusher to avoid hurting your skin?
-You should position the cuticle pusher at a slight angle, not too upright, to avoid putting excessive pressure on the skin and causing discomfort.
Why is it recommended to cut cuticles slowly and carefully?
-Cutting cuticles slowly helps prevent accidental cuts to the skin, ensuring safety for both the person performing the manicure and the client.
What role does the nail art buffer play in the preparation process?
-The nail art buffer roughens the surface of the nails, which helps gel polish adhere better and lasts longer.
What is the correct way to use a nail art buffer on the nails?
-Use the rougher side of the buffer first, being gentle and avoiding too much pressure, and then use the smoother side to even out any uneven surfaces.
How long should the base coat be dried before applying the gel polish?
-The base coat should be dried for 120 seconds to ensure it is fully set before proceeding with the gel polish.
Why is it important to apply the first layer of gel polish thinly?
-Applying the first layer of gel polish thinly ensures better curing and avoids thick layers that can cause bubbling or unevenness.
What is the purpose of using a small brush for the corners of the nails?
-A small brush helps apply gel polish more precisely in hard-to-reach corners of the nails, ensuring a clean and neat application.
Why is a top coat necessary after completing the nail art design?
-The top coat seals in the design, adds shine, and provides protection, ensuring the manicure lasts longer and the design stays intact.
Outlines

Dieser Bereich ist nur für Premium-Benutzer verfügbar. Bitte führen Sie ein Upgrade durch, um auf diesen Abschnitt zuzugreifen.
Upgrade durchführenMindmap

Dieser Bereich ist nur für Premium-Benutzer verfügbar. Bitte führen Sie ein Upgrade durch, um auf diesen Abschnitt zuzugreifen.
Upgrade durchführenKeywords

Dieser Bereich ist nur für Premium-Benutzer verfügbar. Bitte führen Sie ein Upgrade durch, um auf diesen Abschnitt zuzugreifen.
Upgrade durchführenHighlights

Dieser Bereich ist nur für Premium-Benutzer verfügbar. Bitte führen Sie ein Upgrade durch, um auf diesen Abschnitt zuzugreifen.
Upgrade durchführenTranscripts

Dieser Bereich ist nur für Premium-Benutzer verfügbar. Bitte führen Sie ein Upgrade durch, um auf diesen Abschnitt zuzugreifen.
Upgrade durchführenWeitere ähnliche Videos ansehen
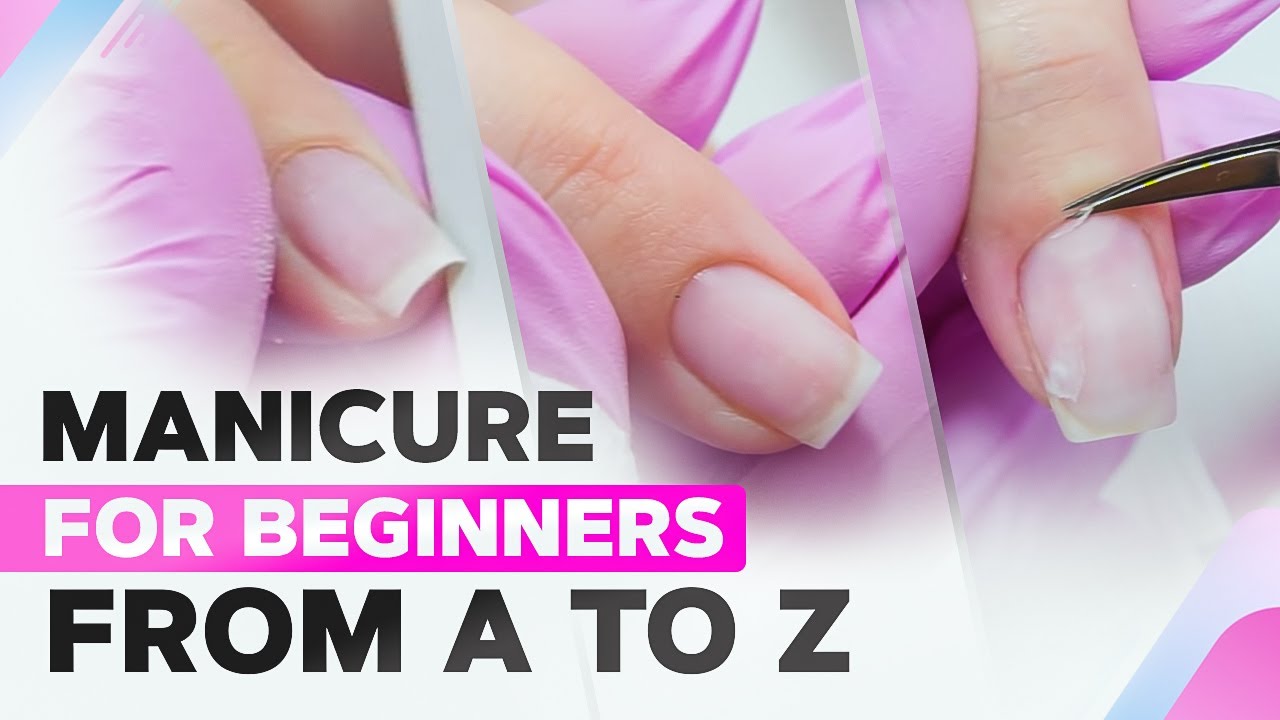
Manicure for Beginners from A to Z | Perfect Cuticle Cut with Any Tool | Classic Manicure

Prosedur langkah menicure salon kecantikan | tutorial manicure perawatan tangan SMK kecantikan
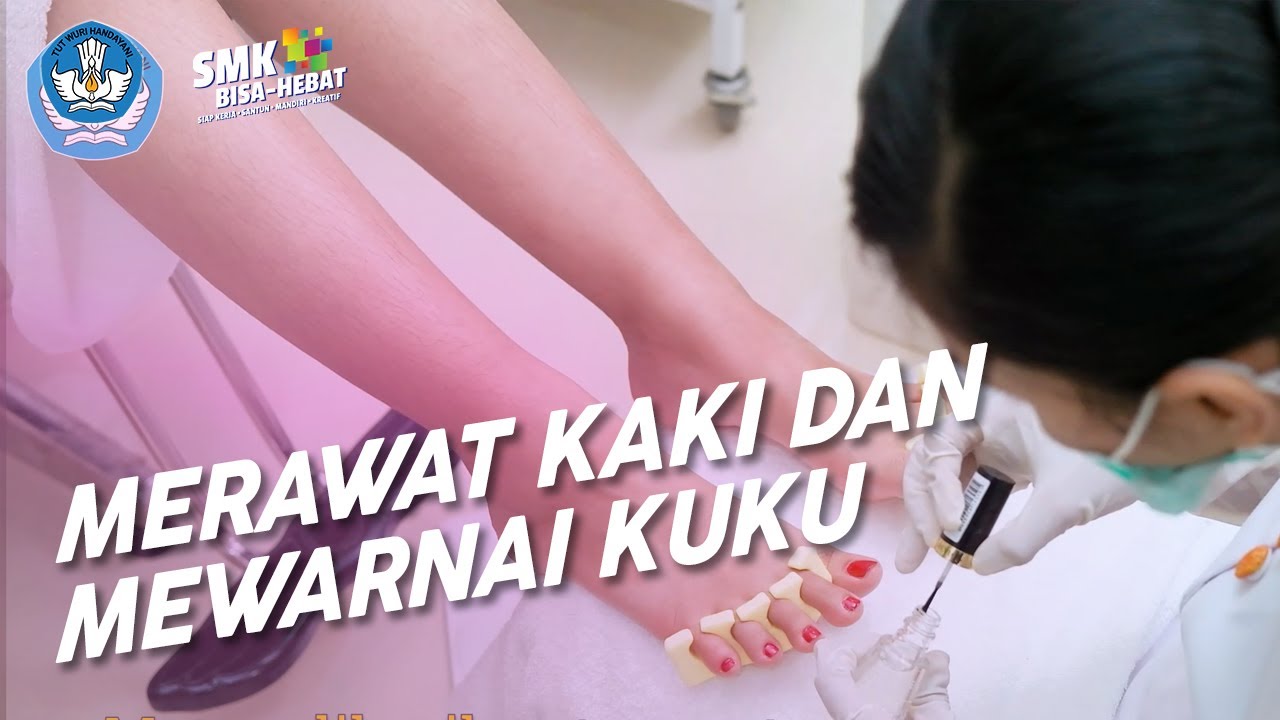
Merawat Kaki dan Mewarnai Kuku - Tata Kecantikan

Is it any good? Manicurist Green Flash Gel Polish Starter Kit Review

Principles of Gel Electrophoresis

Dipping Powder Entferner Anleitung | DOONAILS
5.0 / 5 (0 votes)
