MENYALAKAN LED LEWAT WIFI | ESP8266 | IOT | MENYALAKAN LAMPU LEWAT INTERNET
Summary
TLDRThis video tutorial demonstrates how to control an LED via WiFi using the ESP8266 module. It covers the necessary components, including the ESP8266 board, LED, jumper wires, a project board, and a WiFi hotspot. The tutorial walks through the process of coding, configuring the ESP8266 board, and wiring the components. Viewers learn to upload the code, connect to a WiFi hotspot, and control the LED's on/off status using a web interface. The tutorial encourages further development, such as adding more LEDs or expanding functionality.
Takeaways
- 😀 The tutorial explains how to control an LED using the ESP8266 Wi-Fi module.
- 😀 You will need several components: ESP8266 module (e.g., Wemos D1 Mini), LED, jumper wires, breadboard, Wi-Fi hotspot, and a laptop for coding.
- 😀 The project is based on the Internet of Things (IoT), requiring a Wi-Fi connection for the device to function.
- 😀 The script provides step-by-step instructions on connecting the ESP8266 module to the Wi-Fi network using SSID and password settings.
- 😀 You can use the Arduino IDE to program the ESP8266 by installing the necessary board (ESP8266).
- 😀 The tutorial shows how to wire the components, with the LED connected to the D1 pin on the ESP8266 module.
- 😀 After coding, the user is guided to upload the code to the ESP8266 and check for proper connection to the Wi-Fi hotspot.
- 😀 Once the device is connected, the LED status can be controlled via a browser by accessing a specific IP address.
- 😀 The web page allows toggling the LED on and off by clicking buttons, with the status reflected on the page.
- 😀 Some troubleshooting tips are mentioned, such as ensuring correct settings for SSID, password, and pin configuration.
- 😀 The tutorial encourages further development, such as adding more LEDs or additional features like controlling up to 8 LEDs from the same page.
Q & A
What is the purpose of the video tutorial?
-The video tutorial demonstrates how to control an LED through WiFi using an ESP8266 module.
What components are needed for the project?
-The components required are an ESP8266 module (like Wemos D1 Mini), an LED, jumper wires, a project board, a WiFi hotspot, and a laptop or PC for coding.
Can other ESP8266 modules be used instead of Wemos D1 Mini?
-Yes, other ESP8266 modules like NodeMCU can be used as long as they are compatible with the WiFi and pin configurations.
How do you set up the WiFi for the project?
-You need to input the SSID and password of your WiFi hotspot into the code to allow the ESP8266 to connect to it.
What is the importance of the 'PinLabs' configuration in the code?
-The 'PinLabs' configuration sets the pin number on the ESP8266 that will control the LED. For Wemos D1 Mini, the pin number is set to 5.
What is the process of uploading the code to the ESP8266?
-After downloading the code, you need to install the ESP8266 board on the Arduino IDE, select the correct board and port, and then upload the code to the ESP8266.
What should you check before uploading the code?
-Ensure that the SSID, password, and pin number are correctly configured in the code, and verify the correct board and port are selected in the Arduino IDE.
What happens once the code is uploaded to the ESP8266?
-Once uploaded, the ESP8266 connects to the WiFi hotspot, and a web server is started, allowing you to control the LED from a browser.
How do you access the control page for the LED?
-You can access the control page by entering the IP address (e.g., 192.168.11.50) into a web browser.
What issue did the creator encounter during the demonstration?
-The creator experienced occasional issues with the LED not turning on immediately, likely due to delays or network connectivity issues.
Outlines

Dieser Bereich ist nur für Premium-Benutzer verfügbar. Bitte führen Sie ein Upgrade durch, um auf diesen Abschnitt zuzugreifen.
Upgrade durchführenMindmap

Dieser Bereich ist nur für Premium-Benutzer verfügbar. Bitte führen Sie ein Upgrade durch, um auf diesen Abschnitt zuzugreifen.
Upgrade durchführenKeywords

Dieser Bereich ist nur für Premium-Benutzer verfügbar. Bitte führen Sie ein Upgrade durch, um auf diesen Abschnitt zuzugreifen.
Upgrade durchführenHighlights

Dieser Bereich ist nur für Premium-Benutzer verfügbar. Bitte führen Sie ein Upgrade durch, um auf diesen Abschnitt zuzugreifen.
Upgrade durchführenTranscripts

Dieser Bereich ist nur für Premium-Benutzer verfügbar. Bitte führen Sie ein Upgrade durch, um auf diesen Abschnitt zuzugreifen.
Upgrade durchführenWeitere ähnliche Videos ansehen
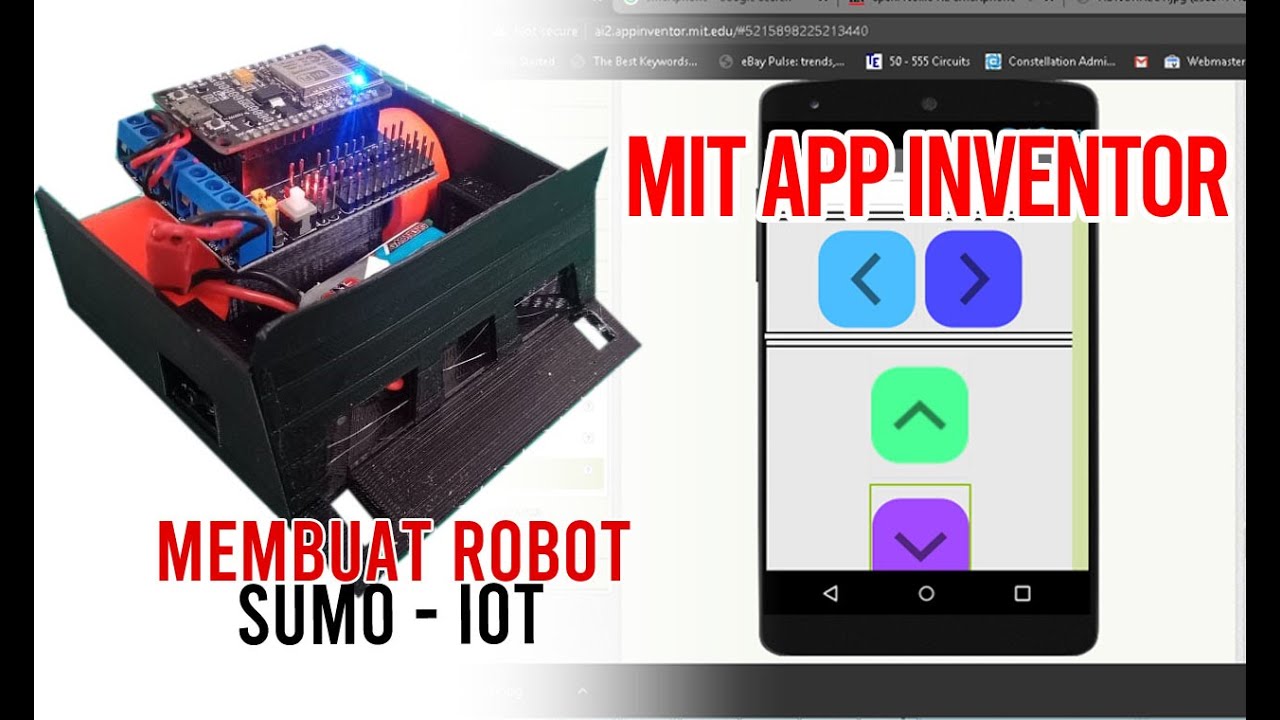
Membuat Robot SUMO IOT ESP8266 dan Aplikasi Android

Project IoT (Internet of Things) | Menyalakan Lampu Lewat Telegram
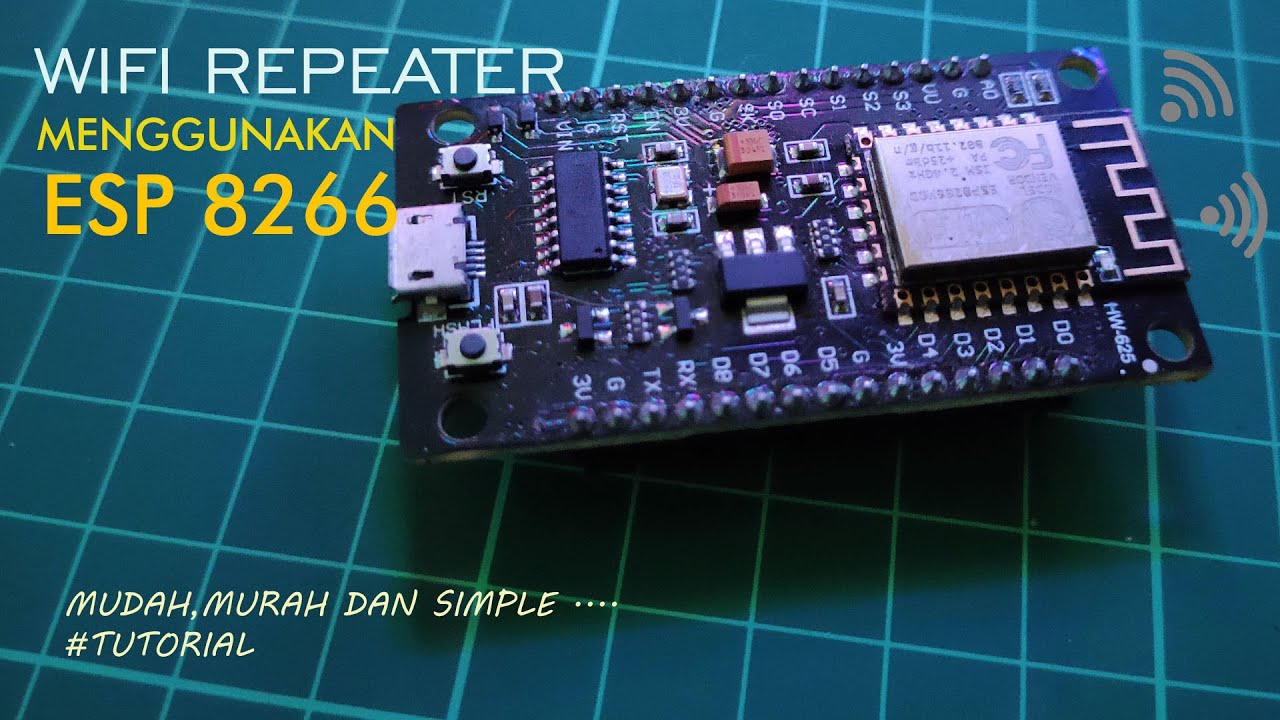
NODE MCU ESP 8266 SEBAGAI WI-FI REPEATER.

5$ Arduino WiFi Module!? ESP8266 mini Tutorial/Review

Setting Wifi smart switch Merk Sonoff 4CH Rev2 || Saklar Jarak Jauh

ESP8266 RFID Attendance System with Google Sheets
5.0 / 5 (0 votes)
