Unity Android Integration: The Complete Guide
Summary
TLDRThis tutorial demonstrates how to integrate a Unity app into an Android project, enabling communication between both platforms. It covers creating a Unity app with a simple UI to generate and display random data, exporting the Unity app as a module, and setting up Android Studio to incorporate this Unity module. The tutorial also guides the implementation of methods for exchanging data between Unity and Android. The final steps show how the Unity app opens from Android, sends and receives data, and updates the Android UI accordingly, providing a seamless integration process between the two environments.
Takeaways
- 😀 The tutorial explains how to export a Unity application and integrate it as a module inside an Android Studio project.
- 😀 A simple UI is created within Unity, featuring a background, data display field, random number generation button, and another button to open the Android app from Unity.
- 😀 A 'mediator' script is created in Unity to handle data exchange between Unity and Android Studio.
- 😀 The Android app opens first, with Unity being triggered through a button press within the app. Unity then processes and sends data back to Android.
- 😀 The Unity app is used to generate random numbers and send the results to the Android app, where the data is displayed.
- 😀 The integration process involves configuring settings in both Unity and Android Studio, including editing Android manifest files and adding dependencies.
- 😀 Unity is exported with minimal settings, with particular attention to setting the minimum API version for compatibility.
- 😀 In Android Studio, the Unity library is added by declaring it in the settings.gradle and build.gradle files.
- 😀 There is a step-by-step approach to solving integration errors that may arise during the process, such as modifying the gradle.properties file and overriding the Unity manifest.
- 😀 The tutorial also covers how to set up a UI in Android Studio to launch the Unity activity and receive data from it.
- 😀 The process of sending data between Unity and Android is explained in detail, with methods for receiving and sending data to the Android app through Unity, as well as managing the Unity activity lifecycle.
Q & A
What is the main objective of this tutorial?
-The main objective of this tutorial is to guide the user through the process of exporting a Unity application and integrating it as a module inside an Android Studio project, with a focus on sharing data between the two platforms.
What components are included in the Unity app for this tutorial?
-The Unity app in this tutorial includes a UI with a background, a field to display data, a button to generate a random number, and a button to open the Android app. Additionally, a 'Mediator' script is created to handle the interaction between Unity and Android.
How does data sharing between Unity and Android occur?
-Data is shared between Unity and Android through two methods: `getData()` to fetch data from Unity and `setData()` to send data back to Android. These methods allow both apps to exchange information dynamically.
What is the role of the 'Mediator' script in Unity?
-The 'Mediator' script in Unity acts as the controller for managing data exchange. It holds references to the UI components and communicates with the Android app by calling the necessary methods to either send or receive data.
What are the first three steps that happen on the Android side?
-The first three steps on the Android side are: 1) The Android app opens. 2) The user clicks a button to open the Unity instance. 3) The button launches the Unity app.
What settings should be configured when exporting the Unity app?
-When exporting the Unity app, settings to configure include the company name, product name, and the minimum API version (which should be set to 7.0, Nougat). These settings help ensure compatibility with Android.
How do you integrate the Unity app into Android Studio?
-To integrate the Unity app into Android Studio, you need to declare the Unity library in `settings.gradle`, update the `build.gradle` file with the appropriate lines, and copy the Unity Library folder into the Android Studio project. Additional configurations are required for the Unity Manifest and `gradle.properties` files.
What is the purpose of modifying the `AndroidManifest.xml` for the Unity app?
-Modifying the `AndroidManifest.xml` for the Unity app is necessary to avoid conflicts during the build process. The tutorial suggests overriding the Unity-generated manifest with a custom version to ensure smooth integration.
What is the expected behavior when launching the Unity app from Android?
-When the Unity app is launched from Android, the user interacts with the Unity UI, performs actions, and sends data back to Android. The data sent from Unity is then displayed in the Android app, completing the data exchange process.
How is data displayed in the Android app after receiving it from Unity?
-After receiving data from Unity, the Android app displays the data in a text field within the UI. This is done by fetching the data and updating the UI accordingly in the main activity.
Outlines

Dieser Bereich ist nur für Premium-Benutzer verfügbar. Bitte führen Sie ein Upgrade durch, um auf diesen Abschnitt zuzugreifen.
Upgrade durchführenMindmap

Dieser Bereich ist nur für Premium-Benutzer verfügbar. Bitte führen Sie ein Upgrade durch, um auf diesen Abschnitt zuzugreifen.
Upgrade durchführenKeywords

Dieser Bereich ist nur für Premium-Benutzer verfügbar. Bitte führen Sie ein Upgrade durch, um auf diesen Abschnitt zuzugreifen.
Upgrade durchführenHighlights

Dieser Bereich ist nur für Premium-Benutzer verfügbar. Bitte führen Sie ein Upgrade durch, um auf diesen Abschnitt zuzugreifen.
Upgrade durchführenTranscripts

Dieser Bereich ist nur für Premium-Benutzer verfügbar. Bitte führen Sie ein Upgrade durch, um auf diesen Abschnitt zuzugreifen.
Upgrade durchführenWeitere ähnliche Videos ansehen

Image Classification App | Teachable Machine + TensorFlow Lite
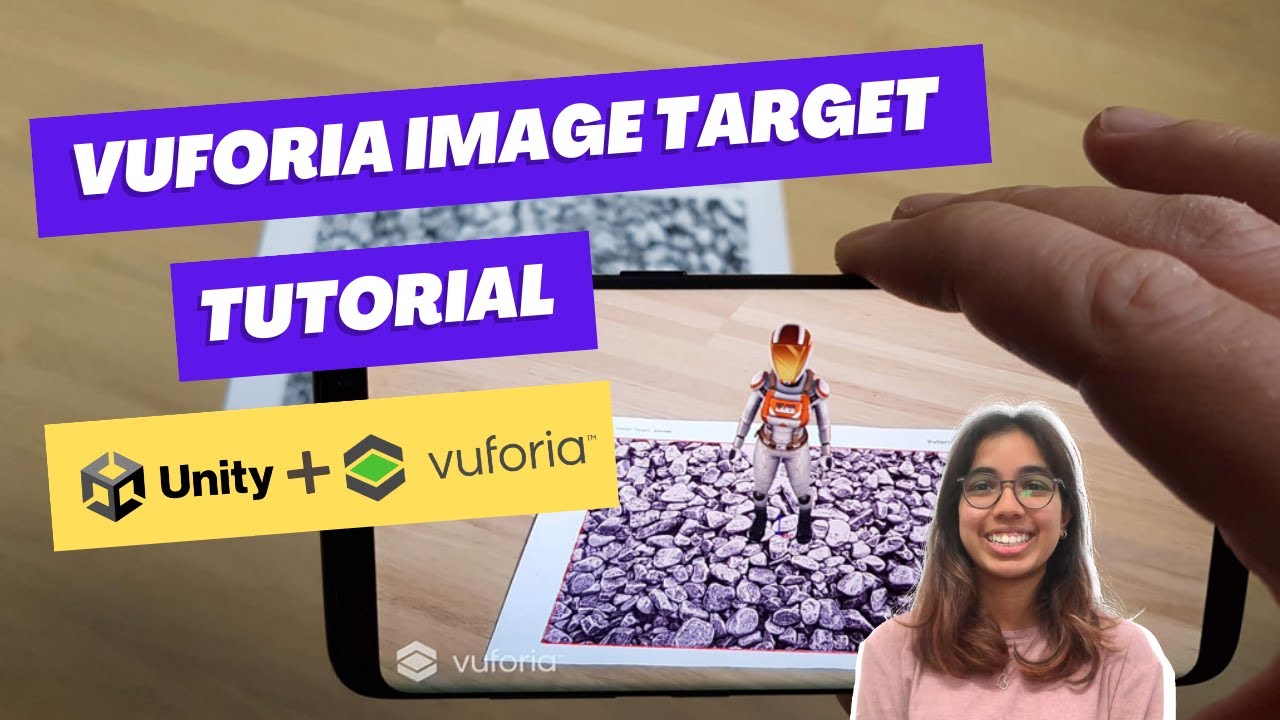
Vuforia Unity Tutorial - Image Targets #2
Flutter 1: Tạo khung sườn project và lớp model
React Native Image Crop Picker: Add Images from Camera & Gallery | React Native Tutorial 2025

Run Apps di Emulator | Tutorial Flutter 5

SIMULASI KONEKTIVITAS ANTARA MOSQUITTO DENGAN MQTT DASH
5.0 / 5 (0 votes)
