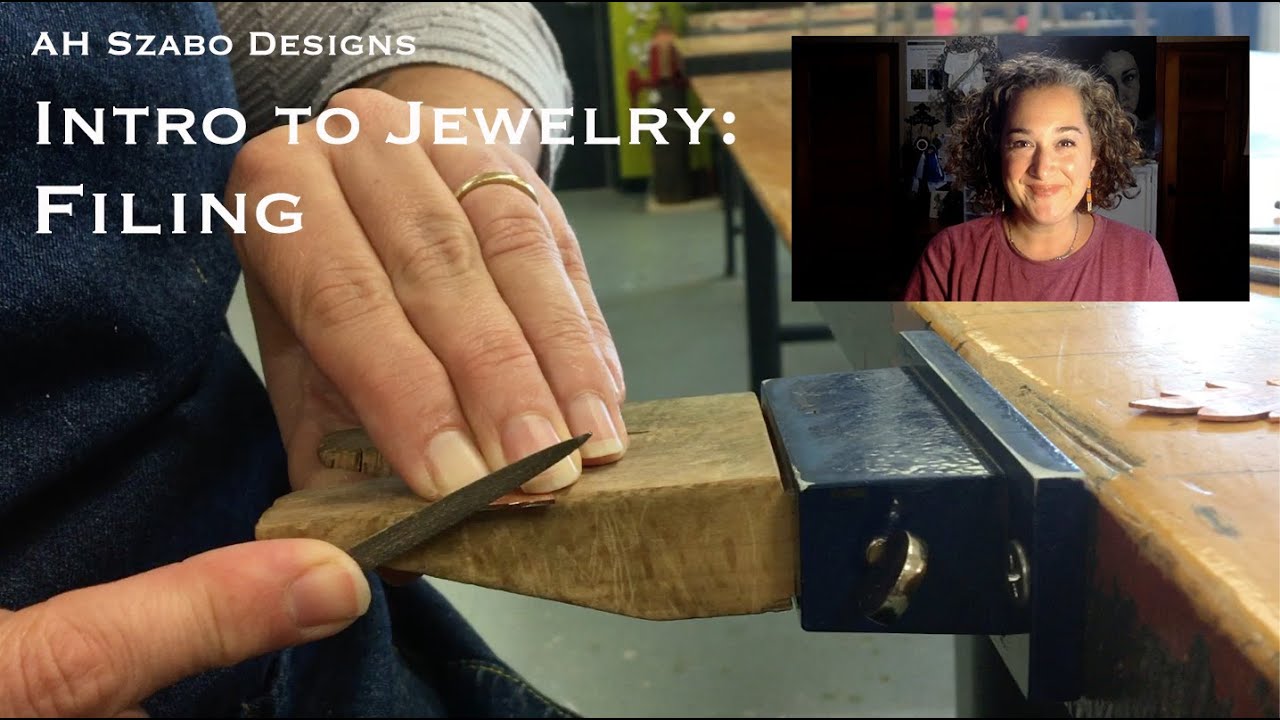
Intro to Jewelry: Sanding
Summary
TLDRThis video covers step six of the basic metalsmithing process: sanding. The instructor explains how to make and use a sanding stick to smooth metal edges and surfaces. Safety measures, such as wearing goggles and a mask, are suggested to avoid dust exposure. The sanding process involves using three grits of sandpaper (320, 400, 600), each removing marks left by the previous one. The technique emphasizes sanding in one direction, applying pressure, and preparing the metal for the next steps like buffing, texturing, or applying patina. Patience and thoroughness are key to achieving a professional finish.
Takeaways
- 🔧 Step 6 in metalworking is sanding after cutting and filing for smooth edges.
- 🪚 Use a sanding stick for flat sheet metal, effective for beginner metalworking projects.
- 🦺 Safety tips include wearing goggles and a dust mask if needed, and washing hands afterward to avoid metal debris ingestion.
- 🪵 A sanding stick can be made with a piece of wood and sandpaper, wrapped and secured with tape.
- 📏 Important sandpaper grits for this process: 320 (for dirt and scratch removal), 400 (to remove 320 grit marks), and 600 (for final smoothing before buffing).
- 🔄 Sand in one direction with each grit and switch directions with each grit to see progress more clearly.
- 🛠️ Edges should also be sanded to ensure comfort in wearing, with pointy edges slightly rounded off.
- 🪞 Buffing comes after sanding, and thorough sanding is key to efficient buffing, as it prevents visible scratches.
- ⌛ The finer 600 grit takes more time, but thorough sanding here reduces buffing time and gives a professional finish.
- 💡 For soldered or shaped pieces, additional techniques will be needed beyond the flat sanding technique.
Q & A
What is the purpose of a sanding stick in metalworking?
-A sanding stick is used to sand flat sheet metal, allowing for precise control when smoothing surfaces. It helps remove scratches, dirt, and grime from metal, preparing it for further finishing steps like buffing or applying texture.
Why is it important to use sandpaper in stages (320, 400, 600 grit) during sanding?
-Using different grits in stages ensures that each layer of scratches or imperfections is progressively removed. The 320 grit removes dirt and scratches, the 400 grit removes the marks from the 320, and the 600 grit prepares the surface for buffing by removing marks from the 400 grit.
How do you make a sanding stick?
-To make a sanding stick, take a piece of sandpaper and tape it tightly around a piece of wood, ensuring that the sandpaper aligns with the edges. Score the paper along the sides with a file to fold it neatly around the stick, then tape it in place. Label the stick with the appropriate grit.
Why is it important to label sanding sticks with the correct grit number?
-Labeling the sanding sticks with the correct grit number helps you keep track of which sandpaper you are using. If you use the wrong grit, you may have to redo parts of the sanding process, leading to confusion and additional work.
What safety precautions should be taken during sanding?
-Safety precautions include wearing goggles to protect your eyes from dust, wearing a dust mask if dust bothers you, and washing your hands afterward to avoid ingesting metal particles or debris from the sandpaper.
What is the proper sanding technique for flat sheet metal?
-To sand flat sheet metal, hold the metal tightly on a bench hook and use a sanding stick. Sand in one direction with firm pressure, and switch to the opposite direction when changing grits to help ensure that all scratches from the previous grit are removed.
Why is pressure important during sanding?
-Pressure is important because the harder you push, the faster the sanding process goes. Insufficient pressure can prolong the sanding process and make it harder to remove scratches and imperfections from the metal surface.
How can you tell when you're done sanding with a particular grit?
-You can tell you're done with a particular grit when all the scratches from the previous grit have been removed and you see uniform marks in one direction. Any remaining scratches will become visible in different lighting or by moving the metal to check the surface.
What happens if you don't fully sand out scratches before buffing?
-If you don’t fully sand out scratches before buffing, the remaining scratches will become visible during the buffing process. Buffing cannot remove scratches, so they must be sanded out beforehand to achieve a smooth, polished finish.
Why is 600 grit sandpaper particularly important?
-600 grit sandpaper is particularly important because it is the final stage before buffing. It ensures that all finer scratches from the 400 grit are removed and the surface is smooth enough for an even and efficient buffing process.
Outlines

Dieser Bereich ist nur für Premium-Benutzer verfügbar. Bitte führen Sie ein Upgrade durch, um auf diesen Abschnitt zuzugreifen.
Upgrade durchführenMindmap

Dieser Bereich ist nur für Premium-Benutzer verfügbar. Bitte führen Sie ein Upgrade durch, um auf diesen Abschnitt zuzugreifen.
Upgrade durchführenKeywords

Dieser Bereich ist nur für Premium-Benutzer verfügbar. Bitte führen Sie ein Upgrade durch, um auf diesen Abschnitt zuzugreifen.
Upgrade durchführenHighlights

Dieser Bereich ist nur für Premium-Benutzer verfügbar. Bitte führen Sie ein Upgrade durch, um auf diesen Abschnitt zuzugreifen.
Upgrade durchführenTranscripts

Dieser Bereich ist nur für Premium-Benutzer verfügbar. Bitte führen Sie ein Upgrade durch, um auf diesen Abschnitt zuzugreifen.
Upgrade durchführen5.0 / 5 (0 votes)


