3D High Poly - Blender
Summary
TLDRThis tutorial walks viewers through creating a 'Habibie move' with a cylinder object in a 3D modeling software. It covers adding a cylinder, adjusting its properties, and using modifiers to manipulate its shape. The process includes extruding, using X-ray view for better visibility, and mirroring features. The tutorial also shows how to add details like handles and improve the object's appearance for a more natural look by refining edges and vertices.
Takeaways
- 🔧 The tutorial demonstrates how to create the 'Habibie move' using a cylinder object.
- 🗑️ The tutorial starts by deleting an existing object and adding a new cylinder using the keyboard shortcut 'Shift'.
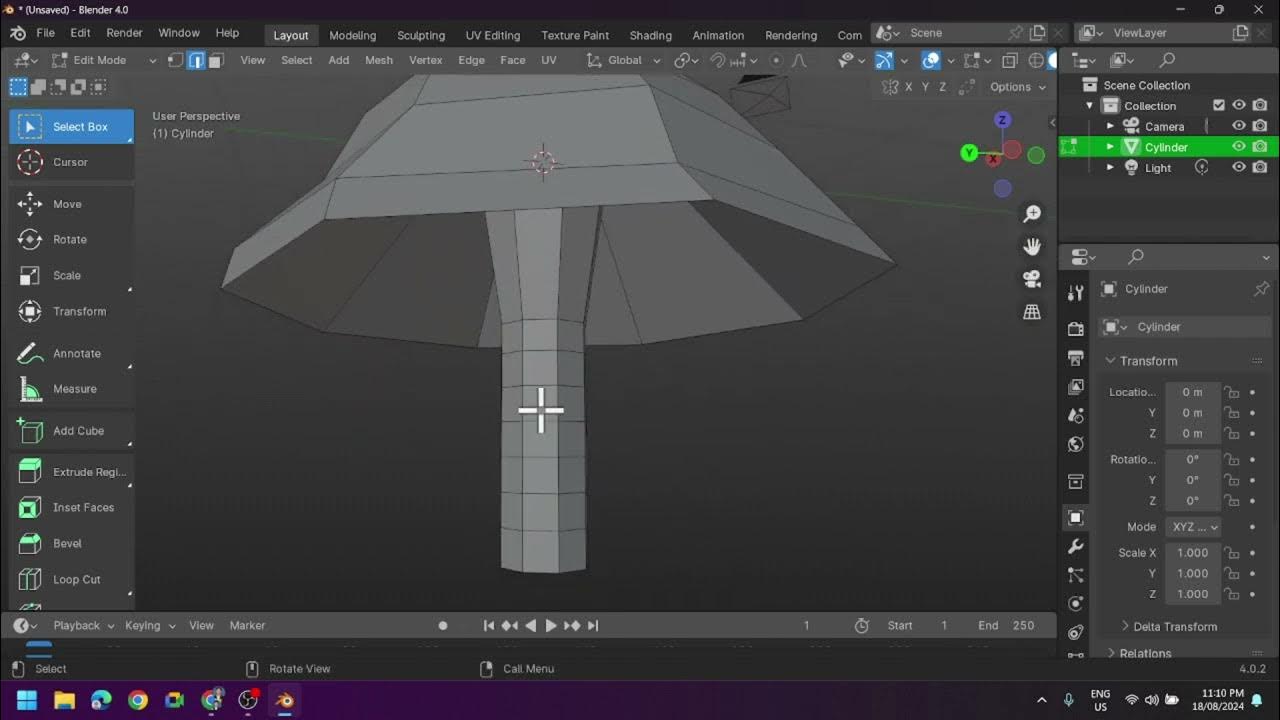
- 🔺 The speaker uses 15 polygons for the cylinder and edits the top and bottom of the cylinder in edit mode.
- 🛠️ Extruding the cylinder is done by pressing 'E', and thickness adjustments are made using a manual method instead of modifiers.
- 🔍 The x-ray view feature is used to better visualize the inner parts of the object during editing.
- ✂️ The tutorial includes a process of cutting the object and using the mirror feature to create symmetrical parts.
- 🔄 The handle of the cup is created by selecting the sides and extruding, followed by rotating along the Y-axis.
- 🖱️ Polygon subdivision is applied to smooth the 3D object, increasing the level of detail.
- 🎨 The object is edited to look more natural, adjusting its appearance and refining the handle.
- 🕳️ The 'knife' tool is introduced to create holes or cuts in the object, with examples shown on a multi-layered surface.
Q & A
What is the main purpose of this tutorial?
-The tutorial aims to teach how to create and modify a 3D object in the shape of a cup using tools such as cylinders, polygons, and mirror functions.
What object is used as the base shape for creating the cup?
-A cylinder object is used as the base shape for creating the cup.
How is the top and bottom of the cylinder removed?
-The top and bottom of the cylinder are removed by selecting and deleting the upper and lower faces while in edit mode.
What is the purpose of using the extrude function in this process?
-The extrude function is used to add thickness to the walls of the cup and to modify the shape of the object.
How can the thickness of the cup be manually adjusted?
-The thickness of the cup can be adjusted by selecting the outer face and scaling it using the extrusion tool and adjusting the size manually.
What tool is used to ensure that the cup’s sides are aligned symmetrically?
-The mirror modifier is used to align the sides of the cup symmetrically.
How can polygons be added to the 3D object to smooth the model?
-Polygons can be increased using the subdivision surface modifier, which makes the object smoother and more detailed.
What method is used to make the handle of the cup?
-The handle is created by selecting a part of the object, extruding it, and then rotating it along the Y-axis to form the handle shape.
How can the sharp edges of the object be smoothed out?
-Sharp edges can be smoothed by selecting the object and applying a 'shade smooth' option from the object menu.
What feature allows for cutting or creating holes in the object?
-The 'knife' tool allows the user to cut or create holes in the 3D object by selecting parts of the surface and using the knife tool to make precise cuts.
Outlines

Dieser Bereich ist nur für Premium-Benutzer verfügbar. Bitte führen Sie ein Upgrade durch, um auf diesen Abschnitt zuzugreifen.
Upgrade durchführenMindmap

Dieser Bereich ist nur für Premium-Benutzer verfügbar. Bitte führen Sie ein Upgrade durch, um auf diesen Abschnitt zuzugreifen.
Upgrade durchführenKeywords

Dieser Bereich ist nur für Premium-Benutzer verfügbar. Bitte führen Sie ein Upgrade durch, um auf diesen Abschnitt zuzugreifen.
Upgrade durchführenHighlights

Dieser Bereich ist nur für Premium-Benutzer verfügbar. Bitte führen Sie ein Upgrade durch, um auf diesen Abschnitt zuzugreifen.
Upgrade durchführenTranscripts

Dieser Bereich ist nur für Premium-Benutzer verfügbar. Bitte führen Sie ein Upgrade durch, um auf diesen Abschnitt zuzugreifen.
Upgrade durchführenWeitere ähnliche Videos ansehen

Modeling Your First 3D Object: Creating a Low Poly Tree
Creating a Low Poly Mushroom and Applying Different Shading in Blender
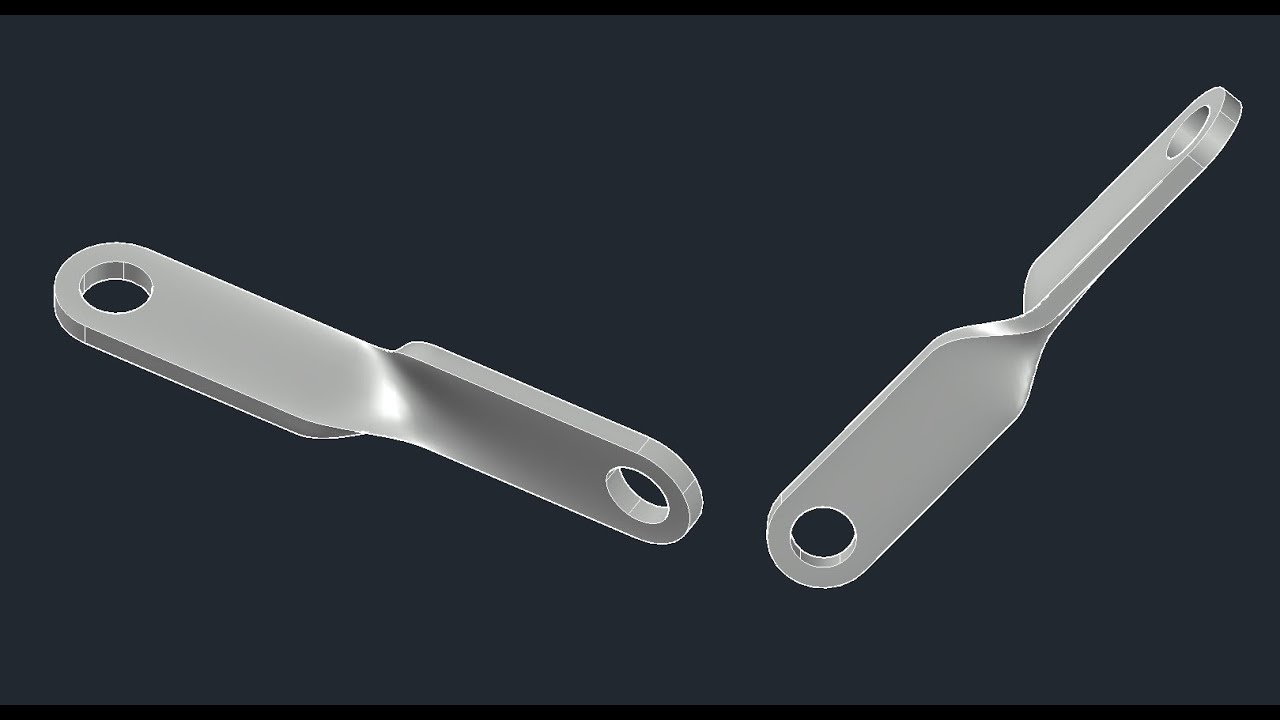
3D bracket with Solid and Surface tools of AutoCAD

Modeling a Fridge - Maya Tutorial
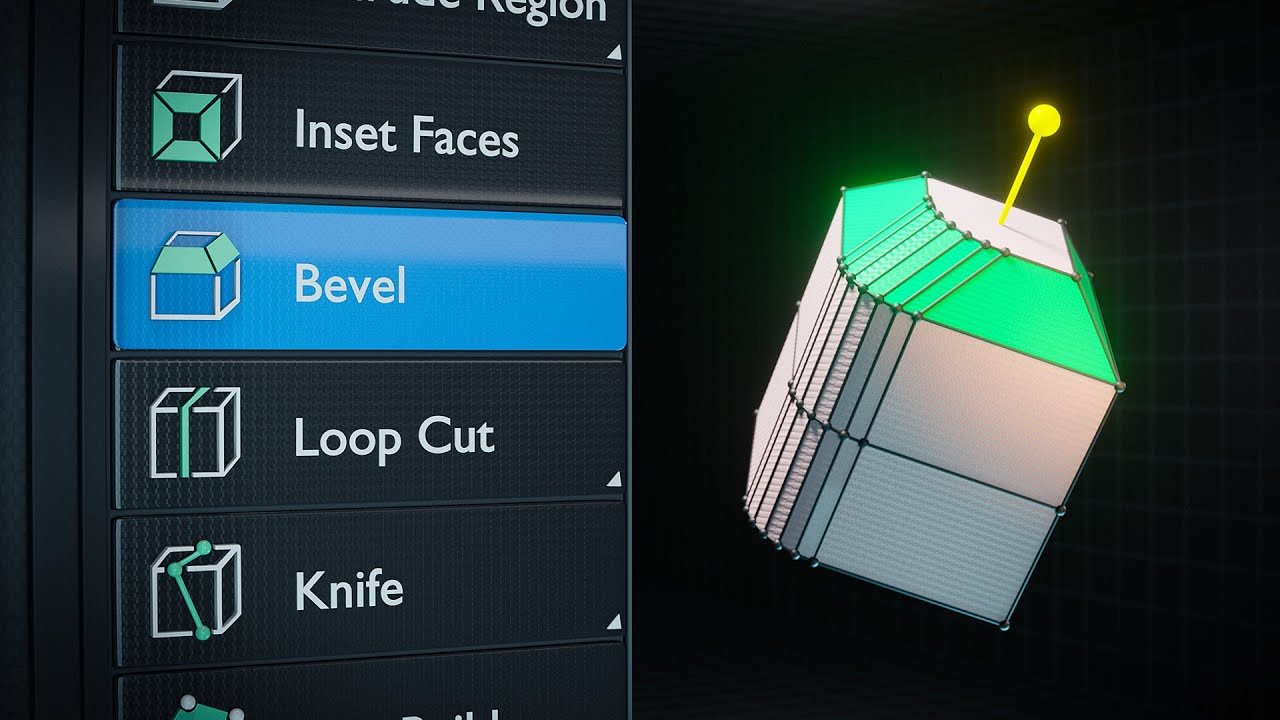
BLENDER BASICS 14 - Bevel and Edge Loops
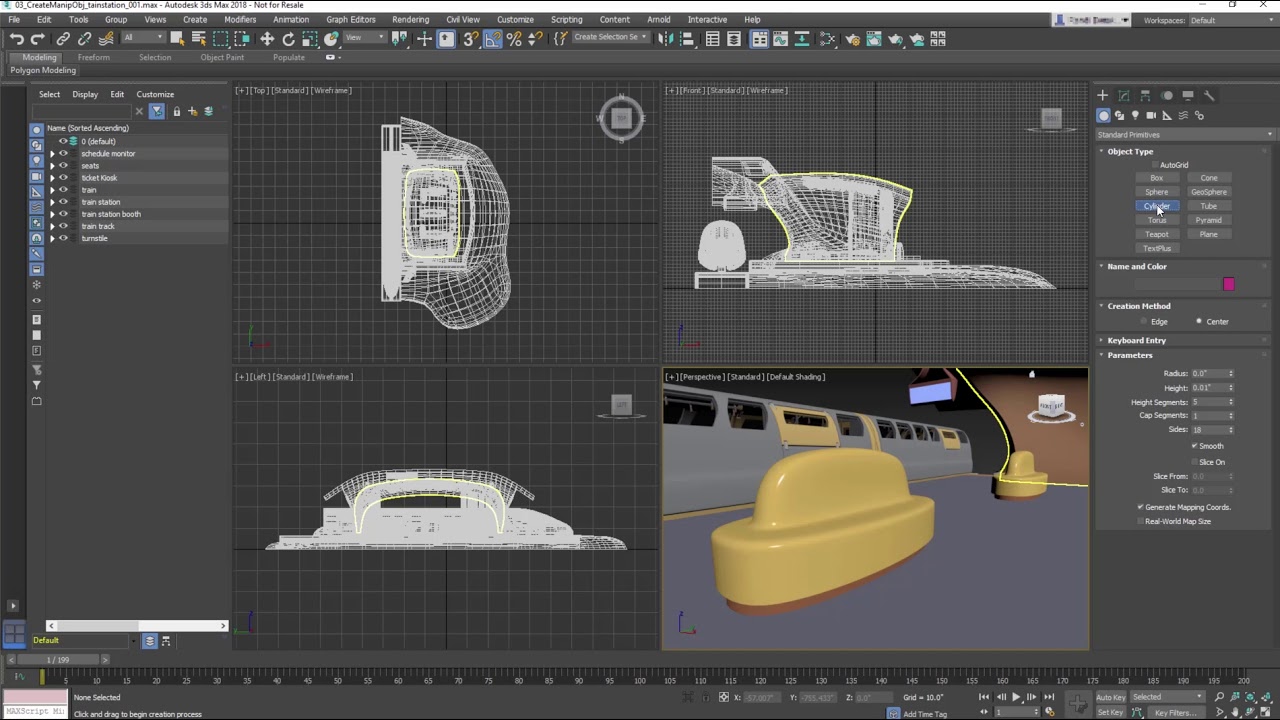
3ds Max Getting Started - Lesson 03 - Object Creation
5.0 / 5 (0 votes)
