💥POWERPOINT | EASY INFOGRAPHIC IN LESS THAN 10 MINUTES ! | STEP BY STEP 💥
Summary
TLDRThis tutorial video walks viewers through creating an infographic slide with a 50% brightness background. The presenter demonstrates how to insert and manipulate shapes, including circles and rectangles, to create a layered design. They also guide on adding icons, text boxes, and lines with various styles. The video further shows grouping and duplicating elements for efficiency, and concludes with adding animations to enhance the slide's visual appeal. The presenter encourages viewers to like and subscribe for more informative content.
Takeaways
- 🎨 'Choosing a background with 50% brightness sets the tone for the slide.'
- 🔄 'Duplicating shapes using control+d allows for quick editing of multiple similar elements.'
- 🔵 'Using a color and transparency selection for shapes helps in creating visual depth.'
- ➖ 'Subtracting shapes, like a circle from a rectangle, creates unique design elements.'
- 🔗 'Inserting icons from a library adds visual interest and can convey specific messages.'
- 📝 'Adding text boxes with relevant text provides information and context to the slide.'
- 📏 'Using lines with specific dash types can enhance the design and guide the viewer's eye.'
- 🔄 'Duplicating and resizing circles offers a way to create a cohesive design element.'
- 🔗 'Grouping elements such as icons and text allows for easier manipulation and animation.'
- 🎭 'Applying animations like fly-in effects brings the slide to life and captures attention.'
Q & A
What is the first step the speaker takes when creating their slide?
-The first step is to choose a background for the slide with a brightness of about 50%.
How does the speaker insert a circle shape in their slide?
-The speaker inserts a circle shape with no outline and then sets the color.
What keyboard shortcut does the speaker use to duplicate a shape?
-The speaker uses the keyboard shortcut 'control+d' to duplicate a shape.
Why does the speaker send the duplicated circle shape backward?
-The speaker sends the duplicated circle shape backward to layer it behind the original circle, creating a layered effect.
How does the speaker adjust the transparency of a shape?
-The speaker adjusts the transparency by selecting the shape, then choosing the color and transparency options in the format shape settings.
What does the speaker do after inserting a tiny circle shape?
-After inserting a tiny circle, the speaker inserts a rectangle to subtract from the circle, creating a specific design element.
Where does the speaker find icons to insert into the slide?
-The speaker finds icons to insert from a source indicated as 'insert icons', though the specific platform or application is not mentioned.
How does the speaker ensure the text boxes are aligned properly?
-The speaker uses the align and center options to ensure the text boxes are properly aligned within the slide.
What is the purpose of inserting a line with a specific dash type?
-The speaker inserts a line with a specific dash type to aesthetically fit the design of the slide.
How does the speaker duplicate and resize circles for their design?
-The speaker duplicates circles by selecting them and using 'control+d', then resizing them to be smaller and placing them within the blue shape.
What is the process for grouping elements together in the slide?
-The speaker groups elements by selecting them while holding the shift key and then choosing the group option, which allows for easier manipulation and duplication of multiple elements.
How does the speaker apply animations to the shapes in the slide?
-The speaker applies animations by selecting a shape and choosing the 'fly in' animation, adjusting the effect options, duration, and start time. They then use the animation painter to copy the animation to other shapes and adjust the delay for each.
Outlines

Dieser Bereich ist nur für Premium-Benutzer verfügbar. Bitte führen Sie ein Upgrade durch, um auf diesen Abschnitt zuzugreifen.
Upgrade durchführenMindmap

Dieser Bereich ist nur für Premium-Benutzer verfügbar. Bitte führen Sie ein Upgrade durch, um auf diesen Abschnitt zuzugreifen.
Upgrade durchführenKeywords

Dieser Bereich ist nur für Premium-Benutzer verfügbar. Bitte führen Sie ein Upgrade durch, um auf diesen Abschnitt zuzugreifen.
Upgrade durchführenHighlights

Dieser Bereich ist nur für Premium-Benutzer verfügbar. Bitte führen Sie ein Upgrade durch, um auf diesen Abschnitt zuzugreifen.
Upgrade durchführenTranscripts

Dieser Bereich ist nur für Premium-Benutzer verfügbar. Bitte führen Sie ein Upgrade durch, um auf diesen Abschnitt zuzugreifen.
Upgrade durchführenWeitere ähnliche Videos ansehen
How to Make an Infographic With Venngage [2022 Tutorial]
CARA MEMBUAT MORPH SLIDE POWERPOINT YANG KEREN DAN MENARIK | Pediaku ID
Make Animated PowerPoint Slide
How to Create an Infographic using Canva
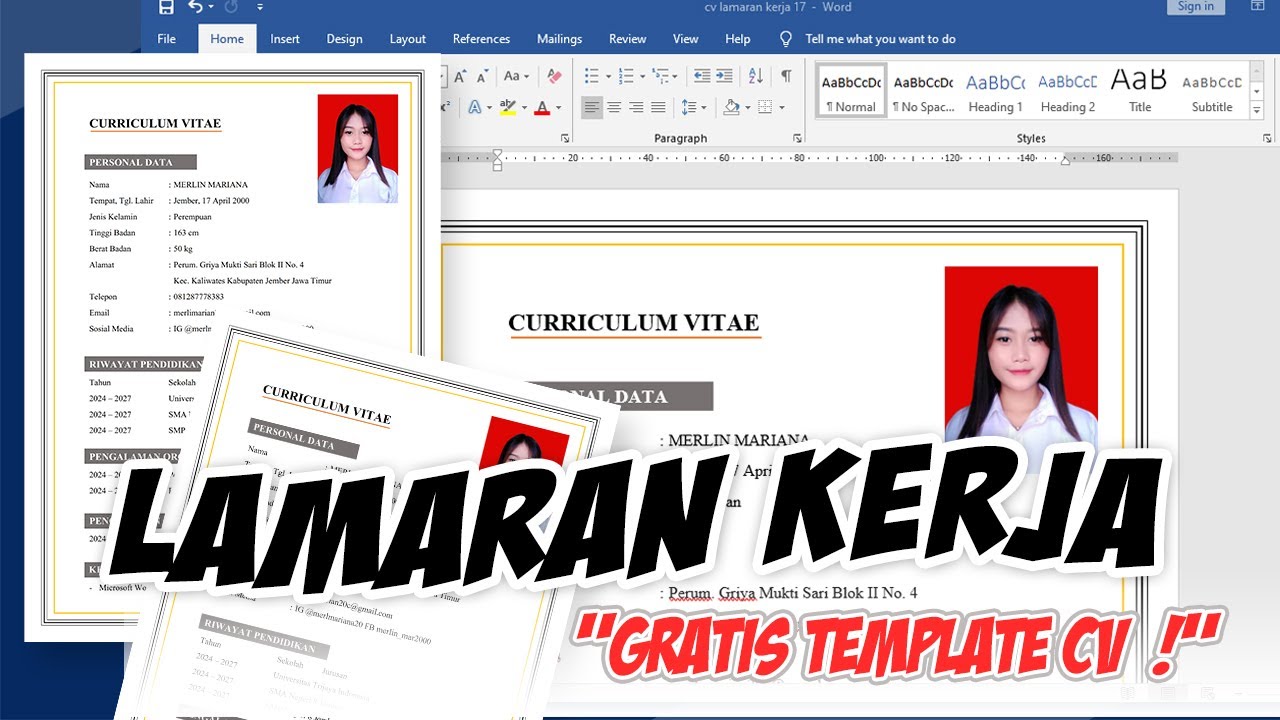
Cara Membuat CV Lamaran Kerja (Free Template)
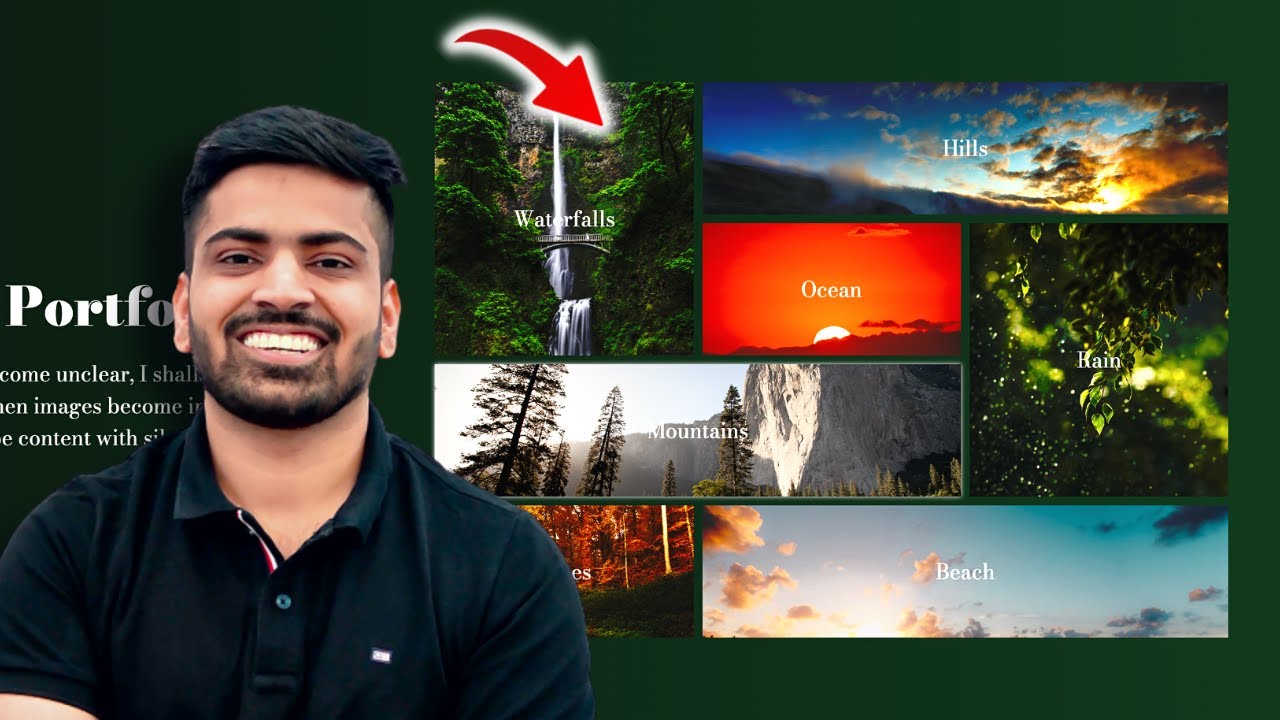
Build this Portfolio-Gallery using CSS Grid | Complete Web Development Course #27
5.0 / 5 (0 votes)
