Aprenda como usar o Multímetro Digital na Prática
Summary
TLDRIn this educational video, Bruno Everton Morais demonstrates the correct use of a multimeter, a vital tool for electrical measurements. He covers the basics of measuring voltage, current, and resistance, emphasizing safety and the importance of selecting the right scale for accurate readings. The tutorial also addresses common issues such as fragile probes and the significance of understanding the instrument's category of use. Morais provides practical examples, including checking the integrity of a conductor, ensuring viewers grasp essential electrical measurement techniques.
Takeaways
- 🔌 The video explains how to correctly use a multimeter, a device for measuring various electrical properties.
- 👨🏫 The presenter, Bruno Everton Morais, introduces the topic and encourages viewers to subscribe to the channel and turn on notifications for more content.
- 📚 The script discusses the importance of using the right multimeter for safety and accuracy in electrical measurements.
- 🔍 The video highlights the difference between two seemingly identical multimeters, one without any information and the other with 'KATYN 2', which indicates the category of use for the device.
- 🛠️ The presenter demonstrates how to measure electrical voltage, both direct current (DC) and alternating current (AC), using the multimeter.
- ⚠️ A caution is given about the fragility of multimeters, and the presenter shares a personal experience with a damaged probe.
- 🔧 The video shows how to properly connect the probes to measure voltage, emphasizing the correct placement of the red and black probes to positive and negative terminals, respectively.
- 🔄 When measuring AC voltage, the script explains the importance of selecting the appropriate scale on the multimeter to match the expected voltage, such as 220V for household outlets.
- 🔌 The presenter also covers how to measure electrical current, including the need to break the circuit open to insert the multimeter for accurate readings.
- 🔊 For measuring electrical resistance, the video describes the process of selecting the right scale on the multimeter and how to interpret the readings to determine the integrity of a conductor.
- 👍 The video concludes by encouraging viewers to subscribe for more educational content and to check out a link for an advanced training course in electrical and electronic basics.
Q & A
What is the main topic discussed in the video?
-The main topic discussed in the video is how to correctly use a multimeter for measuring electrical quantities such as voltage, current, and resistance.
Why does the presenter recommend using the yellow multimeter in the video?
-The presenter recommends using the yellow multimeter because it is the most common type that most people possess, and understanding how to use it correctly can help with using other types as well.
What is the significance of the 'Katyn 2' marking on the multimeter?
-The 'Katyn 2' marking indicates the category of the multimeter, which is important for safety and proper usage of the instrument.
What precaution does the presenter take before starting the measurement?
-The presenter takes the precaution of ensuring the multimeter is set to the correct scale and function before starting the measurement.
How does the presenter demonstrate measuring DC voltage?
-The presenter demonstrates measuring DC voltage by setting the multimeter to the appropriate voltage scale, connecting the red probe to the positive terminal and the black probe to the negative terminal, and then reading the voltage.
What is the difference between measuring AC voltage and DC voltage on a multimeter?
-The difference lies in the terminals used for measurement; for AC voltage, both probes can be inserted into either of the two slots, whereas for DC voltage, the red probe should be connected to the positive terminal and the black probe to the negative terminal.
Why is it important to choose the right scale when measuring voltage?
-Choosing the right scale is important to ensure the accuracy of the measurement and to prevent damage to the multimeter due to exceeding its maximum range.
How does the presenter explain measuring AC current?
-The presenter explains that to measure AC current, one must break the circuit, connect the multimeter in series with the circuit, and then select the appropriate current scale on the multimeter.
What is the purpose of measuring resistance with a multimeter?
-Measuring resistance with a multimeter is used to check the integrity of a conductor or to determine the value of a resistor.
What is the significance of a near-zero resistance reading?
-A near-zero resistance reading indicates that the conductor being tested is intact and has no breaks or faults.
What additional resource does the presenter mention for further learning?
-The presenter mentions a training link for further learning about electrical and electronic basics.
Outlines

Dieser Bereich ist nur für Premium-Benutzer verfügbar. Bitte führen Sie ein Upgrade durch, um auf diesen Abschnitt zuzugreifen.
Upgrade durchführenMindmap

Dieser Bereich ist nur für Premium-Benutzer verfügbar. Bitte führen Sie ein Upgrade durch, um auf diesen Abschnitt zuzugreifen.
Upgrade durchführenKeywords

Dieser Bereich ist nur für Premium-Benutzer verfügbar. Bitte führen Sie ein Upgrade durch, um auf diesen Abschnitt zuzugreifen.
Upgrade durchführenHighlights

Dieser Bereich ist nur für Premium-Benutzer verfügbar. Bitte führen Sie ein Upgrade durch, um auf diesen Abschnitt zuzugreifen.
Upgrade durchführenTranscripts

Dieser Bereich ist nur für Premium-Benutzer verfügbar. Bitte führen Sie ein Upgrade durch, um auf diesen Abschnitt zuzugreifen.
Upgrade durchführen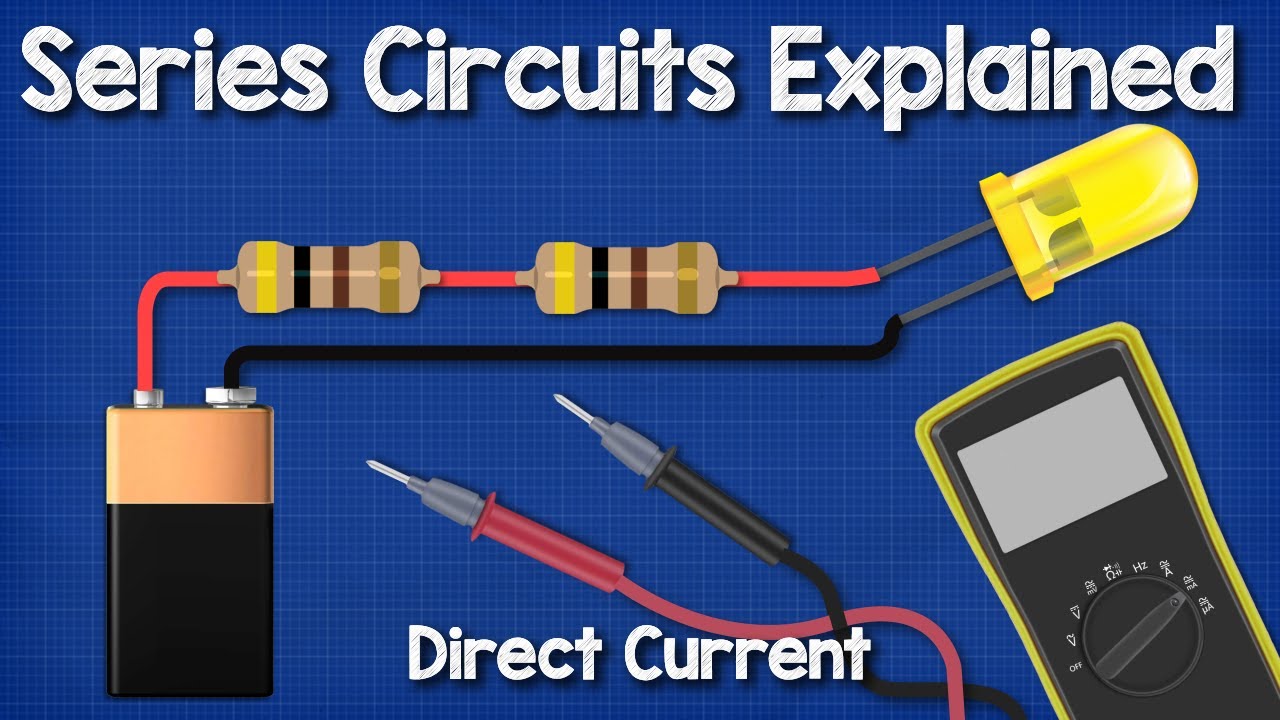


5.0 / 5 (0 votes)
