Penyambungan Kabel Dropcore dan Pigtail Fiberoptic
Summary
TLDRThis video script details the meticulous process of cable splicing in telecommunications. It begins with the preparation of the drop core cable, including stripping and cutting the protective sheath and the core itself. The focus then shifts to the careful stripping of the cable's coating using a specialized tool, ensuring cleanliness for a secure connection. The script emphasizes the importance of precision in cutting the cable to the exact length and aligning it correctly for splicing. The process concludes with the use of a splicer and a heat gun to finalize the connection, highlighting the technical skill required in this field.
Takeaways
- 🔌 The process involves connecting a drop core cable, which is a type of network cable.
- ✂️ The end of the cable is stripped to remove the outer sheath, revealing the inner core wires.
- 🔧 A protective coating is removed from the core wires using a stripping tool, and it's important to ensure the coating is clean.
- 💡 The use of alcohol and a tissue is suggested for cleaning the stripped coating to prepare it for connection.
- 📏 The script mentions cutting the cable to a specific length, 20 millimeters, to prepare it for the connection.
- 🔗 The cable is then inserted into a connector, ensuring it is straight and not bent, to avoid connection issues.
- 🔄 A device called a 'spliter' is used to cut and prepare the cable ends for secure connection.
- 🔑 The script emphasizes the importance of correct positioning and locking the cable in place to ensure a good connection.
- 🛠️ Additional steps involve preparing the protective jacket of the cable, removing any excess and ensuring cleanliness.
- 🔍 The use of an OTDR (Optical Time Domain Reflectometer) is mentioned for measuring the cable's length and checking for faults.
- 🌡️ The process includes a heating step, which is crucial for securing the cable connection, possibly using a heating tool.
Q & A
What is the first step in the cable connection process described in the script?
-The first step is to prepare the drop core cable by cutting off the excess part of the previous use, removing the sheath, and separating the cable.
Why is it necessary to strip the cable's coating?
-Stripping the cable's coating is necessary to expose the core wires for proper connection and to ensure a good electrical contact.
What is the purpose of using a stripper tool in the process?
-The stripper tool is used to remove the outer coating of the cable without damaging the inner core wires, ensuring a clean and safe connection.
How should one choose a good stripper tool for the job?
-A good stripper tool should be sharp and not dull or bent. It's important to test the tool to ensure it can cleanly strip the coating without damaging the core wires.
What is the significance of cleaning the stripped cable with alcohol and a tissue?
-Cleaning the stripped cable with alcohol and a tissue helps to remove any residue from the stripping process, ensuring a clean surface for better connection quality.
What is the recommended length for cutting the cable after stripping?
-The recommended length for cutting the cable after stripping is 20 millimeters, as mentioned in the script.
How should the cable be positioned before cutting with the cable cutter?
-The cable should be held firmly and straight, ensuring it is not bent or twisted, and then slowly and carefully cut with the cable cutter to avoid breaking the core wires.
What is the purpose of the 'slep' mentioned in the script?
-The 'slep' is a protective sleeve or cover that is placed over the connection point to provide additional protection and ensure the integrity of the connection.
How does the script ensure the quality of the cable connection?
-The script describes using a measurement tool to check the loss of the connection, with a target of 0.03 loss, and in the script, a 0.02 loss is achieved, indicating a good quality connection.
What is the final step described in the script for completing the cable connection process?
-The final step is to heat shrink the protective sleeve over the connection using a heat gun, ensuring it fits tightly and securely to protect the connection.
What is the purpose of using an OTDR in the script?
-An OTDR (Optical Time Domain Reflectometer) is used to measure the length of the cable and detect any faults or imperfections in the cable for the next steps in the network setup.
Outlines

هذا القسم متوفر فقط للمشتركين. يرجى الترقية للوصول إلى هذه الميزة.
قم بالترقية الآنMindmap

هذا القسم متوفر فقط للمشتركين. يرجى الترقية للوصول إلى هذه الميزة.
قم بالترقية الآنKeywords

هذا القسم متوفر فقط للمشتركين. يرجى الترقية للوصول إلى هذه الميزة.
قم بالترقية الآنHighlights

هذا القسم متوفر فقط للمشتركين. يرجى الترقية للوصول إلى هذه الميزة.
قم بالترقية الآنTranscripts

هذا القسم متوفر فقط للمشتركين. يرجى الترقية للوصول إلى هذه الميزة.
قم بالترقية الآنتصفح المزيد من مقاطع الفيديو ذات الصلة

CARA MENYAMBUNG KABEL FIBER OPTIC DENGAN MEKANIKAL SPLICING!
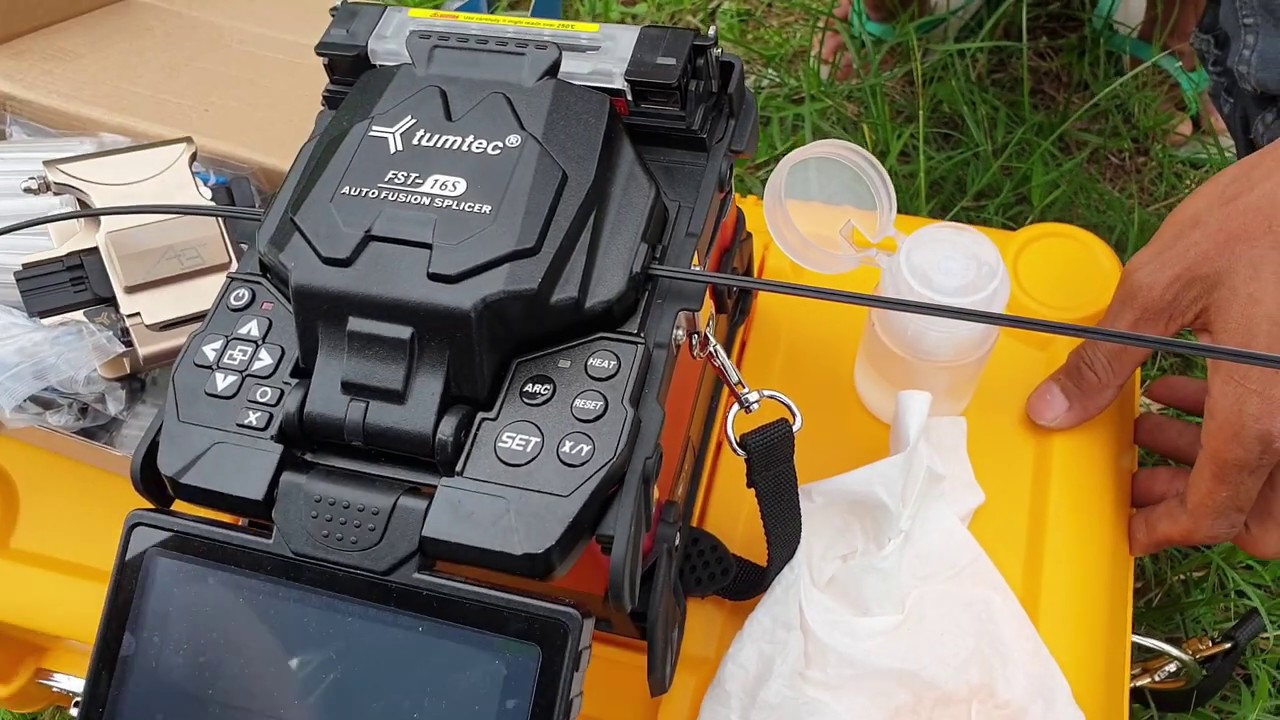
PEMULA WAJIB LIHAT BEGINI CARA SPLICING KABEL FIBER OPTIK DENGAN SPLICER TUMTEC FST-16S
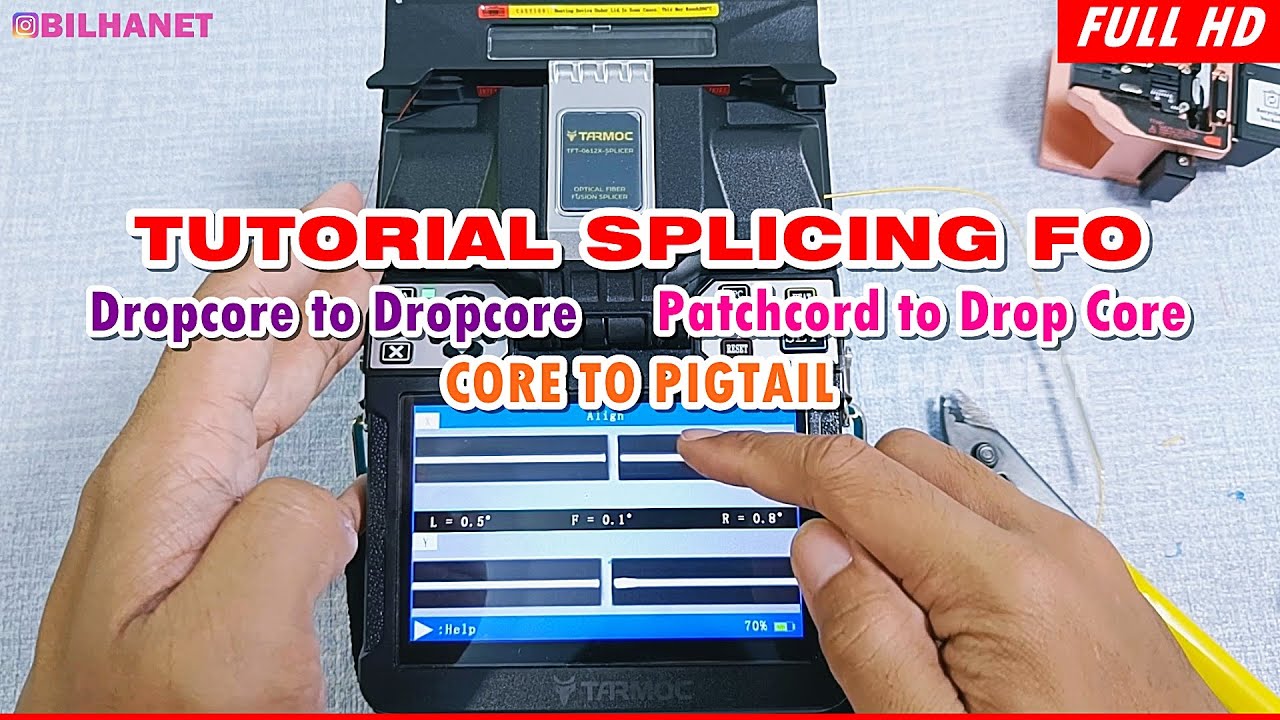
Cara Menyambung Kabel Fiber Optik Menggunakan Splicer (Dropcore, Patchcord, Pigtail)

Macam-Macam Sambungan Kabel

mRNA splicing

Network Tools - CompTIA A+ 220-1101 - 2.8
5.0 / 5 (0 votes)
