GCSE Biology Revision "Required Practical 1: Microscopes"
Summary
TLDRThis educational video offers a detailed guide on using an optical microscope to examine cells on a prepared slide, a crucial practical skill for students. It covers the microscope's parts, including the stage, objective lenses, and focusing dials. The tutorial demonstrates how to place the slide, adjust the lenses for clarity, and calculate total magnification. It also explains how to observe and sketch animal and plant cells, highlighting visible structures like the nucleus, cytoplasm, and cell membrane, and includes tips for adding a magnification scale to drawings.
Takeaways
- 🔬 The video is a tutorial on using an optical microscope to examine cells on a prepared slide, which is a required practical for exams.
- 📚 It's important to learn the details of the microscope's parts and their functions, as this could be a six-mark essay question in exams.
- 🔍 The microscope has a stage to place the slide, with clips to hold it, and a light source or mirror to illuminate the slide.
- 👀 The objective lenses, usually with magnifications of 4x, 10x, or 40x, are crucial for initial observation of the slide.
- 🔎 The eyepiece contains a lens with a 10x magnification, used in conjunction with the objective lens for viewing.
- 🔄 To view a slide, start by placing it on the stage, selecting the lowest power objective lens, and adjusting the coarse focusing dial.
- 🚫 When adjusting the objective lens, do not look through the eyepiece to avoid damaging the slide.
- 🔬 After initial focus, use the fine focusing dial to bring the cells into sharp view.
- 📈 Total magnification is calculated by multiplying the magnification of the eyepiece lens by that of the objective lens.
- 📝 For animal cells, you should be able to see the nucleus, cytoplasm, and possibly mitochondria, but not ribosomes.
- 🌿 For plant cells, expect to see the cell wall, cytoplasm, nucleus, and possibly the vacuole and chloroplasts.
- 📊 Include a magnification scale in your drawings, measured by placing a clear plastic ruler over the stage and showing the field of view diameter in millimeters.
Q & A
What is the main purpose of the video?
-The main purpose of the video is to teach viewers how to use an optical microscope to observe cells on a prepared microscope slide, which is a required practical that could appear as a six mark essay question in an exam.
What are some variations in the design of optical microscopes mentioned in the video?
-The video mentions that some optical microscopes may have a lamp instead of a mirror beneath the stage to illuminate the slide, and that the number and magnification of objective lenses can vary.
What is the function of the stage on a microscope?
-The stage is the central part of the microscope where the microscope slide is placed, and it often has clips to hold the slide in place.
What is the purpose of the objective lenses on a microscope?
-The objective lenses are used to magnify the specimen on the slide. Most microscopes have three different objective lenses with varying magnifications, typically four times, ten times, or forty times.
What is the magnification of the eyepiece lens in the video?
-The eyepiece lens in the video has a magnification of ten times.
How do you calculate the total magnification when using a microscope?
-The total magnification is calculated by multiplying the magnification of the eyepiece lens by the magnification of the objective lens in use.
What is the first step in using an optical microscope to view a prepared slide?
-The first step is to place the slide onto the stage and use the clips to secure it in place.
Why is it important to adjust the microscope from the side when the objective lens is close to the slide?
-Adjusting the microscope from the side helps prevent damage to the slide from accidentally touching the objective lens while looking through the eyepiece.
What is the role of the coarse and fine focusing dials in viewing a slide?
-The coarse focusing dial is used to increase the distance between the objective lens and the slide until the cells come into focus. The fine focusing dial is then used to bring the cells into a clearer focus.
What details can typically be observed in animal and plant cells under an optical microscope?
-In animal cells, one can typically observe the nucleus, cytoplasm, and cell membrane, with possible indications of mitochondria. In plant cells, the cell wall, cytoplasm, nucleus, and possibly the vacuole and chloroplasts can be seen.
How can you include a magnification scale in your drawing of the cells observed under the microscope?
-A magnification scale can be included by placing a clear plastic ruler over the stage, measuring the diameter of the field of view in millimeters, and then representing this measurement on the drawing with a scale bar,标注着相应的放大倍数, such as 100 times.
Outlines

هذا القسم متوفر فقط للمشتركين. يرجى الترقية للوصول إلى هذه الميزة.
قم بالترقية الآنMindmap

هذا القسم متوفر فقط للمشتركين. يرجى الترقية للوصول إلى هذه الميزة.
قم بالترقية الآنKeywords

هذا القسم متوفر فقط للمشتركين. يرجى الترقية للوصول إلى هذه الميزة.
قم بالترقية الآنHighlights

هذا القسم متوفر فقط للمشتركين. يرجى الترقية للوصول إلى هذه الميزة.
قم بالترقية الآنTranscripts

هذا القسم متوفر فقط للمشتركين. يرجى الترقية للوصول إلى هذه الميزة.
قم بالترقية الآنتصفح المزيد من مقاطع الفيديو ذات الصلة
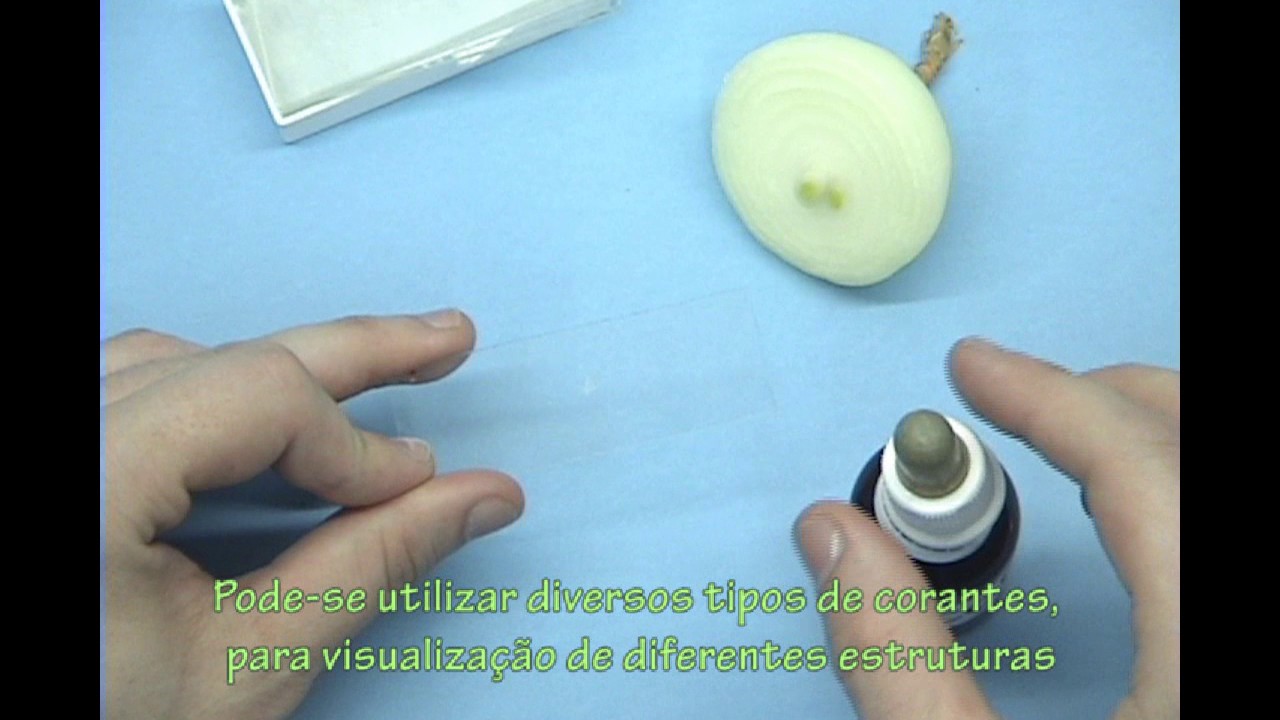
Preparação de lâminas para observação de células vegetais
Microscopy - How to use a microscope - GCSE Science Required Practical

Pemeriksaan Feses Metode Tidak Langsung (Pengapungan) Untuk Deteksi Telur Cacing
How to use a microscope and oil immersion

Pengamatan SEL EPITEL Pipi Manusia
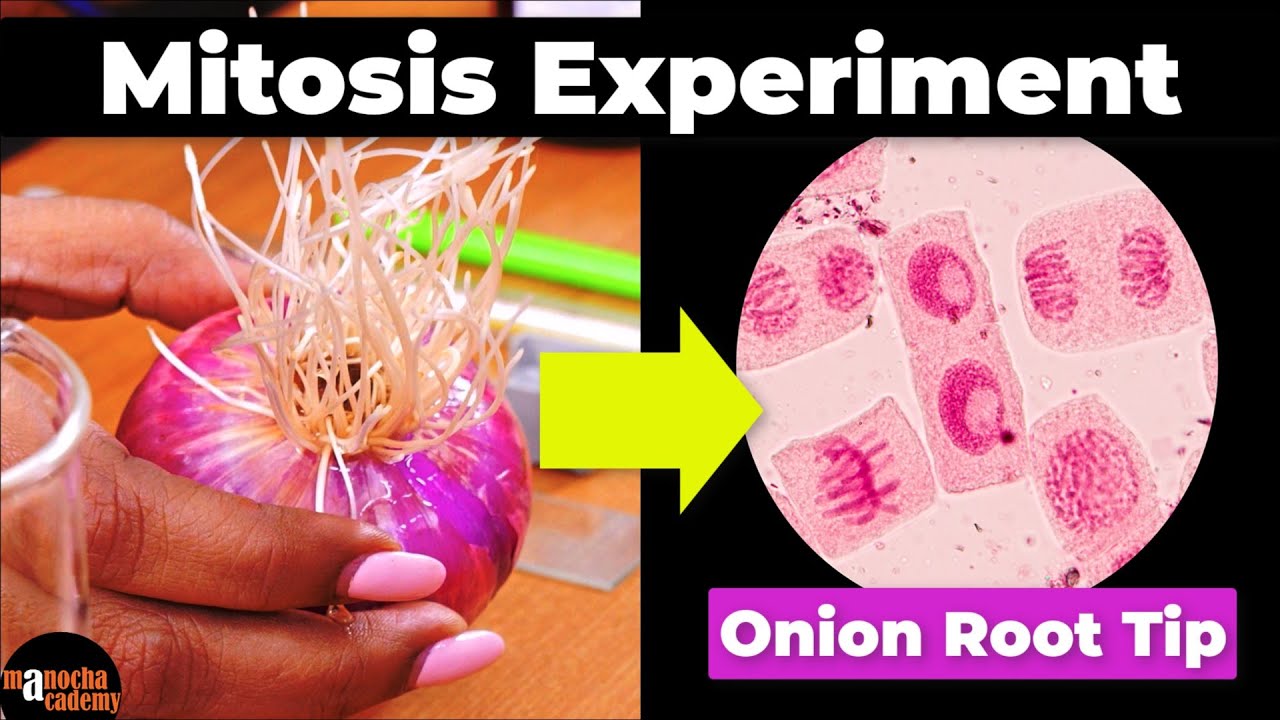
Mitosis Experiment Onion Root Tip Procedure
5.0 / 5 (0 votes)
