TUTORIAL MENGGUNAKAN SCANNER LAUNCH X431 PRO
Summary
TLDRThis video tutorial demonstrates how to use the Launch X431 Pro scanner to diagnose a Toyota Avanza. It covers the process of preparing the scanner, connecting it to the car via a Bluetooth module, and accessing the OBD-II port. The tutorial guides viewers through scanning the vehicle's system, reading error codes, and troubleshooting by checking components like actuators and connectors. It also shows how to clear error codes after resolving issues. The video concludes with instructions for disconnecting the module and ensuring proper reassembly. The tutorial is aimed at providing viewers with step-by-step guidance on using the diagnostic tool effectively.
Takeaways
- 😀 Proper handwashing is important before using the scanner.
- 😀 The scanner used in the video is the Launch X431 Pro scanner.
- 😀 Bluetooth modules and cables are needed for connecting the scanner to the vehicle.
- 😀 The scanner is used for diagnosing vehicles, specifically the Toyota Avanza in this case.
- 😀 The OBD (On-Board Diagnostics) port for the Toyota Avanza is located under the dashboard.
- 😀 The Bluetooth module needs to be connected to the OBD port, and the car's ignition must be turned on for scanning to begin.
- 😀 After connecting the scanner, the car's model and brand must be selected in the application on the tablet.
- 😀 The scanner is capable of reading and clearing error codes related to vehicle systems.
- 😀 After scanning, the system displays error codes if any faults are found, such as the actuator or connector issues.
- 😀 To clear error codes, it is necessary to address the underlying issue, such as reconnecting connectors or actuators before clearing the memory.
- 😀 Once the issue is fixed and memory cleared, the scanner confirms that the process is complete, and the vehicle's system is error-free.
Q & A
What is the purpose of the Launch X431 Pro scanner in this tutorial?
-The Launch X431 Pro scanner is used to diagnose issues in a Toyota Avanza by scanning and reading error codes from the vehicle's system.
What are the prerequisites before starting the scanning process?
-Before starting, ensure that you have a scanner, a Bluetooth module, and the necessary cables. Also, wash your hands and follow societal protocols.
Where is the OBD (On-Board Diagnostics) port located in a Toyota Avanza?
-In a Toyota Avanza, the OBD port is located underneath the dashboard, near the driver's side.
What steps should be followed to connect the Bluetooth module to the car?
-The Bluetooth module should be connected using a cable to the OBD port in the car. Once connected, the module will emit a blue light, indicating that it is successfully paired with the vehicle.
What must be done to prepare the car before using the scanner?
-Ensure that the car's ignition is turned to the 'on' position, as the scanner requires the vehicle to be in this state for proper operation.
How is the vehicle selected in the Launch X431 Pro application?
-In the app, you select the vehicle's make and model, such as 'Toyota' and 'Avanza,' to ensure the correct diagnostic system is accessed.
What happens after the vehicle is selected in the application?
-After selecting the vehicle, you confirm the model and wait for a beep sound, which indicates that the system has successfully connected to the vehicle.
What should be done if an error code is detected during the scan?
-If an error code is detected, the user should investigate the specific error. In this case, the tutorial suggests checking connectors or actuators that may need to be reconnected or replaced.
How do you clear the error code after resolving the issue?
-After addressing the issue, you can clear the error code by selecting the 'clear fault memory' option in the app, which will remove the stored error codes.
What should be done after completing the diagnostic process?
-Once the diagnostic process is complete, the scanner module should be disconnected, and the ignition turned off. The Bluetooth module should then be safely removed.
Outlines

هذا القسم متوفر فقط للمشتركين. يرجى الترقية للوصول إلى هذه الميزة.
قم بالترقية الآنMindmap

هذا القسم متوفر فقط للمشتركين. يرجى الترقية للوصول إلى هذه الميزة.
قم بالترقية الآنKeywords

هذا القسم متوفر فقط للمشتركين. يرجى الترقية للوصول إلى هذه الميزة.
قم بالترقية الآنHighlights

هذا القسم متوفر فقط للمشتركين. يرجى الترقية للوصول إلى هذه الميزة.
قم بالترقية الآنTranscripts

هذا القسم متوفر فقط للمشتركين. يرجى الترقية للوصول إلى هذه الميزة.
قم بالترقية الآنتصفح المزيد من مقاطع الفيديو ذات الصلة

Cara Mendeteksi Kerusakan Mobil EFI Dengan Scantool Launch X-431 PRO

TUTORIAL MENGGUNAKAN SCANTOOL "MULTISCAN" DARI HANATECH

cara scanner Toyota Agya menggunakan Launch
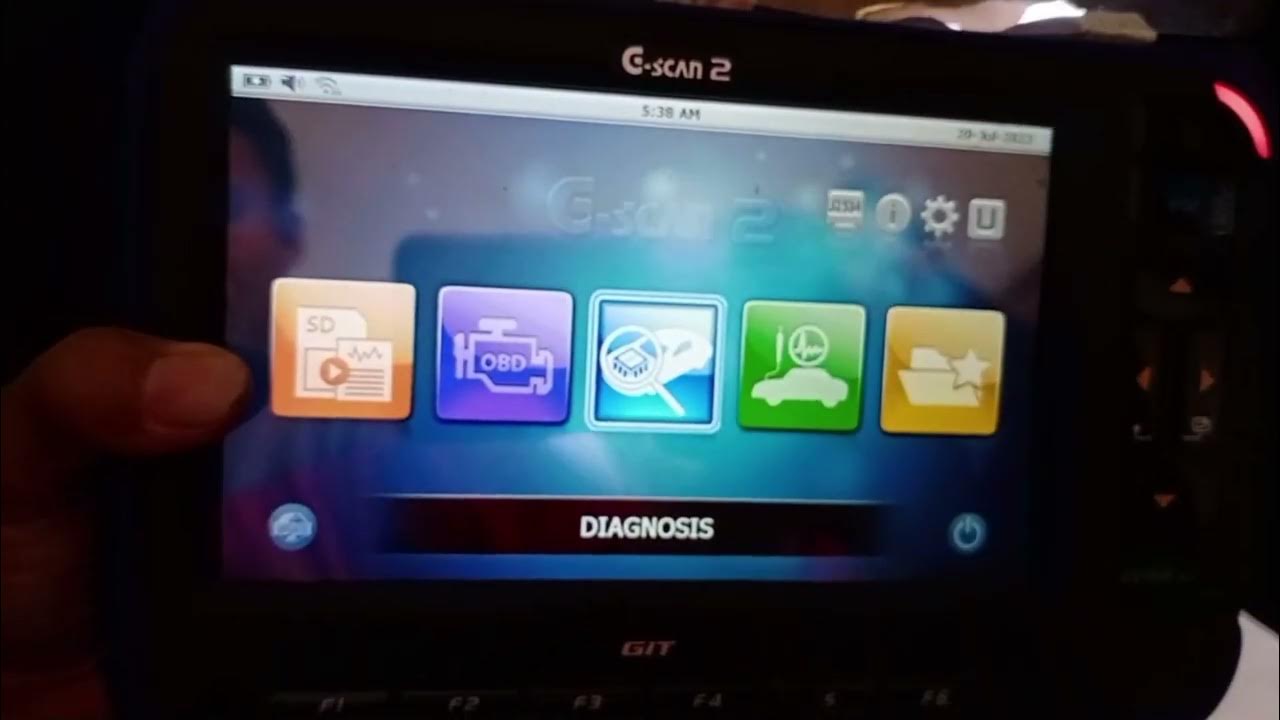
Cara Menggunakan Scanner/menghapus Trouble Code menggunakan Scanner G-Scan 2
ChatGPT + Scanner OBD2: Diagnóstico Inteligente para Seu Carro
Tutorial STICK LAMPU MOBIL | fungsi lampu | Avanza Xenia
5.0 / 5 (0 votes)
