Membuat Hotspot Mikrotik
Summary
TLDRThis tutorial demonstrates how to set up a Mikrotik hotspot. The process includes configuring the IP address, enabling wireless settings, setting up a DHCP client to connect to the internet, and testing connectivity. The user then sets up the hotspot server, configures DNS settings, and customizes the landing page for users. The guide aims to provide a straightforward, step-by-step approach to creating a functional Mikrotik hotspot, making it easy for users to share their internet connection with clients.
Takeaways
- 😀 Ensure you are connected to your Mikrotik router using Winbox before starting the configuration.
- 😀 Start by adding an IP address for the network that will be used by clients connecting to the hotspot.
- 😀 Configure the network interface (e.g., Ether1) and assign an IP range, such as 192.168.23.0/24, for the hotspot clients.
- 😀 Set up WLAN1 as the wireless interface to broadcast the hotspot signal to users.
- 😀 Don’t forget to enable the wireless interface and adjust settings like changing the SSID name to something relevant, e.g., hotspot_1.
- 😀 Enable the DHCP client to allow the Mikrotik router to access the internet from the ISP.
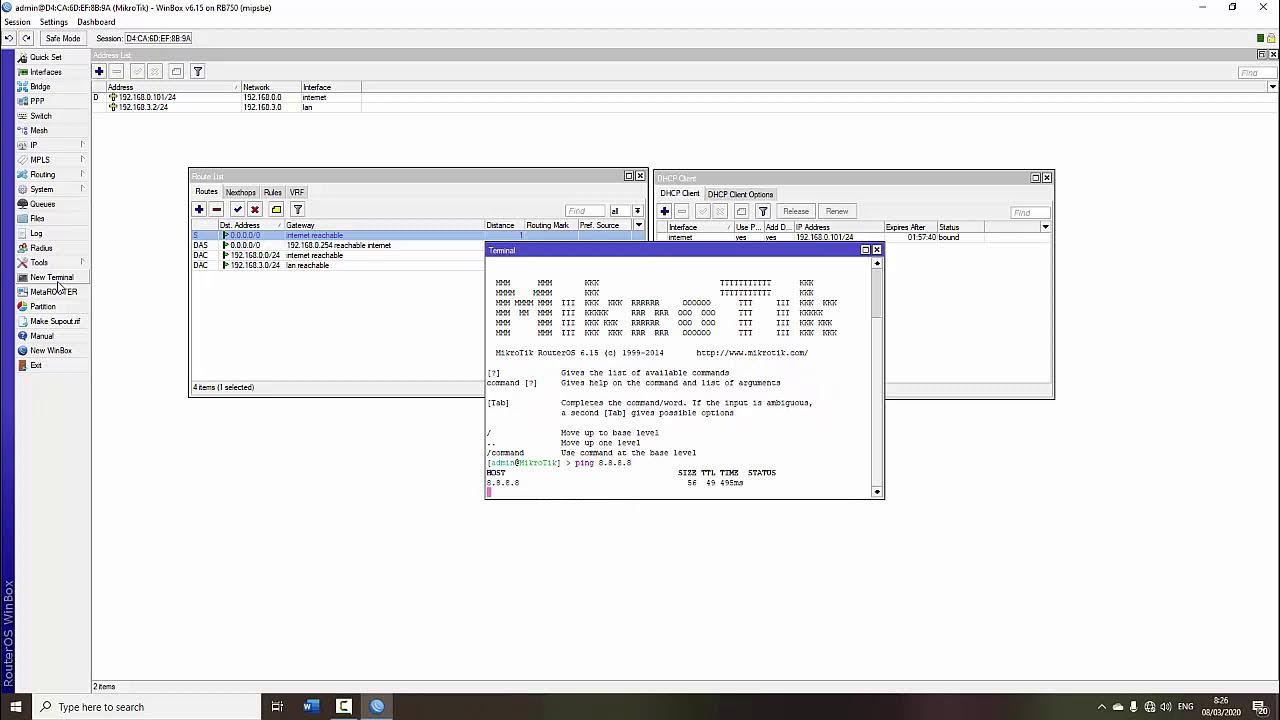
- 😀 Test internet connectivity by pinging an external address, such as Google’s DNS (8.8.8.8).
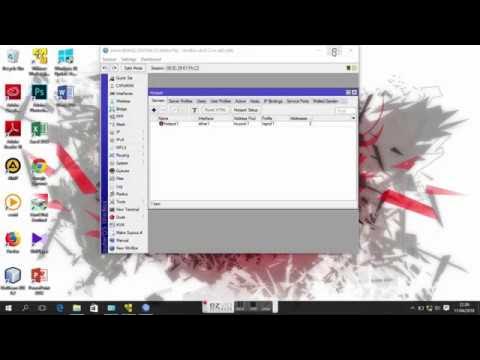
- 😀 Proceed to configure the hotspot server by selecting the correct interface (e.g., WLAN1).
- 😀 During the hotspot setup, specify the DNS settings, such as using Google’s DNS (8.8.8.8).
- 😀 Configure the landing page URL where users will be redirected once they connect to the hotspot (e.g., ternakmerak.com).
- 😀 Apply the settings and test the setup to ensure clients can connect to the Wi-Fi, receive IP addresses, and view the landing page.
Q & A
What is the first step in setting up a MikroTik hotspot?
-The first step is to connect to the MikroTik router using Winbox. This allows you to configure the settings for the router.
How do you configure the IP address for the MikroTik hotspot?
-Go to the 'IP' section in Winbox and add an address for the network. For example, `192.168.23.24`. This IP address will be assigned to the clients who connect to the hotspot.
Which interface should be used to distribute the hotspot's IP address?
-The IP address should be applied to an Ethernet interface (e.g., `ether1`) as this is the interface that will distribute the hotspot's IP address to the clients.
How do you enable the wireless network for the hotspot?
-Navigate to the 'Wireless' section in Winbox and ensure the wireless interface (e.g., `WLAN1`) is enabled. You can rename it to something like 'hotspot' for easy identification.
Why is it important to enable the wireless network interface?
-Enabling the wireless network interface is crucial because the MikroTik router will use this interface to broadcast the hotspot signal to clients, allowing them to connect to the network.
What is the role of the DHCP client in the MikroTik hotspot setup?
-The DHCP client allows the MikroTik router to obtain an IP address from the ISP. This is necessary for the router to access the internet and provide connectivity to the hotspot clients.
How can you verify that the MikroTik router has internet connectivity?
-You can verify internet connectivity by pinging an external server, such as Google's DNS (e.g., `ping 8.8.8.8`). If the ping is successful, the internet connection is active.
What is the purpose of the Hotspot Setup wizard in MikroTik?
-The Hotspot Setup wizard guides you through the process of setting up the hotspot server, including selecting the correct interface, configuring DNS, and creating a landing page for users.
What DNS settings are recommended for the MikroTik hotspot?
-It is recommended to use Google's DNS servers, `8.8.8.8` and `8.8.4.4`, for reliable and fast DNS resolution. You can also choose your preferred DNS service.
How can you provide a custom landing page for users connecting to the hotspot?
-In the Hotspot Setup wizard, you can specify a custom landing page URL, such as `ternakmerak.com`, which users will see when they connect to the hotspot.
Outlines

هذا القسم متوفر فقط للمشتركين. يرجى الترقية للوصول إلى هذه الميزة.
قم بالترقية الآنMindmap

هذا القسم متوفر فقط للمشتركين. يرجى الترقية للوصول إلى هذه الميزة.
قم بالترقية الآنKeywords

هذا القسم متوفر فقط للمشتركين. يرجى الترقية للوصول إلى هذه الميزة.
قم بالترقية الآنHighlights

هذا القسم متوفر فقط للمشتركين. يرجى الترقية للوصول إلى هذه الميزة.
قم بالترقية الآنTranscripts

هذا القسم متوفر فقط للمشتركين. يرجى الترقية للوصول إلى هذه الميزة.
قم بالترقية الآنتصفح المزيد من مقاطع الفيديو ذات الصلة

Cara Setting Hotspot Mikrotik Dengan WinBox Untuk Pemula

TUTORIAL DASAR MIKROTIK (KONEKSI INTERNET)

Full Setting Mikrotik Semua Port Bridge untuk Mode Hotspot Voucheran + Topologi Settingan Mikrotik

Tutorial konfigurasi dasar mikrotik beserta sharing file & sharing printer

Konfigurasi Hotspot Pada GNS3

Konfigurasi Hotspot Mikrotik Di VMware Menggunakan Winbox
5.0 / 5 (0 votes)
