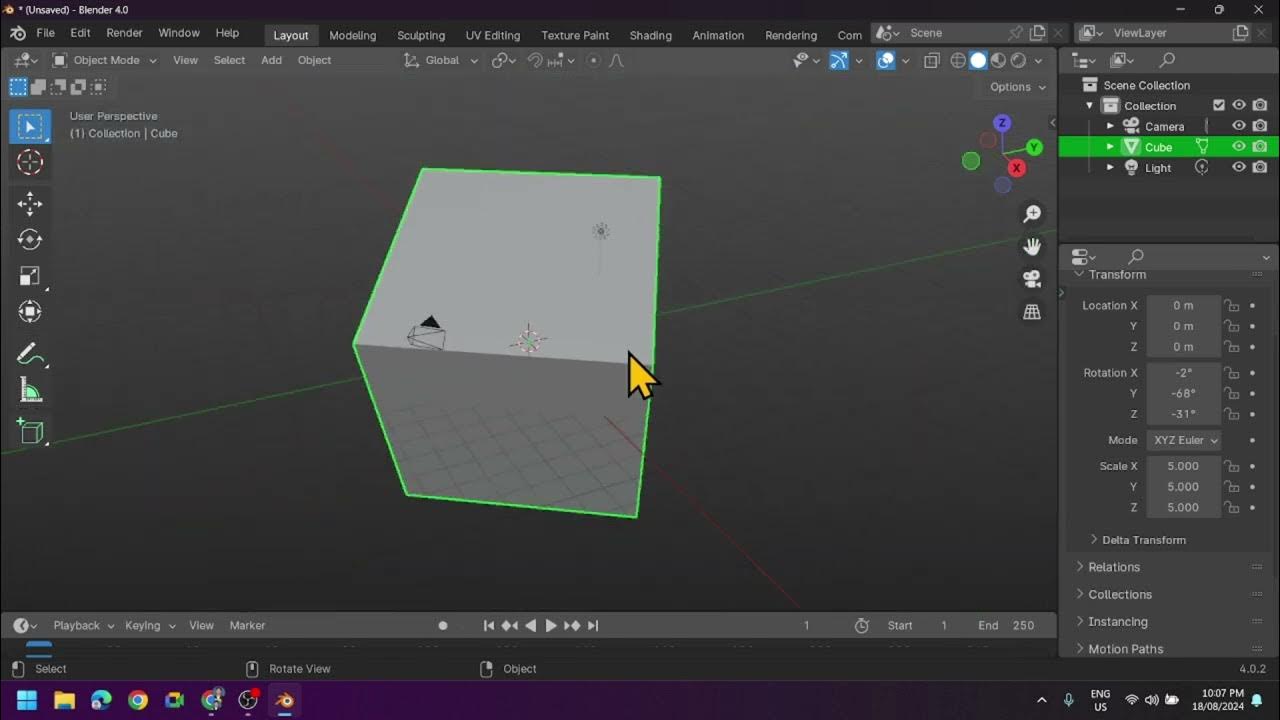
Blender Tutorial for Complete Beginners - Part 1
Summary
TLDRThis script is a beginner-friendly tutorial on using Blender, an open-source 3D creation suite. The speaker, with 20 years of experience, guides viewers through the software's interface and basic navigation. They introduce essential tools for 3D modeling, such as selecting objects, navigating the 3D viewport, and manipulating objects through moving, scaling, and rotating. The tutorial emphasizes the importance of mastering core features, which cover 80% of common use cases. The session also touches on rendering for creating polished images and customizing materials for objects. By the end, viewers are encouraged to practice and prepare for the next part, where they will start building a donut, a classic project for learning 3D modeling in Blender.
Takeaways
- 🎓 **Beginner's Guide**: This tutorial is designed for complete beginners who want to learn Blender, an open-source 3D software.
- 🆓 **Free Software**: Blender is 100% free and will always be free, making it accessible to everyone interested in 3D modeling.
- 🔄 **Regular Updates**: The tutorial has been updated every few years to keep up with Blender's development, ensuring users learn the most current features.
- 📈 **Learning Curve**: The script emphasizes that mastering Blender doesn't require knowing every tool, focusing on the 20% of features used 80% of the time.
- 🖥️ **Interface Overview**: The tutorial introduces the 3D viewport, which is where most of the work will be done, and how to navigate it.
- 🐵 **Blender's Mascot**: Blender uses a monkey head as a complex object for testing shaders and scenes, similar to other 3D software's unique objects.
- 👆 **Selection and Manipulation**: The script explains how to select, move, and scale objects using both mouse controls and keyboard shortcuts.
- 🌟 **Lighting and Rendering**: It's important to understand the difference between viewport shading and rendered view mode for creating final images.
- 🎨 **Materials and Colors**: The tutorial covers how to add and change materials to give objects color and texture.
- 📸 **Rendering Images**: To create a high-quality image, the script demonstrates how to use Blender's rendering function instead of taking a screenshot.
- 👉 **Camera Controls**: The script explains how to move and rotate the camera to frame a scene from the desired perspective.
- ➕ **Adding Objects**: Learn how to add new objects like a party hat to the scene and adjust their position, scale, and rotation.
Q & A
What is Blender and what can it be used for?
-Blender is an open-source 3D software that can be used for creating animations, visual effects, game assets, and practically any other 3D content. It is 100% free to use.
How often has the speaker updated their Blender tutorial?
-The speaker has updated their Blender tutorial every few years since the first one was made back in 2016 to keep up with Blender's development.
What is the default object in Blender that users often start with?
-The default object that comes with Blender is a cube, but it can be replaced with other primitives such as a monkey head, which is a complex object used for testing shaders or scene complexities.
How can one navigate around the 3D viewport in Blender?
-Navigation in the 3D viewport can be done by using the middle mouse button to orbit, the scroll wheel to zoom in and out, and holding shift with the middle mouse button to pan.
What is the term used for Blender's lightweight optimized way to view the scene during construction?
-The term used for Blender's lightweight optimized way to view the scene during construction is 'viewport shading'.
How can one switch to a more visually appealing rendering mode in Blender?
-To switch to a more visually appealing rendering mode, one can go to the top right corner and select 'Rendered View' from the available options.
What keyboard shortcut is used to move an object in Blender?
-The keyboard shortcut used to move an object in Blender is 'G' for grab.
How can one take a high-quality image of a Blender scene?
-A high-quality image of a Blender scene can be taken by rendering the scene. This can be done by going to 'Render' and hitting 'Render Image' or using the keyboard shortcut F12.
What is the significance of the camera's point of view in rendering a Blender scene?
-When rendering a Blender scene, the image is always rendered from the point of view of the camera, not the current view that the user is looking at.
How can one add a new material to an object in Blender?
-To add a new material to an object, one can go to the 'Material' properties under the selected object, and create a new material by clicking on 'New'. Then, the 'Base Color' can be adjusted to change the object's color.
What keyboard shortcut is used to scale an object in Blender?
-The keyboard shortcut used to scale an object in Blender is 'S'.
How can one rotate an object in Blender?
-To rotate an object in Blender, one can use the 'R' key for rotate and then use the middle mouse button to perform the rotation along the desired axis.
Outlines

هذا القسم متوفر فقط للمشتركين. يرجى الترقية للوصول إلى هذه الميزة.
قم بالترقية الآنMindmap

هذا القسم متوفر فقط للمشتركين. يرجى الترقية للوصول إلى هذه الميزة.
قم بالترقية الآنKeywords

هذا القسم متوفر فقط للمشتركين. يرجى الترقية للوصول إلى هذه الميزة.
قم بالترقية الآنHighlights

هذا القسم متوفر فقط للمشتركين. يرجى الترقية للوصول إلى هذه الميزة.
قم بالترقية الآنTranscripts

هذا القسم متوفر فقط للمشتركين. يرجى الترقية للوصول إلى هذه الميزة.
قم بالترقية الآنتصفح المزيد من مقاطع الفيديو ذات الصلة

Introduction to Blender 3D: Getting Started with the Interface & Essential Tools in Blender

Tutorial Basic 3d di Blender!! Beginner Tutorial

Modeling Table Under 2Min || Blender Beginners Tutorial

How to 3D Print your own Cityscapes and Terrains (FREE Method)

The Future of Game Development

How to make a BobbyBroccoli video
5.0 / 5 (0 votes)
