Curso Android. Otros Layouts Haciendo Scroll. Vídeo 22
Summary
TLDRThis video script is a tutorial on creating Android applications, focusing on implementing vertical and horizontal scrolling layouts. The instructor guides viewers on using ScrollView and HorizontalScrollView in Android Studio, demonstrating how to add multiple buttons and other UI elements that exceed the screen's visible area. The tutorial covers the process of setting up these containers within a relative layout, ensuring a seamless user experience with scrollable content.
Takeaways
- 📚 The video is a tutorial on Android application development, focusing on different layouts for user interfaces.
- 🔍 It introduces two types of scrollable layouts found within the 'containers' section of Android Studio: ScrollView for vertical scrolling and HorizontalScrollView for horizontal scrolling.
- 📉 The purpose of scrolling is to manage interfaces with many elements that do not fit horizontally or vertically on the screen, allowing users to scroll through them.
- 👆 Demonstrates how to implement vertical scrolling by adding buttons to a Relative Layout and then wrapping them with a ScrollView.
- 👎 Points out that ScrollView only accepts one child layout, which should be set up to hold multiple UI elements for scrolling purposes.
- 📐 Explains the process of adding a LinearLayout (vertical) inside the ScrollView to organize multiple buttons or other UI elements in a vertical list.
- 🤔 Highlights the importance of correctly placing the LinearLayout inside the ScrollView to enable the scrolling feature.
- 📱 Discusses the limitations of the emulator's view compared to a real device, where physical gestures like swiping would be used for scrolling.
- 🔄 Provides a step-by-step guide to creating a horizontal scroll by using HorizontalScrollView and placing a LinearLayout (horizontal) inside it.
- 🛠️ Mentions the use of Android Studio's design components and layout hierarchy to build the scrolling interfaces.
- ⚠️ Notes the appearance of warnings in Android Studio, but reassures viewers that these are not errors and can be safely ignored in this context.
- 🔚 Concludes by encouraging viewers to stay tuned for the next part of the series and wishes them well.
Q & A
What is the main topic of the video script?
-The main topic of the video script is teaching how to implement scrolling layouts in Android applications using ScrollView and HorizontalScrollView.
What are the two types of scroll views discussed in the script?
-The two types of scroll views discussed are ScrollView for vertical scrolling and HorizontalScrollView for horizontal scrolling.
Why might one need to implement scrolling in an Android interface?
-One might need to implement scrolling in an Android interface when there are too many views, buttons, texts, menus, or images that do not fit horizontally or vertically on the screen.
What is the default layout in Android Studio when creating a new application?
-The default layout in Android Studio when creating a new application is a RelativeLayout.
How does the script suggest to start working with ScrollView?
-The script suggests starting to work with ScrollView by replacing the current layout with a RelativeLayout, if not already in use, and then adding ScrollView from the 'Containers' section in Android Studio.
What is a limitation of ScrollView when adding components?
-ScrollView only allows one direct child component, which means you cannot add multiple components directly inside ScrollView without nesting them within another layout.
What type of layout should be added inside ScrollView to hold multiple components?
-A LinearLayout, either vertical or horizontal depending on the desired scroll direction, should be added inside ScrollView to hold multiple components.
How does the script demonstrate adding components to a vertical scroll layout?
-The script demonstrates adding components by inserting a LinearLayout inside ScrollView and then adding multiple buttons to the LinearLayout.
What does the script suggest to do when the visible area of the layout is filled with components?
-The script suggests continuing to add components beyond the visible area, which will then allow the user to scroll to see the additional components.
How can you tell if a component is correctly nested inside ScrollView?
-You can tell if a component is correctly nested inside ScrollView by checking the component hierarchy in the 'Component 3' panel, where the component should be indented and show as a child of ScrollView.
What does the script mention about the yellow triangles (warnings) in Android Studio?
-The script mentions that the yellow triangles (warnings) in Android Studio are not errors and do not prevent the application from running, but they are worth reading occasionally for additional information.
Outlines

هذا القسم متوفر فقط للمشتركين. يرجى الترقية للوصول إلى هذه الميزة.
قم بالترقية الآنMindmap

هذا القسم متوفر فقط للمشتركين. يرجى الترقية للوصول إلى هذه الميزة.
قم بالترقية الآنKeywords

هذا القسم متوفر فقط للمشتركين. يرجى الترقية للوصول إلى هذه الميزة.
قم بالترقية الآنHighlights

هذا القسم متوفر فقط للمشتركين. يرجى الترقية للوصول إلى هذه الميزة.
قم بالترقية الآنTranscripts

هذا القسم متوفر فقط للمشتركين. يرجى الترقية للوصول إلى هذه الميزة.
قم بالترقية الآنتصفح المزيد من مقاطع الفيديو ذات الصلة
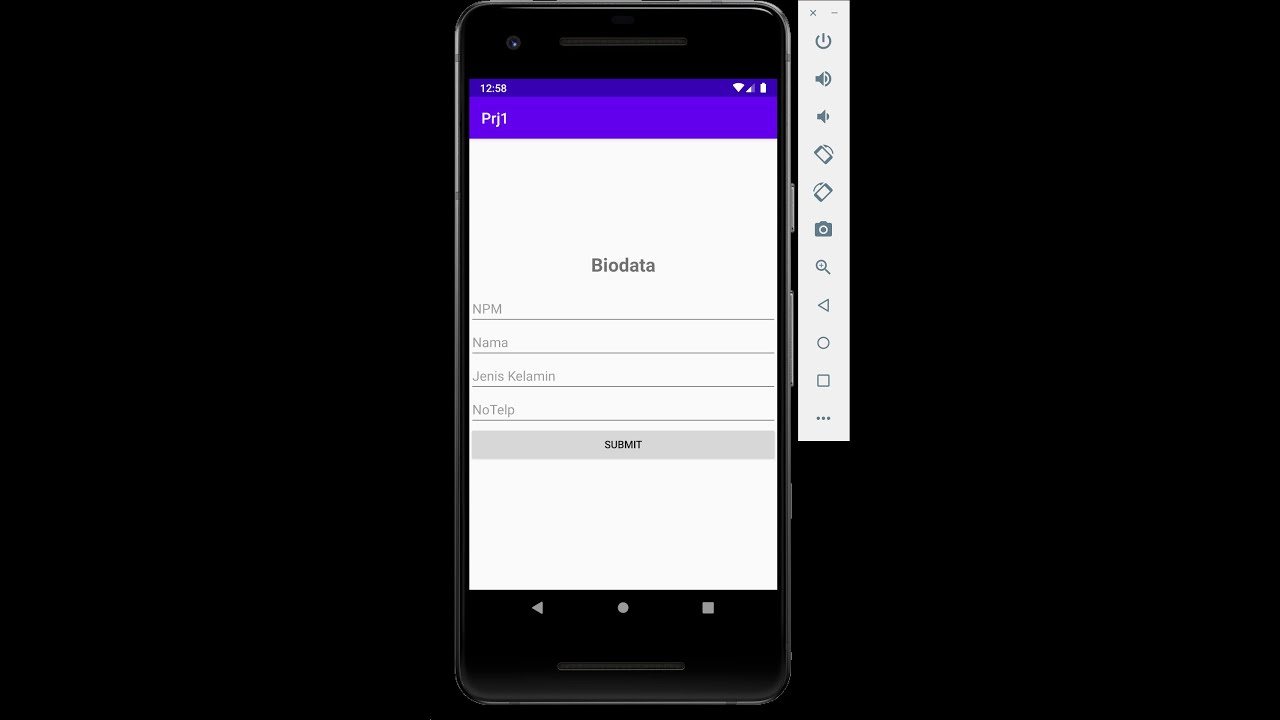
Edit Text, Button, dan Textview Android Studio
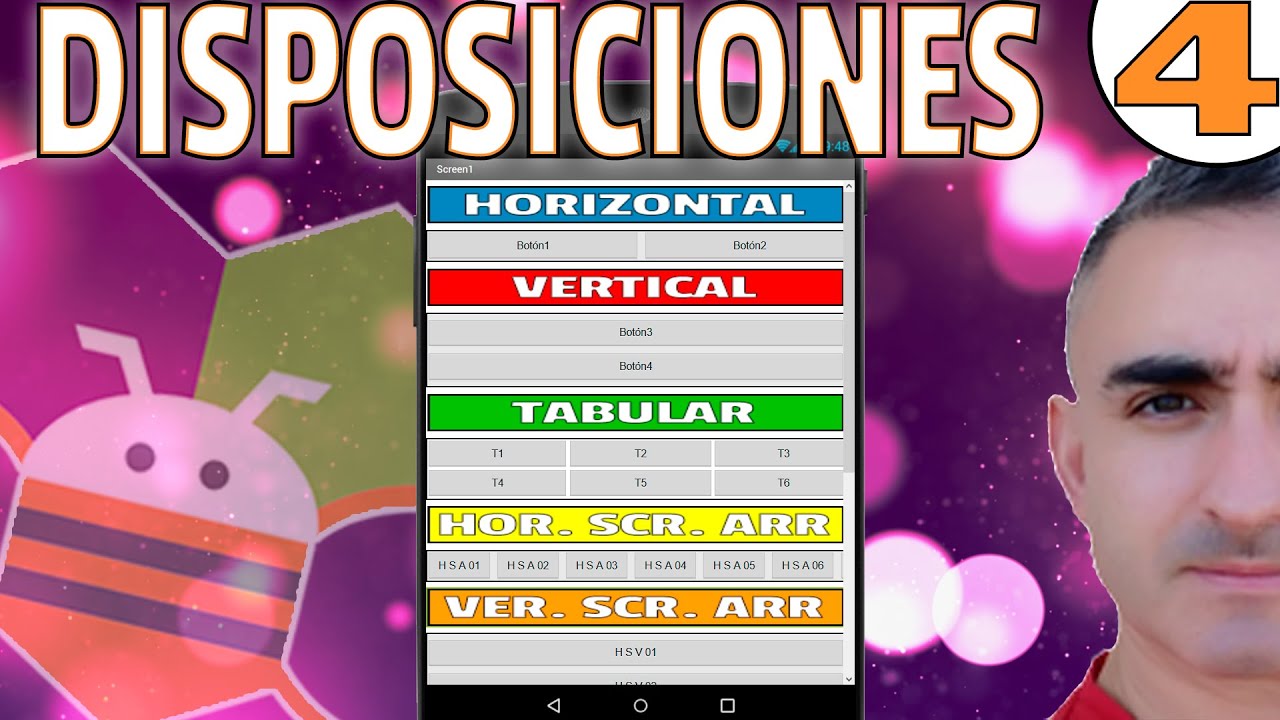
Curso APP INVENTOR 4 - DISPOSICIONES | Disposición HORIZONTAL, VERTICAL, TABULAR y SCROLL

MACAM-MACAM TUMPUAN (ROL, SENDI DAN JEPIT) MEKANIKA TEKNIK KELAS X SMK BANGUNAN

Contoh Cara Menghitung Analisis Vertikal / Horizontal Laporan Keuangan

9 - Listview ( flutter 2023 )
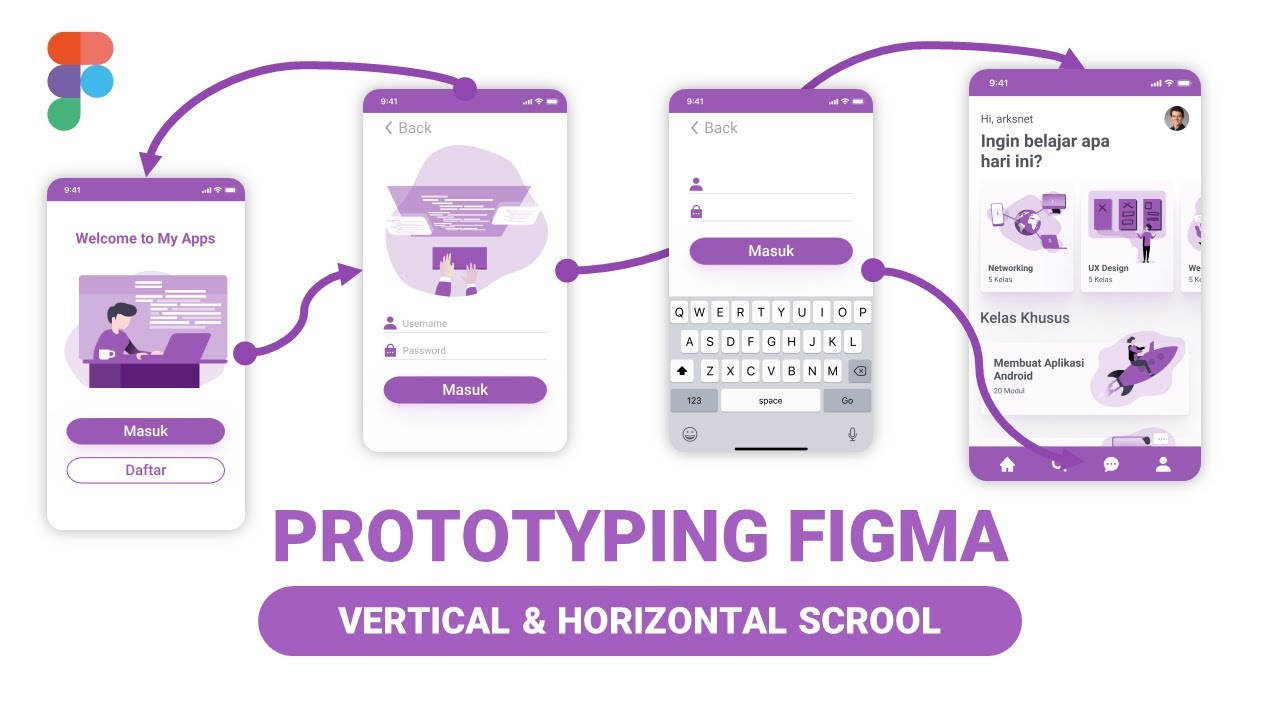
Membuat Prototyping & Interactions di Figma - Belajar Figma Bareng (3/3)
5.0 / 5 (0 votes)
