How To Make An 8-Directional Movement System With Animations! | Scratch Tutorials
Summary
TLDRIn this Scratch tutorial, the creator demonstrates how to implement basic 2D eight-directional movement with animations for game development. The tutorial builds upon a previous video, adding new elements and a more refined approach. Starting with setting up sprite movements using arrow keys or WASD, the creator explains using X and Y axes for motion and adjusting speed. The video also covers how to add animations when moving and idle poses when stationary. It's designed for beginners, but introduces more complex concepts like frame switching and costume animations.
Takeaways
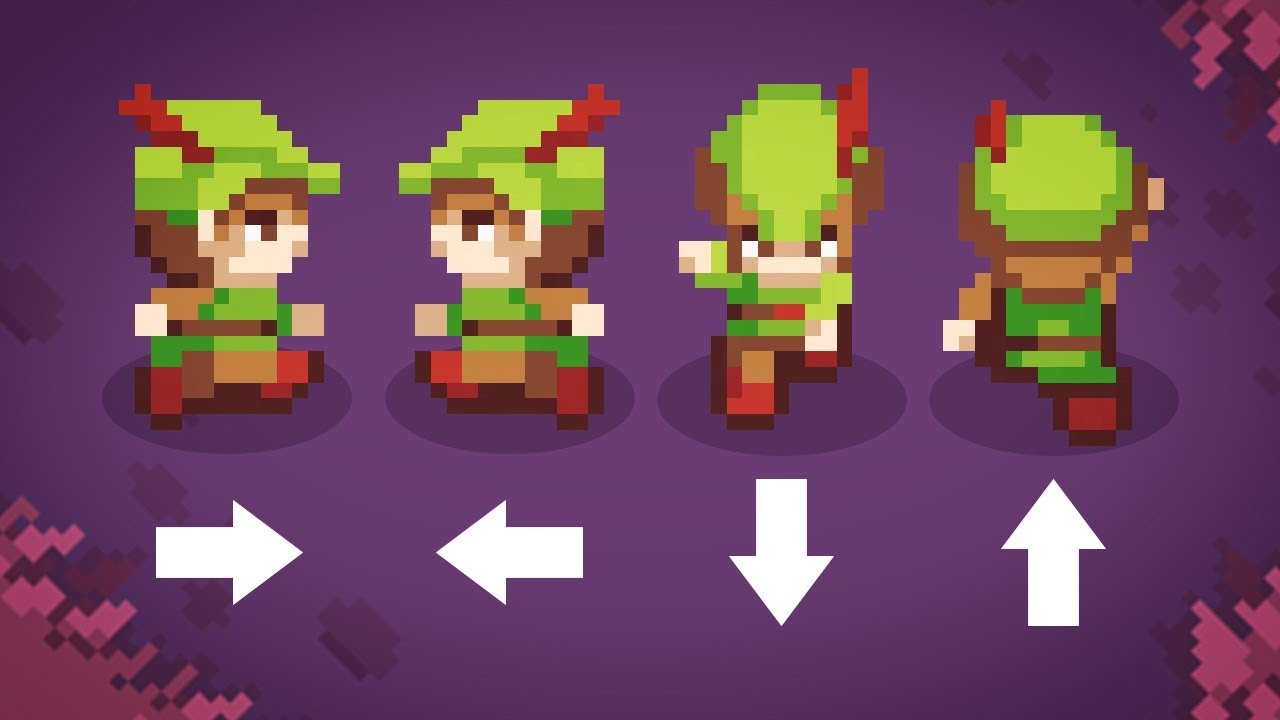
- 😀 Basic 2D eight-directional movement with animations is being taught in this Scratch tutorial.
- 😎 The tutorial focuses on both arrow key and WASD movement control for a sprite.
- 🖼️ You only need one direction sprite, which will automatically adjust using the 90-degree plane in Scratch.
- 🔄 To make the sprite move, changes in the x and y coordinates are used rather than the built-in motion blocks.
- 🐾 The speed of movement can be controlled by adjusting the x and y coordinate changes.
- 🧑💻 Animations are added by switching between costumes based on movement directions.
- ↔️ Sprite rotation is set to left and right to ensure correct movement animation without circular motion.
- 🎥 A custom 'get frame' block is created to control the animation frame switching for smoother transitions.
- 🎮 An idle pose or costume is used when no movement is detected, adding realism to the animation.
- 🕹️ Complex key-sensing logic is implemented to handle multiple key presses and ensure smooth animation transitions.
Q & A
What is the purpose of the tutorial?
-The purpose of the tutorial is to teach how to create basic 2D eight-directional movement with animations for a game in Scratch.
Why is the Scratch cat sprite used in the tutorial?
-The Scratch cat sprite is used because it already comes with movement animations, making it a simple and convenient choice for demonstration.
How does the tutorial handle movement using both arrow keys and WASD keys?
-The tutorial sets up an 'if' condition to check if either the arrow keys or the corresponding WASD keys are pressed, allowing movement to be controlled with both sets of keys.
Why does the tutorial use X and Y coordinates for movement instead of built-in Scratch movement blocks?
-X and Y coordinates offer more control over movement, allowing for finer adjustments in speed and direction. The built-in movement block can be limited in certain scenarios, so using X and Y provides better customization.
What is the significance of setting the rotation style to 'left-right' in Scratch?
-Setting the rotation style to 'left-right' ensures that the sprite only rotates along the horizontal axis, preventing unwanted full rotations when moving left or right.
How does the tutorial handle animation switching when the sprite moves?
-The tutorial creates a custom block called 'get frame' which handles switching the sprite's costume based on the movement direction and timing. This allows for smooth animation transitions as the sprite moves.
Why does the tutorial use the 'mod' operator in the costume-switching logic?
-The 'mod' operator ensures that the animation cycles through a set number of frames (costumes) without going beyond the number of available frames. It resets the costume back to the first frame once the last one is reached.
What is the purpose of the 'idle' animation in the tutorial?
-The 'idle' animation is used to show a static pose when no keys are being pressed. It prevents the sprite from continuing its movement animation when the player is not providing any input.
How does the tutorial determine when to stop the animation and switch to the idle pose?
-The tutorial uses a variable called 'key sensing' to track if any movement keys are pressed. When no keys are pressed, the 'key sensing' variable is set to zero, which triggers the idle animation.
What problem is solved by using 'no screen refresh' in the custom block?
-'No screen refresh' ensures that the animations run smoothly and instantly without waiting for a tick or screen update, allowing for quick costume changes in the sprite's movement.
Outlines
👾 Introduction to Eight-Directional Movement
The creator introduces a Scratch tutorial focused on creating 2D eight-directional movement with animations. They refer to a previous video on basic movement and discuss how this tutorial is a revamped version with added features. The tutorial will use a Scratch cat sprite to demonstrate movement animations and walk the user through setting up the system for such animations. The instructions include duplicating costumes, setting directions, and using basic movement functions in Scratch.
🎮 Setting Up Directional Movement
In this section, the tutorial dives into setting up the core system for movement. The creator explains how to program movement using arrow keys or 'WASD' for directional control. Instead of using pre-built movement blocks, the tutorial opts for a custom approach with X and Y planes for better flexibility. It covers details like adjusting movement speed using numerical values and ensuring the character moves smoothly in different directions with consistent speeds.
🎨 Adding Basic Animations
This part explains how to incorporate animations into the movement system. The creator introduces the concept of 'rotation style' to ensure smooth left and right transitions for the sprite. They also explain how to set the sprite’s facing direction based on movement inputs and how to switch between different costumes for animated movement. Key coding concepts such as defining blocks and managing frames for fluid animations are introduced.
🧩 Advanced Costume Animations
In this section, the tutorial goes deeper into the animation process by creating custom blocks and defining a frame-based system to manage costume switches. The creator describes how to use variables and operations like 'mod' to limit the number of frames and switch between them continuously. They also debug and optimize the animation flow, ensuring the sprite moves smoothly through various costumes.
🔧 Idle Animation and Frame Sensing
This section tackles how to create an idle animation when the character is not moving. The tutorial guides users through setting up conditions where the animation stops when movement keys aren’t pressed, and the sprite returns to an idle costume. The creator explains how to sense when no keys are pressed and adjust frames accordingly, finalizing the tutorial with a robust movement and animation system for the sprite.
Mindmap
Keywords
💡Eight directional movement
💡Sprite
💡Costumes
💡X and Y plane
💡Forever loop
💡Rotation style
💡Point in direction
💡Frame
💡Mod block
💡Idle animation
Highlights
Introduction to basic 2D eight-directional movement and animation for Scratch games.
Explanation of the importance of sprite direction and movement using Scratch's built-in cat sprite.
Setting up WASD and arrow keys for movement with Scratch’s sensing and operator blocks.
Using x and y plane for movement in Scratch rather than the standard movement blocks for greater control.
Introduction to adjusting movement speed by modifying the numerical value in x and y changes.
Implementation of rotation style to keep the sprite facing left and right based on movement.
Explaining how to create animations that switch depending on movement direction.
Creating a custom block ('get frame') to handle costume changes for sprite animations.
Using the 'mod' operator to cycle between different costumes for animation based on movement.
Introduction to frame variables for controlling animation speed without delays.
Implementing idle animations for when the character is not moving.
Optimization tips to ensure animations only run when a movement key is pressed.
Explanation of complex logic using operators to detect whether a key is pressed and control animations accordingly.
Final optimization to ensure the character returns to an idle state when no movement key is pressed.
Encouragement for beginner Scratchers to experiment with more advanced concepts like key sensing and frame manipulation.
Transcripts
yo what's popping as i welcome back to
another scratch tutorial today i'm going
to be showing you something pretty cool
pretty useful pretty helpful in a few
types of games you could make today i'm
going to be showing you some basic 2d uh
eight directional movement with
animations now if you remember a while
back maybe a year ago i actually don't
know i didn't check the date a while
back i made a video on basic 2d uh
eight directional
you know movements
and i thought i'd like to revamp that in
this tutorial while also adding
something new to it so that's what we're
going to be doing and that's what we're
going to be going over how to do today
so basically what you're going to need
is you're going to need a sprite now i'm
just going to use the cat sprite since
it has you know
it has its movement animations right but
let's say you wanted some more so
let's say you want a little bit more so
what i'll do is i'll actually duplicate
this and then i'll make so this will be
the final movement then this movement
needs to be slightly less
it's not supposed to look good it's not
gonna look good i'm just doing it to
show you what you can do so i'm just
gonna have three costumes okay cool so
you just have your costumes you don't
need to worry about having them face the
directions you need to you just need one
direction and this is on
you'll see you'll see just have one
direction usually this is the way you do
it in the 90 degree form in the 90
degree angle just what this is at right
now because every sprite on by itself is
90 degrees when it starts off so just
have your character facing this way uh
yeah just have a facing that way and you
should be pretty good so what we're
going to do now is we're going to set up
the basic system so i'm just going to
call this
cat lemon i'm not going to let him out
scratch cat lull
and what we'll do is we will uh first of
all let me name this to basic move basic
oh my goodness now what we'll do is i
will grab a green flag clicked and i'll
zoom in so you can see what's going on a
little bit better
and i will also move my camera
now we will do is we will put the
forever loop right here just like that
and now we will set up our systems for
movements so what i'm going to do is
grab an if statement and then i'm going
to grab an and uh or and what this is
going to be is i'm going to going to let
you use either the arrow keys or the wsd
to move around so one thing we'll do is
go to operator sensing and grab our key
space and change the space to an up
arrow duplicate it put it in the second
half and the wasd
variation of an up arrow is the w key so
i'll use the w key
now i'm just going to duplicate this and
put it right underneath
and i'm going to do the down arrow and
the corresponding is s
and then we'll do a
right arrow and the corresponding is a d
and then we will do left error which the
corresponding is an a
now we're not going to be using the
movement key in motion we're not going
to be using this movement key this
doesn't work very well well it does for
its own things but
we can do it in a much
easier way here by using this x and y on
an x and y plane you have up and down
which is your y plane and your left and
right which is your x plane so we're
moving up and down so we know we need to
add a y and if we're moving up the
higher up you go the uh bigger the
number gets and the lower it goes
the lower it gets the more down it goes
the lower it gets higher up the higher
it goes so since we're going up we're
gonna change our y by a three you can
change that to whatever you want
depending on how big this number is it's
how fast you'll go so the bigger the
number is the faster the sprite will
move the lower the number is the slower
the number will move or the slower the
spiral if you get it
so now if we're doing the opposite going
down i'm going to duplicate this and
we're going to set this to a negative 3.
now you want to keep these numbers the
same unless you intend on having a
character moving backwards be slower
than going forward so if you have them
as an equal number just with a
a
negative and a not negative you'll be
moving the same direction at the same
speed or different directions at the
same speed now for right and left again
left and right is an x so we'll grab a
change x so moving right so the further
right that you move
the greater the number will be so
this way
this way the greater the the further
this way it's going if your sprite's
going this way the number will increase
if it's going this way the number will
decrease so since we're going right or
this way we need to increase our x by
three keeping this number the same here
if you change one of these numbers i
highly recommend changing all of them to
match and then going left since that's
the opposite of right negative three
now if you'll see we have a very basic
you can use wasd to move around or you
can use your arrow keys to move around
now here's our basic basic movement
system now this is where you want it to
end you can stop watching here but if
you want to add some animations and have
them switch back and forth when you're
moving that's what we'll get to right
now
so
what we're going to need to do
is we are going to want to start by
setting its rotation style to left and
right in this forever loop what that
means is so if we check our rotation
right now you see if i move this
direction we move in a circle which is
not what we're going to want to
have happen if we set our rotation
styles left and right we won't move
until we click in the other direction it
just sets us going left and right see
how we don't uh start turning until we
hit a 0 or 180 which is what we want so
put that all back up in there
stop it there we go and now what we will
do
is we can see
that nothing happens as of now but what
we need to do is we need to base this
off of our left and right movements
since our rotation styles is on a left
and right plane we are going to want to
change which direction we're facing
based off of that left and right system
so when we press right which is this way
that's a 90 degree angle you can tell
because he's facing right and the
direction is already at 90. so we will
do is we'll grab this point in direction
on the right arrow point in direction
90. and now for left you're going to
want to do the opposite the way you can
check this is by clicking on this
direction and moving it directly to the
other side and seeing that it is a
negative 90. so you'll set this to
negative 90. so when you start now
you'll see
that
depending on which direction you're
moving the cat will change directions
as well
so great that's just what we want now
let's set up the actual animation
process
so the way this is going to work this is
going to get a little complex so if
you're someone who's new to scratch you
might not understand this but that's
perfectly okay i'll try to explain to
the best of my ability this is something
generally speaking more complex than
what most beginners would be doing so
we're going to do is we're going to make
a block and now what a block is is
basically so i'm just going to name this
block get frame
okay and we're going to run it without a
screen refresh which basically means
that it's not going to wait for a tick
to happen it's going to constantly
happen very very quickly
so you'll get this big block right here
think of this block as like a clicked as
green flag right think of this define
block as being pretty much everything in
the events tab right it's another one of
these
right so what you could do technically
is you could have this
as your block and now every single time
you call this block
this will play
so if i do this for example
and put this in a forever loop it will
forever get frame and getting frame is
this so when we start it'll still do the
same thing
now that's not what we're going to be
using this for
what we're going to do is you're going
to do
[Music]
is we are going to make a variable i'm
just going to take the variable that
comes with scratch it's the one that's
called my variable and just name it
frame
okay
and now what i'm going to do is on the
green flag is click i'm going to set the
frame to zero
and now
what's going to happen is we're going to
figure out how much time we want in
between
our uh frames in between our costumes
that the cat is going to be switching
so
what we will do is we will want to on
every single time it runs this because a
forever loop it'll run this and then
i'll do it again so at the beginning of
every single time we're going to want to
change our frame by specific number so
what we're going to have it do is on
every time that it moves into a
table of one meaning one two three four
five continuing it will switch the
costume so what we can do is we can set
this to something like 0.3 just as a
base example and now what will happen is
it will change by 0.3 to 0.6 to 0.9 to
1.2 and now it's increased by one and
then it'll change the frame so it's a
way to change
our speed without having to have a
weight variable in it because if you
were to have a weight
control block because if you ever you
would have a weight it would wait
and then
it would let you move a little bit which
would just cause a lot of
issues which would not be very good so
by doing it like this what we can do
is i'm actually gonna put the set
rotation style
right next to right in the gift frame
and then what we will do is we will
uh switch our costume
and now here's what we're going to do
we're going to run a little bit of uh
code to figure out which costume to be
switching to and this is the part where
it can get a little bit complex
excuse me i had to sneeze
so
what we will do is we will go to our
operators tab and we are you seeing
these flies there are these two flies in
my office right now you seen this guy
look at this guy
this guy's just chilling hold up i'm
gonna have to get rid of these guys real
quick
that's what i call fly genocide
continuing what we will do
is we will come to our operators tab and
grab this plus block and we are going to
do a one
in this first bubble then what you'll do
is you'll grab this mod block
now if you don't know what this mod
block does i didn't know what it did for
the longest time either so what we're
going to do is we're going to put frame
variable in the first time and then
we're going to put
three in the second one now the reason
why we're doing this is you will see
here
we have three costumes if you have more
then this number will change but see how
i have three so i put three if you had
16 or 43 or 976 that's what you would
put in this block and what that will do
is it will make you not go past that
right so what it will do is it'll check
you'll go so let's say you had more than
more than this right let's say that you
had a
just did like that okay what it would do
is it run through this costume then this
one then this one but since the mod is
there it would not let you go past this
which means it put you right back at one
and that you keep doing this
instead of ever getting to that four
which is good which is what we want
so by doing that everything in theory
should go according to plan the only
thing we'll need to do obviously
is run the get frame right underneath
that so let's take a look if we have any
issues we can easily go through and fix
them let's take a look okay what we're
seeing here is that we're instantly
constantly
running this frame and you'll see that
it is actually broadcasting that last
sprite so if we just set that mod to two
instead of three meaning one less than
if we wanted to you'll see that it is
playing the three costumes we wanted to
do so that's what the issue was with the
animation there and since we had it on
three it was technically playing all of
them which means it plays one more than
what every number you put in so if you
put in two it'll put it at it'll
actually go to costume three and so on
and so forth very easy fix now we need
to fix the issue of why it is constantly
doing this which is really easy that's
because it is running before we actually
press any arrows and obviously we only
want the animation to run if we are
moving so we'll do is we'll just put
this block in each iteration of us ever
pressing a key so now what we will see
is that when we start our game
nothing happens
but when we start moving is when
we will have the animation play and when
you let go it'll stop playing the
animation now one last thing you might
notice is that obviously if we look here
we don't want him to stop there we want
him to have an idle pose right we want
him to have this idle
you know costume that it switches to
right or maybe we want this to be its
idle animation right we want to idle and
sit on this for some reason i don't know
why you would but let's just say you do
you want it to idle on your fourth
animation how do we go about doing that
it's actually very easy
so what we'll want to do is something
very basic basically all we're going to
do is underneath our define we are going
to come to our controls and grab it if
else and in this if else you're going to
run a greater than and we're going to
check if our frame is greater than zero
and if it is we will run the bit of code
we already had created and if not we're
going to switch our costume to whatever
our idle thing is which in our case is
this weird costume four
you obviously set that to something
better
but you know
this is just how we're rolling right now
so now we need to actually set up a
system for it to be zero because if it's
zero then it'll be this costume if it's
greater than zero it'll do the
animations so how do we make it to the
point where it's zero if it's constantly
changing
so what we're going to do is we're going
to mess around with our ability of
sensing whether or not keys are pressed
the first thing we're going to want to
do is we're only going to want to change
our frame when we are again pressing
a button and make sure you put this
change above the get frame so that the
number changes before you try to get the
frame
great now what we're going to need to do
is we are going to need to run
something a little special
what we are going to do is we are going
to set and we're going to make a new
variable and we're going to call this
key sensing is what i'm going to call it
you can call it whatever you'd like i'm
going to call it key sensing and now we
are going to start right here we're
going to set our key sensing to
a minus
block and what we're going to do is
we're going to
check i'm actually going to run for
these since we have four possible
directions we can go on by pressing the
keys we are going to
run an or
and then we are going to do
w
or up arrow and we're going to put it in
here just like this
and again if you're not using both of
these you'll only use whichever one
you're using obviously whichever one is
your you know
ability of movement
so we're going to set it like this
and then we're going to do
or
a
down
an s
okay we're going to duplicate this again
put it in here
we are going to do a right or a d
and in this final one we are going to do
a left
or an a
so
we will set it to any of these now what
we'll see is when we start
so we run the game and if i press up and
left we get two if i press up and right
i get two if i press down and up i get
two if i press down and right or left i
get two if i press down and right i get
two if i press a
and left i get two if i press d you see
pretty much just mess around and start
spamming the keys different formations
you'll see that none of them
can get to zero which is exactly what we
want and the only way it gets to zero is
if you let go of the keys entirely
that's perfect so by switching all of
our minus symbols to addition symbols or
plus symbols we got rid of the problem
entirely which is exactly what we want
now right underneath that we are going
to want an if else statement so we'll
grab an fsl statement and we'll put it
right underneath our key sensing and now
what we will do is we grab an equal
symbol and we will check if our key
sensing is equal to zero
if it is we will set our frame to zero
and now we will do is we will put our
old code in this else statement and now
what you will see is we are going to
have an issue but when we play the game
we move right just as we're supposed to
all good like that but when we let go it
still doesn't go to our idle costume now
why is that that's very easy that's
because we are only catching the frame
if we're moving so if we remove this and
put it back where we originally had it
which is right here
and then get rid of all of the other
get frame blocks that we put in the
other ones
now you will see that when we play our
game
we're idle when the key is zero and as
we move the animations are playing
and then when i let go
we go to our random idol animation so
that is how you go about setting up
something like that i'm gonna leave my
episode here thank you all so much for
watching if you liked it like it if you
didn't like it like it anyways because i
hope this helped out some early
scratchers in their journey while you're
right i want to subscribe to the channel
video account that helped me out a lot
but thank you so much for watching i'll
see you on the next one
peace
[Music]
تصفح المزيد من مقاطع الفيديو ذات الصلة
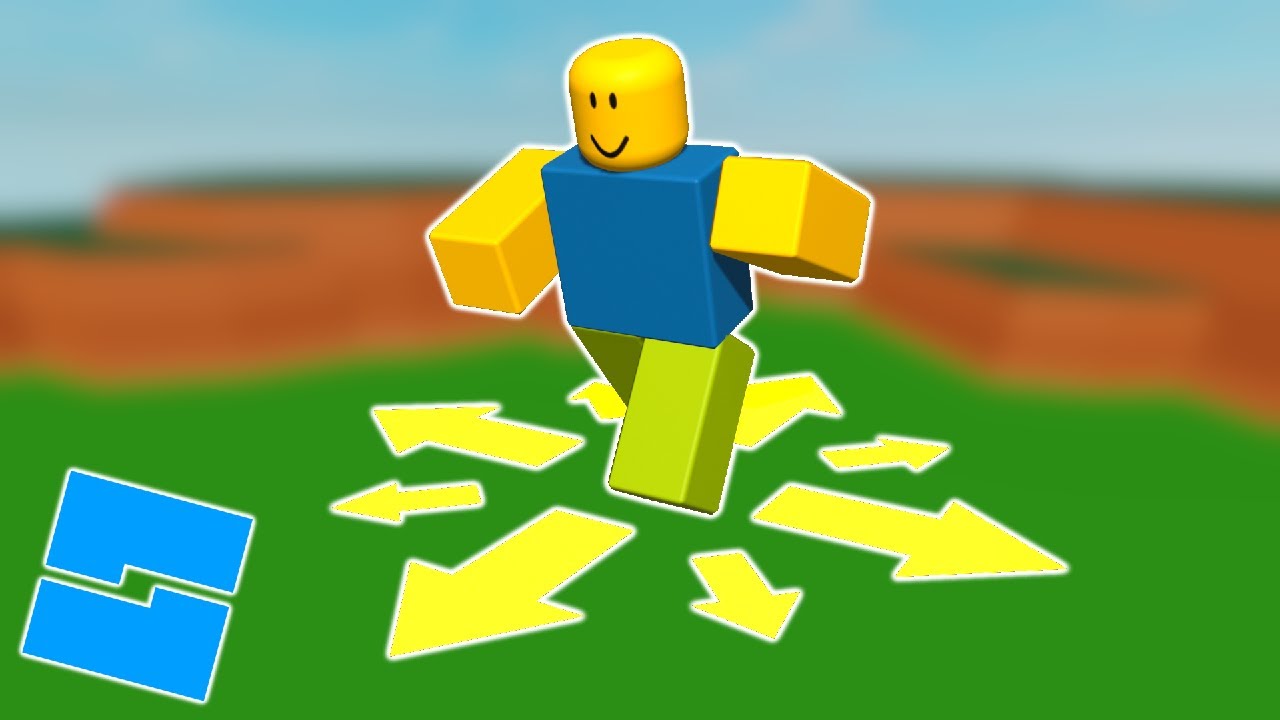
Roblox Studio - 8 Direction Movement System - Scripting Tutorial
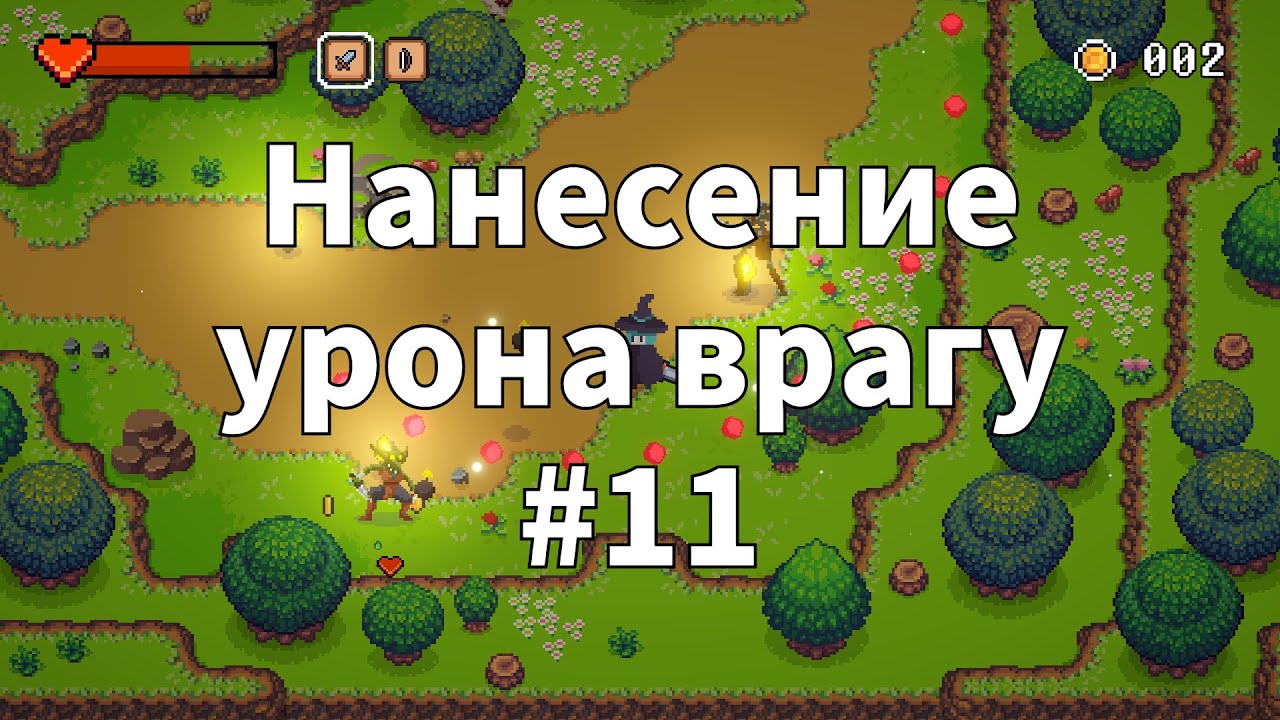
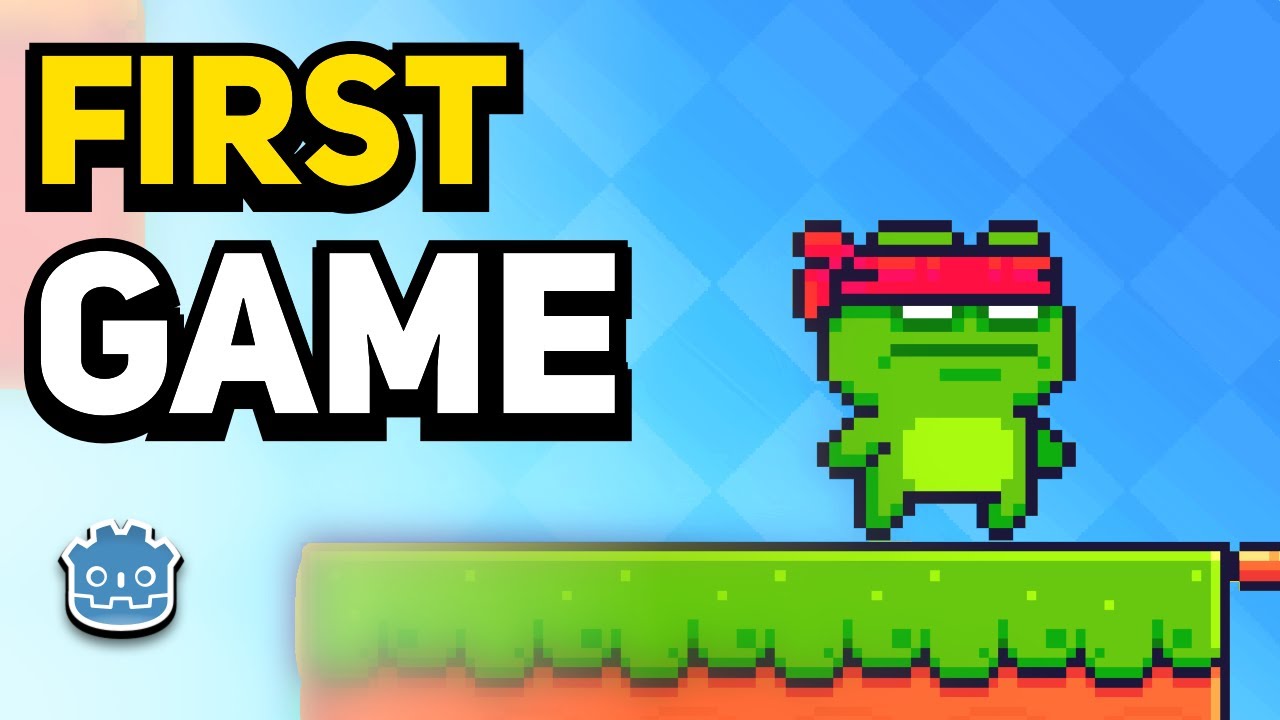
Start Your Game Creation Journey Today! (Godot beginner tutorial)
How To Make a Topdown RPG in Godot 4: Adding The Player (Part 1)
How To Make A Game with GDevelop - Menus and Publishing (E11)
8 Editing Techniques to Make VIRAL YouTube Videos
How to Create Map Animation like Dhruv Rathee | Vox | Johnny Harris in Geo Layers 3 Part 2 | EZEdit
5.0 / 5 (0 votes)