Realistic CRT TV Screen Replacement in After Effects
Summary
TLDRIn this tutorial by Blow Films, Leo demonstrates screen replacement techniques used in a music video for Pip Blom. The video covers how to track and replace a TV screen in After Effects without using tracking markers, by leveraging the clear shape of the screen. Leo also discusses color grading and CRT effects to enhance the realism of the shot, as well as other useful tips for filmmakers. The tutorial includes insights into using Boris Mocha for tracking and the importance of motion blur and grain for creating believable visual effects.
Takeaways
- 📺 The tutorial focuses on screen replacement techniques, specifically for Edward Zorbs' music video for Pip Blom.
- 🎥 The footage was shot by Jackob Thor Helson, a visual effects artist, known for his crisp work.
- 🖥️ The scene discussed involves a character watching TV, where the second character is introduced through the television screen.
- ⚙️ No green screen or tracking markers were used in the shot, but the clear shape of the TV allowed for simple tracking using corner pins.
- 🖌️ The tutorial emphasizes using Mocha Pro for tracking and masking the TV screen to ensure proper screen replacement.
- 🎨 Free CRT TV diode textures can be downloaded from the creator's ArtStation store to replicate the look of a CRT television.
- 🎞️ To enhance the realism of the CRT effect, the tutorial uses various After Effects techniques like Optics Compensation, Gaussian Blur, and color adjustments.
- 🔧 The tutorial uses multiple layers, masks, and effects (e.g., posterized time, Optics Compensation) to replicate the imperfections of old CRT televisions.
- 💡 To simulate flicker on the screen, effects like Strobe Light and random opacity variations are added to give the footage a realistic CRT feel.
- 🎬 A step-by-step breakdown shows how to separate RGB channels and apply CRT diode effects to enhance the authenticity of the screen replacement.
Q & A
What is the main focus of the tutorial in this video?
-The main focus of the tutorial is screen replacement, specifically how to perform it in a shot for Edward Zorbs' music video for Pip Blom.
Who shot the footage used in the tutorial, and what is his background?
-The footage was shot by Jackob Thor Helson, who is also a visual effects artist and worked on some of the screen replacements in the music video.
What makes this screen replacement different from others shown in the past on this channel?
-In this example, there are no tracking markers on the television screen, but the television has a clearly defined shape, making it easy to track the screen’s corners for corner pinning.
How is the reflection on the TV screen used in the shot?
-The clean reflection on the TV screen is used later to add detail, such as the glass reflection, after the screen replacement is completed.
Why is Mocha used in this tutorial, and what role does it play?
-Mocha is used for tracking the screen replacement. It allows the user to define the screen's corners and track its movement throughout the shot to ensure the replacement footage aligns correctly.
What are the CRT TV diode textures, and how are they used in the project?
-The CRT TV diode textures are alpha masks with offset diode strings. By shining red, green, and blue channels through these masks, the effect simulates the look of a CRT TV. These are used to add an authentic CRT effect to the television footage.
What effect does the posterize time effect have on the footage?
-The posterize time effect allows the user to lower the frame rate of the footage, giving it a more authentic, low-frame-rate look, similar to what would be seen on an old CRT TV.
How does the tutorial suggest dealing with the lack of tracking markers in the footage?
-Because the television has a clearly defined shape, the tutorial suggests using corner pinning without the need for motion trackers. The lack of tracking markers doesn’t pose an issue due to the TV's consistent shape.
What methods are used to simulate the imperfections of a CRT TV in the replacement footage?
-Several effects are used, such as the optics compensation effect for refraction, Gaussian blur to lower resolution, and adding a subtle flicker and grain effect to emulate the look of an old CRT TV screen.
Why is a null object created, and how is it used in the screen replacement process?
-A null object is created to hold the tracking data from Mocha. The replacement footage is parented to this null object, allowing it to move and behave in sync with the original television screen.
Outlines

هذا القسم متوفر فقط للمشتركين. يرجى الترقية للوصول إلى هذه الميزة.
قم بالترقية الآنMindmap

هذا القسم متوفر فقط للمشتركين. يرجى الترقية للوصول إلى هذه الميزة.
قم بالترقية الآنKeywords

هذا القسم متوفر فقط للمشتركين. يرجى الترقية للوصول إلى هذه الميزة.
قم بالترقية الآنHighlights

هذا القسم متوفر فقط للمشتركين. يرجى الترقية للوصول إلى هذه الميزة.
قم بالترقية الآنTranscripts

هذا القسم متوفر فقط للمشتركين. يرجى الترقية للوصول إلى هذه الميزة.
قم بالترقية الآنتصفح المزيد من مقاطع الفيديو ذات الصلة
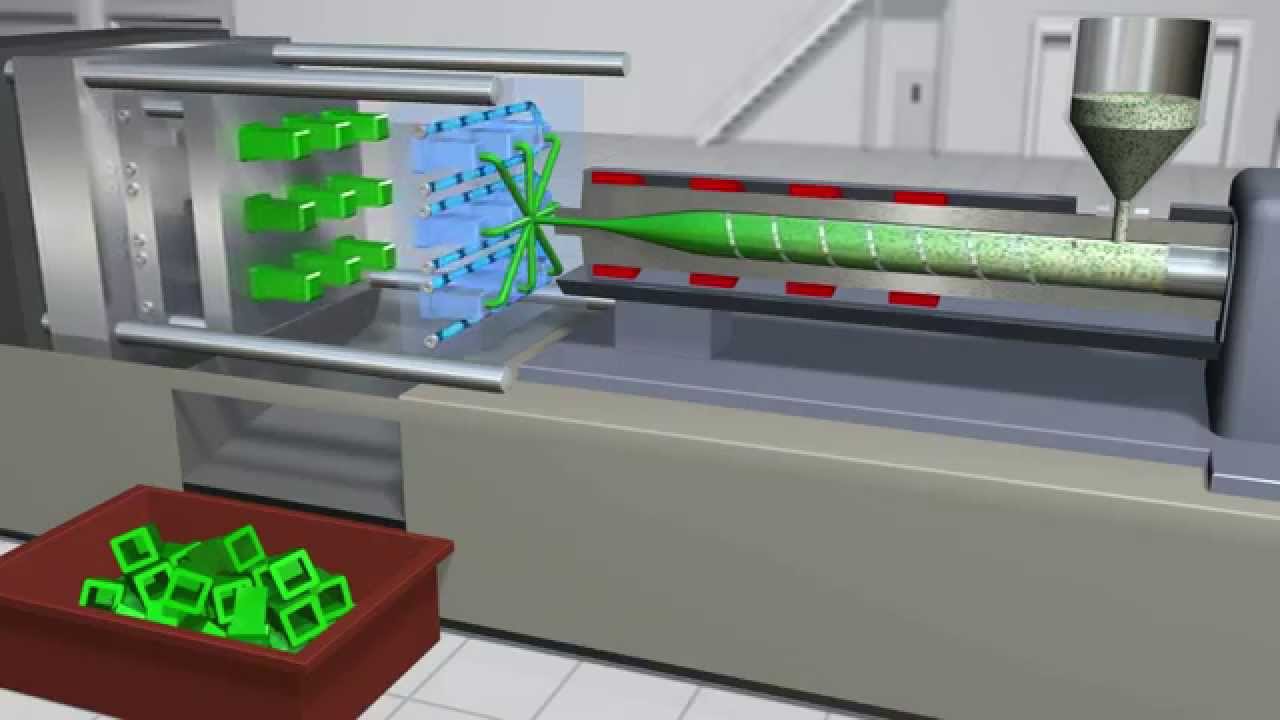
Plastic Processing Overview
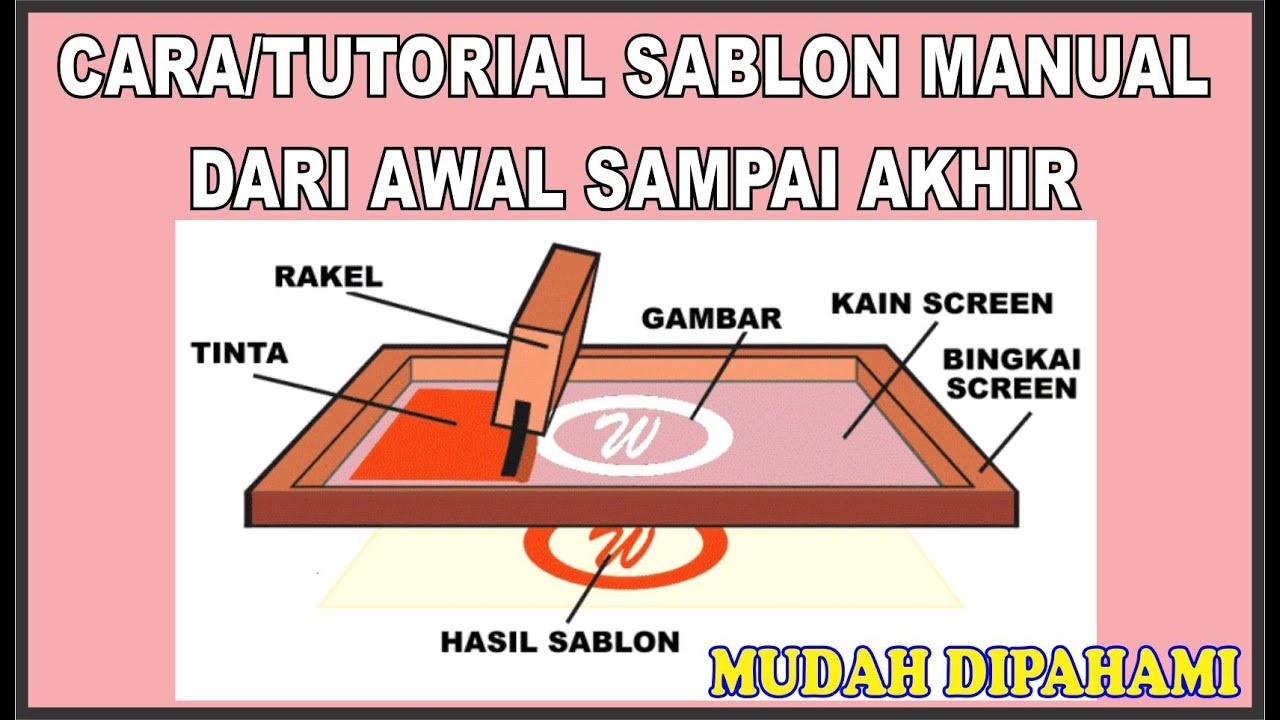
SABLON KAOS MANUAL PRAKTIS DARI AWAL HINGGA AKHIR DIJAMIN BISA

We used AI to make an EPIC promo video in under 10 min

Cara Membuat Efek Loading | Microsoft Powerpoint 2019 | Multimedia Interaktif
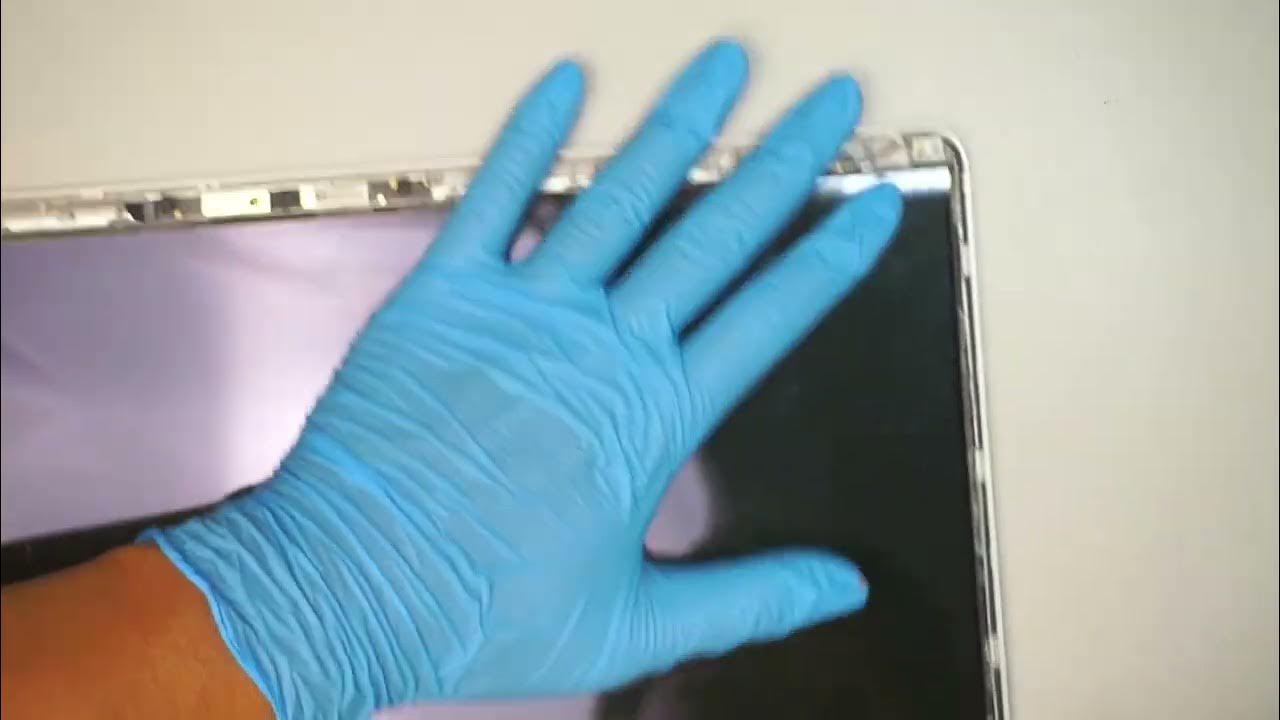
How to Replace HP 15 DY Laptop Screen

What is a Leitmotif — 4 Ways to Tell a Story With Film Music
5.0 / 5 (0 votes)
