You'll Never Make A Bad Chord Progression Again After Watching This - FL Studio 20 Tutorial
Summary
TLDRこの動画スクリプトでは、楽曲制作においてのコード進行の作り方を紹介しています。シンプルな手法を用いて、独創的なコード進行を作り出すことができるようになるでしょう。音理论に詳しくなくても、ピアノロールを使ってハイライトされた音を使い、メジャーコードやマイナーコードを作り出す方法が説明されています。また、スポンサーのSkillshareについても触れており、音楽制作やピアノ演奏、FL Studioの使い方など、様々なスキルを学ぶことができるプラットフォームであることが述べられています。
Takeaways
- 🎹 音楽理論を知らなくても和音進行を作る方法がある
- 🎼 ピアノロールで作業し、スケールのハイライトを有効活用する
- 🔘 メジャー和音は3つの間隔を空けてから2つ目のノートを置く
- 🔘 マイナー和音は2つの間隔を空けてから3つ目のノートを置く
- 🚫 暗いノート(ハイライトされていない)は使用しない
- 🎵 暗いノートに遷移した場合には、その和音を使用せずに次のノートを試す
- 🔄 和音を反転させることで、異なる音の順序で同じ和音を作る
- 🎶 ベースノートをオクターブ下げて、より深いサウンドを作る
- 🎻 メロディを加えることで和音進行をより興味深くする
- 📈 音量の変化やノートの加減で和音の彩りを増やす
- 🌐 Skillshareで音楽理論やFL Studioのスキルを学ぶことができる
- 🎁 Skillshareのリンクをクリックして、1ヶ月間の無料トライアルを入手する
Q & A
初心者がピアノロールで和音進行を作成する際に最初に選ぶべき音源は何ですか?
-初心者はピアノ音源を選ぶことが推奨されています。例としてFL KeysやLabsのソフトピアノ、FL Studioの「Close Grand」が挙げられます。
ピアノロールの設定で、和音進行を作る際に便利な機能は何ですか?
-スケールハイライト機能です。これにより、使用するスケールを選択し、ピアノロール内で強調表示されたノートと暗いノートを区別できます。
マイナーコードとメジャーコードを作るための基本的なルールは何ですか?
-メジャーコードを作る場合、ベースノートから3つスペースを空けた後にノートを置き、さらに2つスペースを空けて次のノートを置きます。マイナーコードを作る場合は、2つスペースを空けた後にノートを置き、3つスペースを空けて次のノートを置きます。
和音がスケールに合わない場合はどうすればいいですか?
-指定されたスケールに合わない和音は使用せず、別の和音を試してみるべきです。
Skillshareの紹介セクションで、どのようなクラスが推奨されていますか?
-Fernando Arudaによるミュージックセオリーのクラスが推奨されており、特にMIDIグリッド上での説明に焦点を当てています。また、FL Studioに関する初心者向けから上級者向けのクラスも提供されています。
和音進行を面白くするための方法は何ですか?
-ベースノートを1オクターブ下げる、和音に追加のノートを加えてメロディを作る、ノートのボリュームを変える、和音を反転させるなどの方法があります。
和音進行を作成する際に、どのようにしてキーを選択しますか?
-スケールハイライト機能を使用してキーを選択します。例として、Cキーが挙げられていますが、他のキーも選択可能です。
和音進行を作る際、なぜ暗いノートを使用しないのですか?
-暗いノートは選択したスケールに含まれないノートを示しており、和音進行がスケールに合致するようにするために使用しません。
和音をより魅力的にするためには、どのような試みができますか?
-和音に含まれるノートのオクターブを変更したり、和音に追加のノートを加えて複雑さを増すことができます。
Outlines

هذا القسم متوفر فقط للمشتركين. يرجى الترقية للوصول إلى هذه الميزة.
قم بالترقية الآنMindmap

هذا القسم متوفر فقط للمشتركين. يرجى الترقية للوصول إلى هذه الميزة.
قم بالترقية الآنKeywords

هذا القسم متوفر فقط للمشتركين. يرجى الترقية للوصول إلى هذه الميزة.
قم بالترقية الآنHighlights

هذا القسم متوفر فقط للمشتركين. يرجى الترقية للوصول إلى هذه الميزة.
قم بالترقية الآنTranscripts

هذا القسم متوفر فقط للمشتركين. يرجى الترقية للوصول إلى هذه الميزة.
قم بالترقية الآنتصفح المزيد من مقاطع الفيديو ذات الصلة
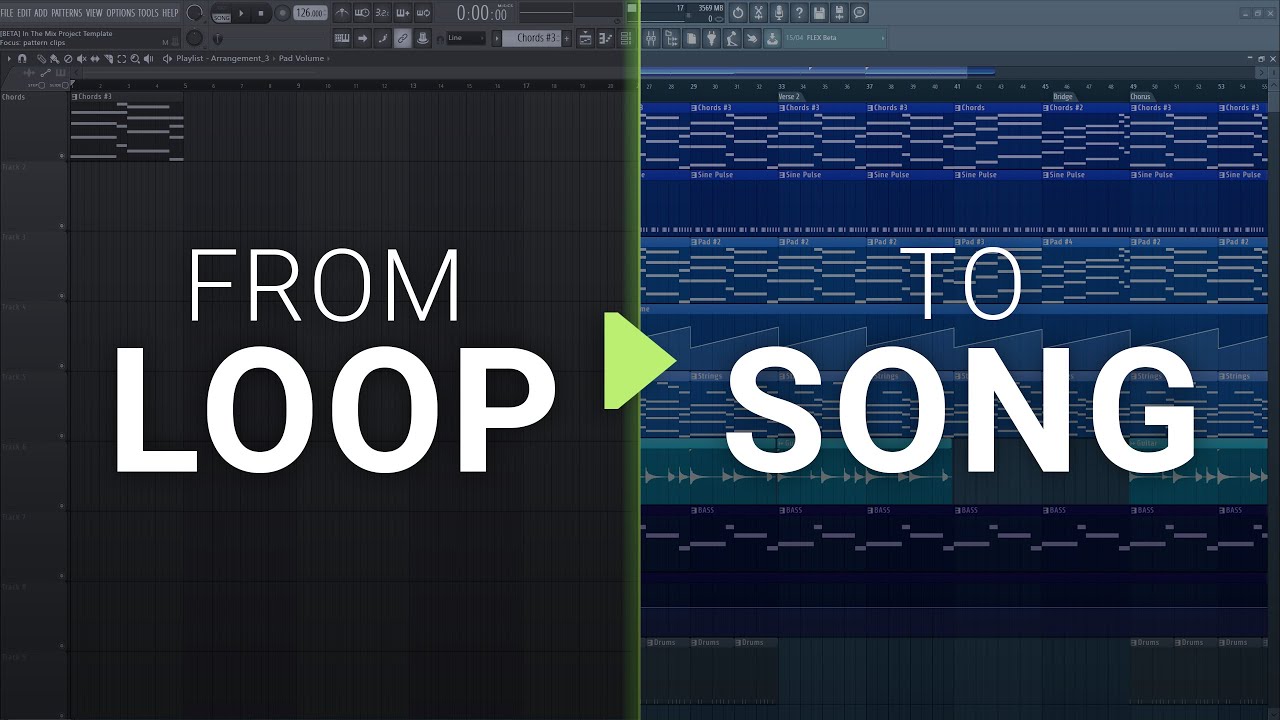
How To Turn Your Loop Into A Song #3 - Production and Arrangement

Video 2 - How to derive the diatonic chords from the Major scale and create chord progressions

Writing The Bridge - 3 Chord Strategies | How to Write Songs

【初心者~中級者】DTM 何から始める? 作曲上達へのロードマップを作ってみた! #dtm #作曲 #杜琴オン

【ちょい遅め】NiziU新曲「Always」MVガチリアクション

【牡牛座新月2024年5月8日】】春分お宝マップ【夢ノート・新月のデクラレーション】
5.0 / 5 (0 votes)
