How to Enhance Low Quality CCTV Footage of a License Plate with MotionDSP Forensic
Summary
TLDRThis video tutorial demonstrates techniques for enhancing a license plate in a surveillance video for forensic analysis. It guides viewers through zooming in, setting a region of interest, and applying resolution filters with super resolution and fusion parameters. The process includes adjusting contrast and sharpening tools, and experimenting with detail mode for clarity. The tutorial concludes with creating snapshots of the enhanced license plate and saving them.
Takeaways
- 🔍 The process begins by zooming in on the license plate area for enhancement.
- 🛠 The 'region of interest' tool is activated to isolate the license plate for focused enhancement.
- 🖼 Resizing the region of interest box ensures only the license plate is enhanced, avoiding other areas.
- 🔧 The resolution filter is used, sampling up to 51 frames and applying a super resolution factor.
- 📈 Upscaling to the maximum value improves the clarity of the license plate characters significantly.
- ⚙️ Additional parameters like the fusion and accuracy settings are adjusted for further refinement.
- ✨ Applying the contrast filter helps darken the characters and make them stand out from the background.
- 🛠 The sharpening tool is employed, along with the deep learning tool, to further enhance the license plate details.
- 🧐 Testing with the detail mode shows that it can add more clarity but may distort some areas.
- 📸 Final snapshots are taken with and without the detail mode enabled, and the images are saved.
Q & A
What is the first step in enhancing the license plate in this process?
-The first step is to zoom in on the area of interest, which in this case is the license plate on the back of the vehicle.
How is the region of interest (ROI) tool activated?
-The region of interest (ROI) tool can be activated through the 'mouths tools' or by clicking on the region of interest filter.
Why is the region of interest (ROI) tool used?
-The ROI tool is used to focus on enhancing a specific area, such as the license plate, while excluding irrelevant parts like the ground.
What does the resolution filter do?
-The resolution filter helps enhance the image by sampling surrounding frames and upscaling the selected area, making details clearer.
How many frames are sampled when using the resolution filter in this example?
-The maximum number of frames sampled in this example is 51.
What is the effect of applying the fusion parameter in the resolution filter?
-The fusion parameter, when maximized, further enhances the clarity of the details on the license plate.
How does the contrast filter help in this enhancement process?
-The contrast filter helps darken the characters on the license plate and make them stand out against the background.
What additional tool is applied after the contrast filter?
-After the contrast filter, the sharpening tool is applied to further enhance the details of the license plate.
What is the effect of using the detail mode?
-Detail mode helps bring out more fine details in the characters on the license plate, though it may slightly distort other parts of the image.
How are snapshots created and saved after enhancing the license plate?
-Snapshots are created by right-clicking and selecting 'save as' for each enhanced image, specifying a save location for the files.
Outlines

هذا القسم متوفر فقط للمشتركين. يرجى الترقية للوصول إلى هذه الميزة.
قم بالترقية الآنMindmap

هذا القسم متوفر فقط للمشتركين. يرجى الترقية للوصول إلى هذه الميزة.
قم بالترقية الآنKeywords

هذا القسم متوفر فقط للمشتركين. يرجى الترقية للوصول إلى هذه الميزة.
قم بالترقية الآنHighlights

هذا القسم متوفر فقط للمشتركين. يرجى الترقية للوصول إلى هذه الميزة.
قم بالترقية الآنTranscripts

هذا القسم متوفر فقط للمشتركين. يرجى الترقية للوصول إلى هذه الميزة.
قم بالترقية الآنتصفح المزيد من مقاطع الفيديو ذات الصلة
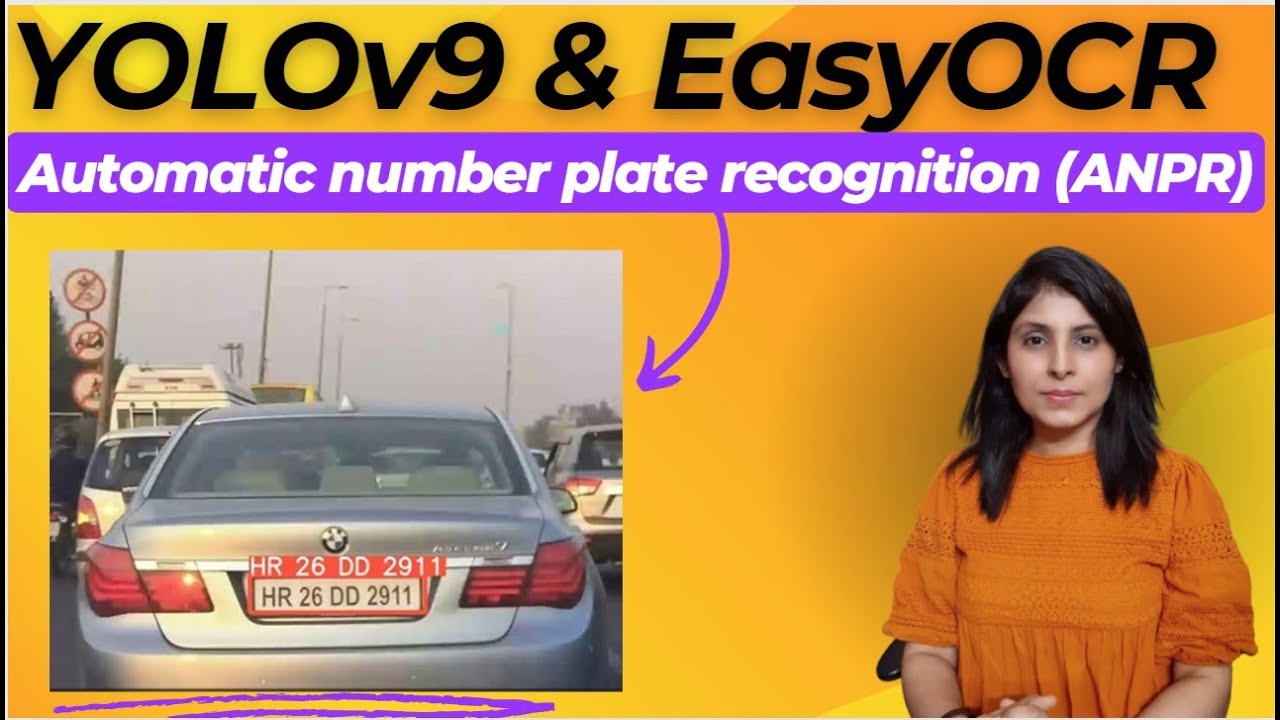
Automatic number plate recognition (ANPR) with Yolov9 and EasyOCR
How to Collect Hair & Fiber Evidence at a Crime Scene
Customer Analysis using Tableau - Dashboard From Scratch

8 Rumus Statistik di Excel yang Lo Wajib Bisa!

Collecting Blood Evidence, Luminol and Blue Star
Paper & Thin Layer Chromatography | Chemical Tests | Chemistry | FuseSchool
5.0 / 5 (0 votes)
