The BEST Way to Select Fur in Photoshop!
Summary
TLDRDieses Video zeigt, wie man in Photoshop perfekte Auswahlen von Haaren und Fell erzeugt. Es wird gezeigt, wie man mit dem 'Refine Hair'-Button und dem 'Refine Edge'-Werkzeug die Auswahl verbessert. Zusätzlich lernen Sie, wie Blend-Modi verwendet werden können, um die Maske zu verfeinern und die Kanten von Haaren und Fell auf hellen oder dunklen Hintergründen nahtlos zu integrieren. Das Video bietet nützliche Tipps, um die Qualität von Fotos zu verbessern und ist für Fotobearbeitungsenthusiasten von großem Wert.
Takeaways
- 🖌️ Photoshop bietet das 'Refine Hair' Feature an, das eine genauere Auswahl von Haaren ermöglicht.
- 🐾 Bei der Auswahl von Tierhaaren ist das 'Select Subject' Feature nicht ausreichend und muss durch 'Refine Hair' verbessert werden.
- 🎨 Die Verwendung von 'Refine Edge' und der 'Onion Skin' Transparenz hilft, die Details der Haarsträhnen besser auszuwählen.
- 🖼️ Die Maske kann durch Blend-Modi wie 'Overlay' und 'Screen' verfeinert werden, um eine nahtlose Integration in den Hintergrund zu erreichen.
- 🖱️ Die Verwendung des 'Refine Edge' Werkzeugs und der Transparenzanpassung ermöglicht eine präzise Bearbeitung der Maskenkanten.
- 🔄 Um die Maske von sehr gut zu perfekt zu machen, kann man die Blend-Modi 'Normal' und 'Overlay' kombinieren, um die Haare und das Fell natürlicher zu gestalten.
- 🌈 Bei der Verwendung von 'Screen' Blend-Modus können die Kanten der Haare und des Fells an die Farbe des Hintergrunds angepasst werden.
- 🔄 Wenn ein Bild von einem dunklen Hintergrund auf einen hellen Hintergrund übertragen wird, kann der 'Screen' Blend-Modus verwendet werden, um die Haare und das Fell anzupassen.
- 🔄 Umgekehrt, wenn ein Bild von einem hellen Hintergrund auf einen dunklen Hintergrund übertragen wird, kann der 'Multiply' Blend-Modus verwendet werden, um die Haare und das Fell anzupassen.
- 🔗 Die Verwendung von Blend-Modi und der Erstellung von Gruppen mit zusätzlichen Masken ermöglicht eine präzise Kontrolle über die Integration des Bildes in den Hintergrund.
Q & A
Was ist der erste Schritt, um das Fell einer Katze in Photoshop auszuwählen?
-Der erste Schritt besteht darin, statt auf 'Select Subject' zu klicken, die Option 'Select and Mask' auszuwählen. Dadurch erhält man Zugriff auf alle wichtigen Werkzeuge für die Auswahl und Maskierung.
Welche Funktion sollte man verwenden, um das Fell eines Tieres besser auszuwählen?
-Man sollte die Funktion 'Refine Hair' verwenden, um die feinen Fellsträhnen des Tieres genauer auszuwählen.
Wie kann man die Auswahl nach der Verwendung von 'Refine Hair' weiter verbessern?
-Man kann das Werkzeug 'Refine Edge' verwenden, um um die Kanten herum zu malen und die Auswahl noch präziser zu gestalten.
Wie verhindert man, dass Farbe beim Malen auf nicht beabsichtigte Bereiche ausläuft?
-Indem man den Mischmodus des Pinsels von 'Normal' auf 'Overlay' ändert. Dadurch wird der Pinsel nur auf Bereichen malen, die näher an der weißen Farbe liegen.
Welche Technik wird verwendet, um das Fell eines Tieres von einem dunklen Hintergrund auf einen hellen Hintergrund zu übertragen, ohne dass die Ränder unnatürlich aussehen?
-Man verwendet den 'Screen'-Mischmodus, um die Ränder des Fells aufzuhellen, damit sie besser zum hellen Hintergrund passen.
Wie verstärkt man den Effekt des 'Screen'-Mischmodus an den Fellrändern?
-Man kann den Effekt verstärken, indem man mehrere Kopien der Ebene erstellt, um die Ränder des Fells besser hervorzuheben.
Was macht man, wenn der Mittelteil des Bildes durch die Verwendung von 'Screen' nicht korrekt aussieht?
-Man erstellt eine zusätzliche Kopie der Ebene, setzt den Mischmodus auf 'Normal' zurück und maskiert nur den mittleren Teil des Bildes, um ihn korrekt darzustellen.
Wie behebt man das Problem von durchsichtigen Stellen in der Maske, die nicht sein sollten?
-Man wechselt den Pinselmodus zu 'Normal' und malt die durchsichtigen Bereiche in der Maske mit einer weißen Farbe aus, um sie opak zu machen.
Wie geht man vor, wenn man ein Bild von einem hellen Hintergrund auf einen dunklen Hintergrund übertragen möchte?
-In diesem Fall verwendet man den 'Multiply'-Mischmodus, um das Bild an den dunklen Hintergrund anzupassen.
Wie kann man den Pinsel verwenden, um sicherzustellen, dass er nicht auf falschen Bereichen malt?
-Man kann den Mischmodus des Pinsels auf 'Overlay' setzen und die Flussrate des Pinsels verringern, um präzisere Korrekturen an den Rändern vorzunehmen.
Outlines

هذا القسم متوفر فقط للمشتركين. يرجى الترقية للوصول إلى هذه الميزة.
قم بالترقية الآنMindmap

هذا القسم متوفر فقط للمشتركين. يرجى الترقية للوصول إلى هذه الميزة.
قم بالترقية الآنKeywords

هذا القسم متوفر فقط للمشتركين. يرجى الترقية للوصول إلى هذه الميزة.
قم بالترقية الآنHighlights

هذا القسم متوفر فقط للمشتركين. يرجى الترقية للوصول إلى هذه الميزة.
قم بالترقية الآنTranscripts

هذا القسم متوفر فقط للمشتركين. يرجى الترقية للوصول إلى هذه الميزة.
قم بالترقية الآنتصفح المزيد من مقاطع الفيديو ذات الصلة

Haircare routine in 2024 🎀 | my PERFECTED hair care routine for long and healthy hair

The Solution To Stop Wasting So Much Time Editing (Premiere Pro Guide)

Make GREAT Chord Progressions EASILY

Day 3: Learn How to Produce Music (How to Lay Down Drums)
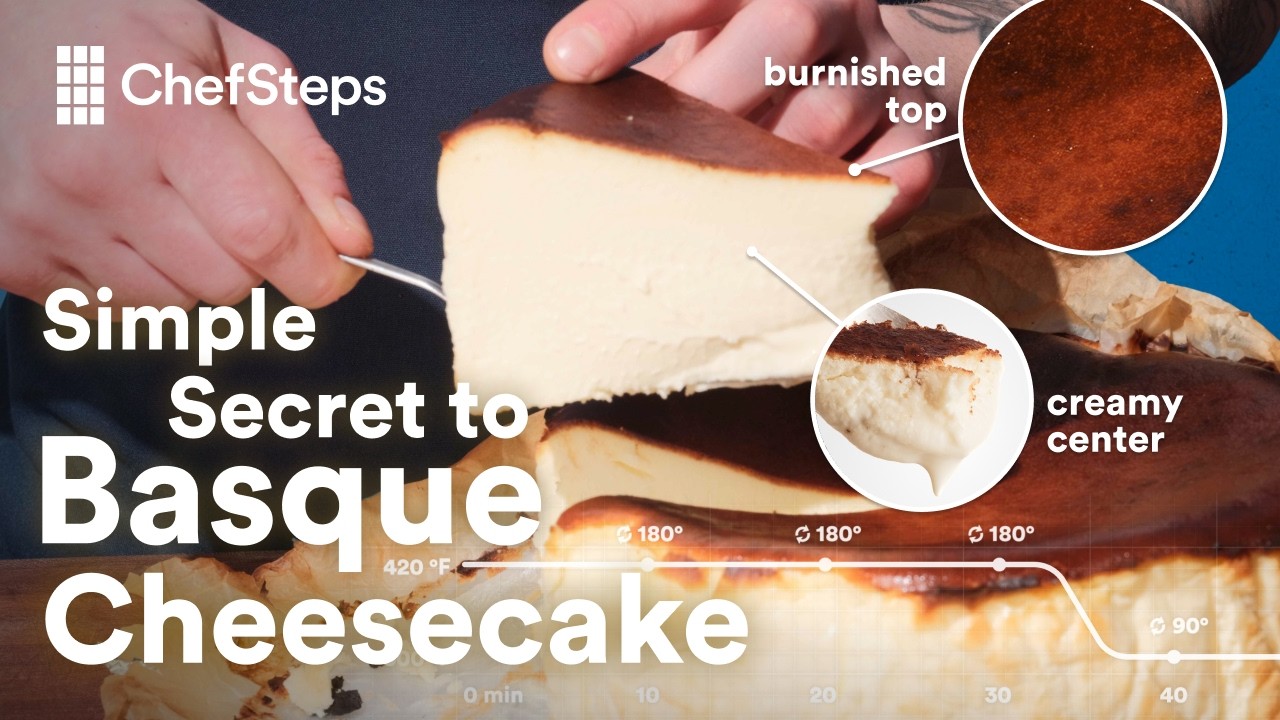
How to Make Basque Cheesecake the Right Way (Don’t Burn It!)
Easiest Way to Understand Compression
5.0 / 5 (0 votes)
