Church Tech Tour - Affordable Multicam Broadcast Video Setup (Perfect for Livestream)
Summary
TLDRIn this informative video, Rylan Russell shares an in-depth look at the broadcast setup used at Central Baptist Church in Owasso, Oklahoma. With a focus on cost-effectiveness and creativity, he details the use of two ATEM Studio HD switchers, a variety of Panasonic G-series cameras, and wireless technology to achieve high-quality live streams. The video also covers camera placements, lens choices, and additional equipment, all aimed at enhancing viewer engagement without the need for a large team or budget.
Takeaways
- 🎥 The speaker, Rylan Russell, provides an in-depth walkthrough of his church's broadcast setup.
- 🏛 The church, Central Baptist Church in Owasso, Oklahoma, is a mid-sized congregation with around 350 average attendees.
- 🔄 Rylan emphasizes the strategic and frugal building of the broadcast system to suit their needs.
- 🎬 The video showcases two Blackmagic Design ATEM Studio HD switchers for broadcast and video distribution.
- 📹 Eight different camera setups are utilized, each with specific roles and configurations.
- 📷 Panasonic G series cameras are chosen for their cost-effectiveness, reliability, flexibility, and compatibility with various lenses.
- 🔭 Camera 1 is a safe wide shot using a GH4 with a 20mm f/1.7 lens, while Camera 2 is a traditional broadcast camera, the Panasonic DVX-200.
- 🤳 Camera 3 is a roaming camera with a wireless HDMI setup, adding creativity to the stream.
- 🔄 Camera 4 features a motorized wireless looping zoom module for dynamic shots.
- 🎵 Camera 5 focuses on the drums, utilizing an automated looping slider for movement.
- 🔗 The entire setup is interconnected with a combination of HDMI, SDI, and wireless technologies.
- 💰 The total cost of the setup over four years is approximately $16,000, with an estimated new setup costing around $20,000 to $21,000.
Q & A
Who is the presenter of the video?
-The presenter of the video is Rylan Russell.
What is the purpose of the video?
-The purpose of the video is to walk the viewers through the complete broadcast setup used at Rylan Russell's church.
Where is the church located?
-The church is located in Owasso, Oklahoma.
What is the average attendance of the church?
-The average attendance of the church is about 350 people.
How many video switchers does the church use for their broadcast?
-The church uses two ATEM Studio HD switchers for their broadcast and video distribution.
What is the role of the second ATEM switcher in the setup?
-The second ATEM switcher is used to add lower thirds onto the final program feed and acts as the graphics and video switcher.
What type of cameras does the church primarily use for their broadcast?
-The church primarily uses the Panasonic G series of cameras for their broadcast.
What are some benefits of using the Panasonic G series cameras mentioned in the video?
-The benefits of using the Panasonic G series cameras include cost-effectiveness, reliability, flexibility, and features like swivel screens, focus peaking, and in-body image stabilization (IBIS).
What is the purpose of the Teradek Ace 500 wireless HDMI unit in the setup?
-The Teradek Ace 500 wireless HDMI unit is used for the roaming camera, providing a reliable and low-latency wireless connection for capturing dynamic shots.
What is the role of the cable cam in the broadcast setup?
-The cable cam, running back and forth on a wire, adds dynamic motion to the broadcast by providing a unique perspective and is controlled via an Avaxis Atom 500 unit.
What is the approximate total cost of the entire setup, including all equipment and gear?
-The approximate total cost of the entire setup, including all equipment and gear, is around $16,000 spent over four years, or about $20,000 to $21,000 if buying only new gear.
Outlines

هذا القسم متوفر فقط للمشتركين. يرجى الترقية للوصول إلى هذه الميزة.
قم بالترقية الآنMindmap

هذا القسم متوفر فقط للمشتركين. يرجى الترقية للوصول إلى هذه الميزة.
قم بالترقية الآنKeywords

هذا القسم متوفر فقط للمشتركين. يرجى الترقية للوصول إلى هذه الميزة.
قم بالترقية الآنHighlights

هذا القسم متوفر فقط للمشتركين. يرجى الترقية للوصول إلى هذه الميزة.
قم بالترقية الآنTranscripts

هذا القسم متوفر فقط للمشتركين. يرجى الترقية للوصول إلى هذه الميزة.
قم بالترقية الآنتصفح المزيد من مقاطع الفيديو ذات الصلة
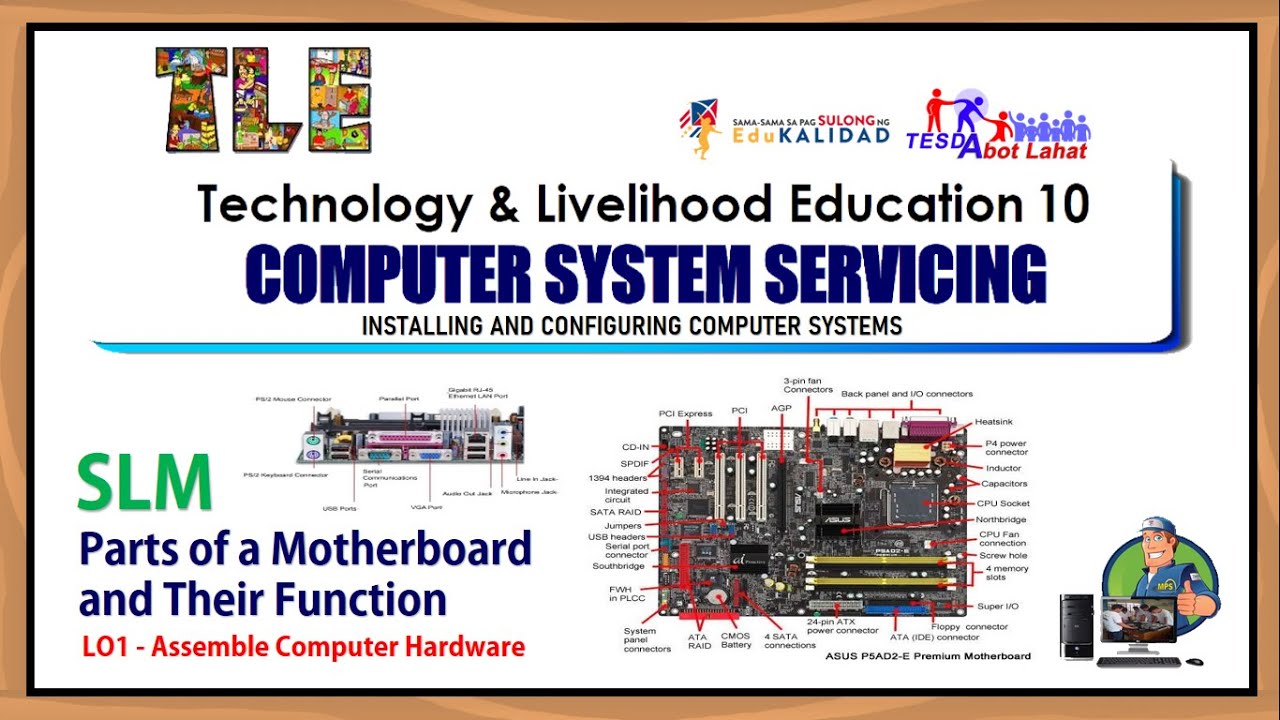
Parts of a Motherboard and Their Function - Part 2 Back Panel Connectors & Ports

KEDIV #6 With Divisi Program

Mata kuliah Ilmu Komunikasi semester 1 dan 2 tuh apa aja ya? 🤔 || IKOM UMM

9 ORGANISASI GEREJA ARAS NASIONAL INDONESIA
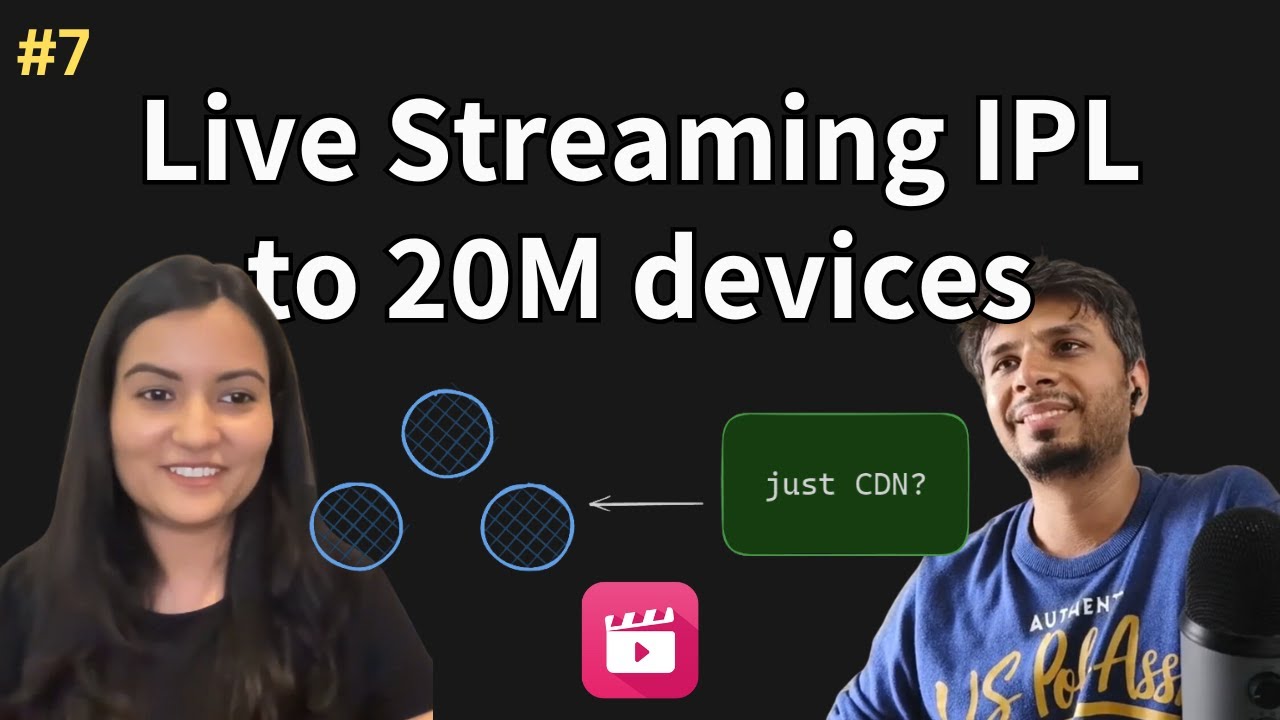
How JioCinema live streams IPL to 20 million concurrent devices w/ Prachi Sharma | Ep 7

Four girls killed in 1963 Birmingham bombing remembered
5.0 / 5 (0 votes)
