Dari barang bekas bisa buat baterai magnesium 3 kali lebih kuat dari baterai air garam
Summary
TLDRThis video script details a DIY project on creating a battery using recycled materials such as magnesium rods or old batteries. The tutorial involves attaching aluminum plates with holes, securing them with insulock from a motorcycle parts store, and wrapping with tissue to prevent contact with negative plates. The cells are then soaked in a solution of laundry bleach, which serves as the electrolyte. The cells are tested for voltage individually and in series, demonstrating the ability to power a small LED light and a USB light, showcasing a creative and resourceful way to repurpose waste materials into a functional battery.
Takeaways
- 🛠️ A DIY battery is being made using a magnesium rod or old battery cells.
- 🔩 The process involves attaching aluminum plates to the magnesium rod with the help of cable and insulock for a secure connection.
- 🧩 Insulock is a material used to strengthen the cable binding, which can be purchased at a low cost from a motorcycle parts store.
- 🔋 The script mentions using old battery cells that are no longer in use for the project.
- 🔨 Aluminum plates are used as part of the battery construction, with holes drilled for cable attachment.
- 🧻 Tissue is wrapped around the magnesium rod and the battery cells to prevent unwanted electrical connections and to act as a liquid absorber.
- 💧 A small bottle filled with a cleaning solution is used as the electrolyte for the battery.
- 🔬 The electrolyte used in the experiment is a laundry bleach solution, which is inexpensive and readily available.
- 🔋 The cells are tested for voltage individually before being connected in series.
- 🔌 The final battery is tested with a multimeter to measure the voltage output when connected in series.
- 💡 The battery's effectiveness is demonstrated by powering an LED light and a USB light, showing that it can provide sufficient power for small devices.
Q & A
What is the main purpose of the video?
-The main purpose of the video is to demonstrate the process of creating a homemade battery using a magnesium rod or old batteries.
What materials are required to make the battery as described in the video?
-The materials required include a magnesium rod, old batteries, aluminum plates, a cable, insulating tape, tissue, and a liquid electrolyte such as laundry bleach.
Why is insulating tape used in the battery construction?
-Insulating tape is used to prevent the cables from making unwanted electrical connections with other parts of the battery.
What is the role of the tissue in the battery?
-The tissue serves as an absorbent material to soak up the electrolyte and also acts as a separator to prevent direct contact between the aluminum and magnesium plates.
What type of container is used to hold the battery components?
-A small, recycled plastic bottle is used to hold the positive and negative plates of the battery.
Why is laundry bleach used as an electrolyte in the video?
-Laundry bleach is used as an electrolyte because it is a readily available, inexpensive substance that can facilitate the flow of electricity.
How many cells are created in the video?
-Three cells are created in the video, which are then connected in series to form the battery.
What is the measured voltage of the individual cells before connecting them in series?
-The measured voltages of the individual cells before connecting them in series are 1.50 volts, 1.56 volts, and 1.52 volts.
How are the cells connected to increase the overall voltage of the battery?
-The cells are connected in series to increase the overall voltage of the battery.
What is the measured voltage of the battery when the cells are connected in series?
-The measured voltage of the battery when the cells are connected in series is approximately 4.87 volts.
What is the final test conducted to demonstrate the battery's functionality?
-The final test conducted is to power a USB light, which illuminates, demonstrating that the homemade battery is functional.
Outlines

此内容仅限付费用户访问。 请升级后访问。
立即升级Mindmap

此内容仅限付费用户访问。 请升级后访问。
立即升级Keywords

此内容仅限付费用户访问。 请升级后访问。
立即升级Highlights

此内容仅限付费用户访问。 请升级后访问。
立即升级Transcripts

此内容仅限付费用户访问。 请升级后访问。
立即升级浏览更多相关视频
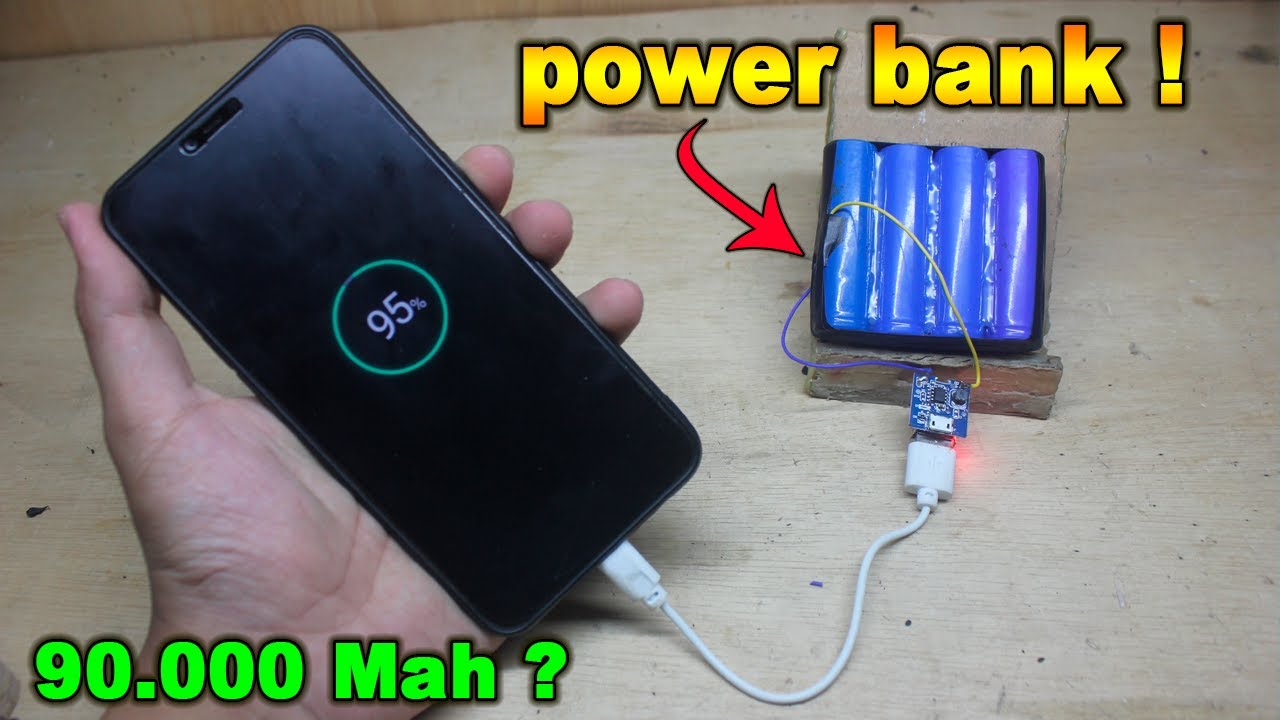
TERNYATA HANYA BEGINI !! Cara membuat power bank super awet

Cara membuat Panel Surya dari bekas baterai dan silet..
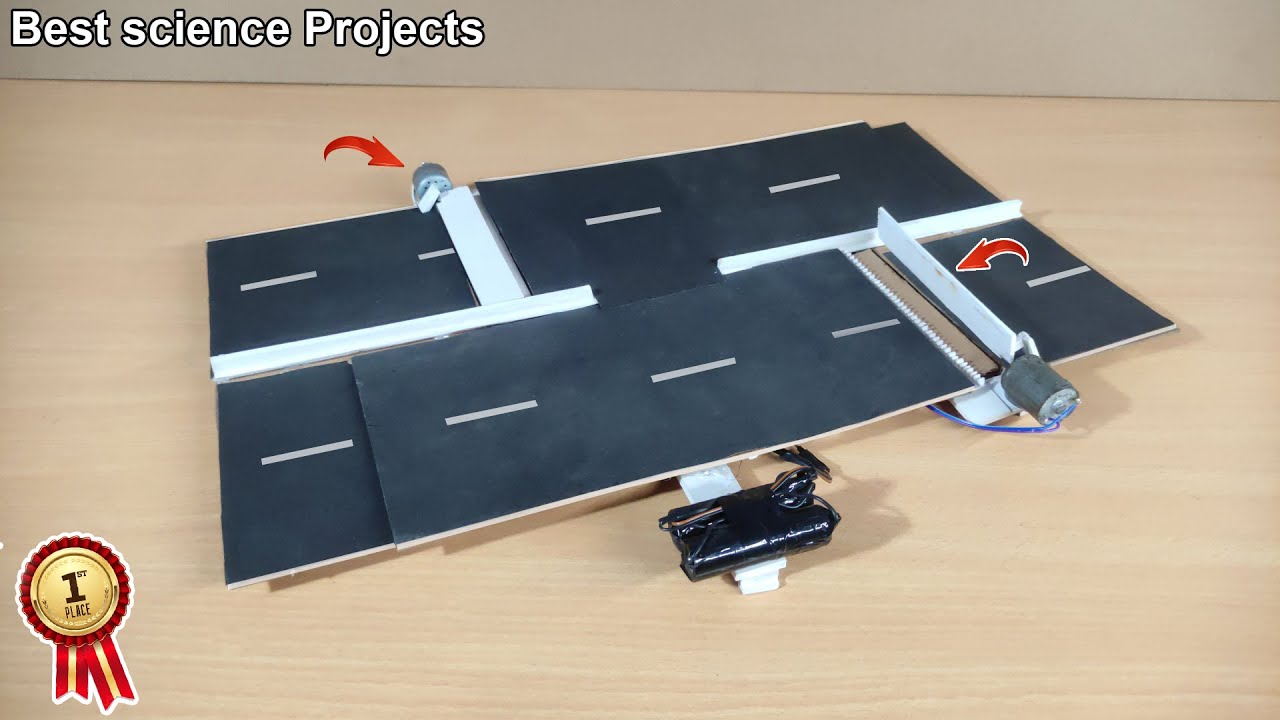
Inspire Award Project | Road Accident Prevention | Best science Project
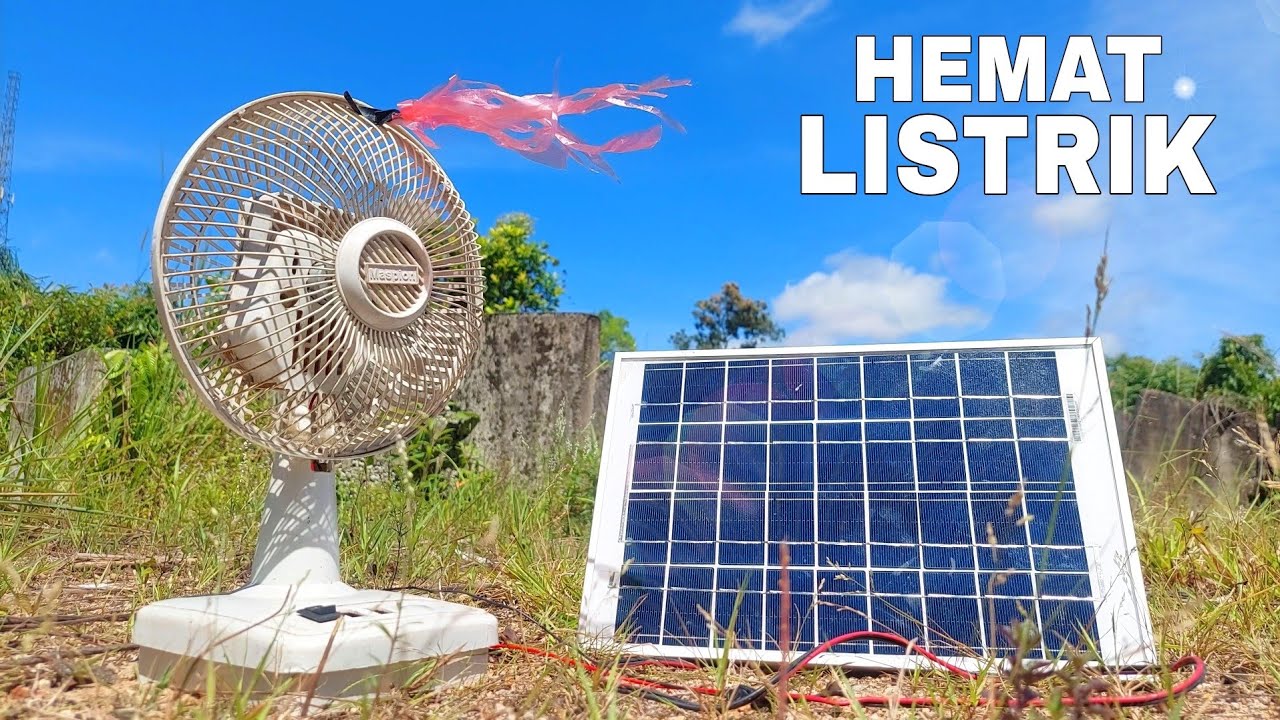
SAYA BERHASIL MERAKIT KIPAS ANGIN TENAGA MATAHARI MURAH MERIAH !!

Сможет ли Трилон-Б улучшить параметры аккумулятора?Часть первая.

KENAPA GAK KEPIKIRAN BUAT ALAT INI DARI DULU !!!
5.0 / 5 (0 votes)
