Manage Customers Profile using Interactive Grid and Input Form - Part 5
Summary
TLDRThis Tech mining video tutorial guides viewers on creating a customer management setup using Oracle Apex. It covers creating interactive grid and form pages for browsing, searching, adding, and removing customer profiles from a database. The tutorial demonstrates using wizards, configuring properties, and implementing features like breadcrumbs, modal dialogs, and validations to ensure data integrity. Viewers learn to enhance user experience with dynamic actions and input masks, culminating in a functional customer profile management system.
Takeaways
- 😀 The video demonstrates how to create a customer profile management setup using Oracle Apex.
- 🔍 It covers the creation of two pages, one for viewing and editing customer information and another for adding or removing customer records.
- 📊 The first page is an interactive grid displaying all customers from a database, with each customer's name as a clickable link.
- 📝 The second page is a form for inputting details of a new customer, modifying an existing customer's profile, or deleting a customer from the database.
- 🛠️ Oracle Apex's built-in wizards are used to facilitate the creation and configuration of these pages.
- 🔑 The primary key for customer records is set to 'Customer ID Number', and a sequence is used for auto-generating primary key values.
- 🎯 The interactive grid allows for data manipulation, including sorting, filtering, and direct cell editing, providing a more dynamic user experience than traditional reports.
- 📝 The form page supports functionalities like computations, validations, processes, and branches, enhancing data integrity and user interaction.
- 🌐 Breadcrumbs are used for hierarchical navigation, allowing users to understand their position within the application and navigate back easily.
- 🚫 Validations are created to prevent actions such as deleting customers with existing orders or setting a credit limit above the predefined cap.
- 🔄 A dynamic action is used to refresh the interactive grid immediately when the form page closes, ensuring the data displayed is always current.
Q & A
What is the main purpose of the video?
-The video demonstrates how to create a setup for managing customer profiles, including browsing, searching, modifying, adding, and removing customer records using Oracle Apex.
What are the two pages created in the video?
-The two pages created are an interactive grid page for viewing and searching customer records (page 2) and a form page for adding, modifying, and deleting customer details (page 7).
What is the difference between an interactive grid and an interactive report in Oracle Apex?
-An interactive grid is similar to an interactive report but offers additional features such as cell editing, fixed headers, frozen columns, scroll pagination, multiple filters, sorting, aggregates, and computations.
What is the purpose of a modal dialog page in Oracle Apex?
-A modal dialog page is a standalone page that appears on top of its calling page, preventing users from interacting with the underlying page until it is closed.
How does the breadcrumb navigation feature work in the application?
-Breadcrumbs provide a hierarchical list of links indicating the user's location within the application, allowing users to quickly navigate back to any level of the hierarchy.
What is the significance of setting the 'Data Source' attribute to 'Local Database'?
-Setting the 'Data Source' attribute to 'Local Database' specifies that the interactive grid will populate its data from a database table, enabling the display of customer records.
Why is the 'Customer ID' column set to 'Hidden' in the interactive grid?
-The 'Customer ID' column is set to 'Hidden' because it is a primary key column used for data integrity in the database and does not need to be displayed in the application interface.
How does the video guide users to modify the SQL query for the interactive grid?
-The video instructs users to replace the auto-generated SQL statement with a custom one that concatenates the first and last names of customers and combines the two address columns into a single address column.
What is the role of the 'Dynamic Action' created on page 2?
-The Dynamic Action on page 2 is responsible for refreshing the interactive grid immediately when the form page closes, ensuring that the grid displays the most recent data without requiring a browser reload.
How does the video address the issue of primary key violation when creating the first customer record?
-The video suggests that beginners may encounter a primary key violation due to the initial value of the sequence object. It recommends clicking the create button multiple times or adjusting the sequence object's start value to resolve the issue.
What validations are created in the video to ensure data integrity?
-Two validations are created: one to check that the customer's credit limit does not exceed a set cap of five thousand dollars, and another to prevent the deletion of customer records with existing orders.
Outlines

此内容仅限付费用户访问。 请升级后访问。
立即升级Mindmap

此内容仅限付费用户访问。 请升级后访问。
立即升级Keywords

此内容仅限付费用户访问。 请升级后访问。
立即升级Highlights

此内容仅限付费用户访问。 请升级后访问。
立即升级Transcripts

此内容仅限付费用户访问。 请升级后访问。
立即升级浏览更多相关视频
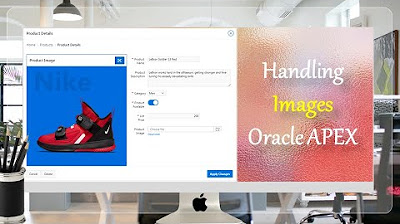
Display Images in Oracle APEX Interactive Reports and Forms - Part 8
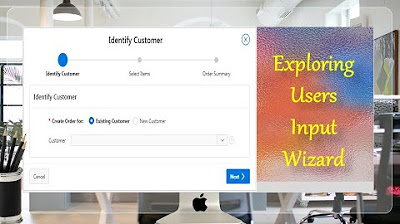
Taking User Input Via Wizard in Oracle APEX - Part 17(B)
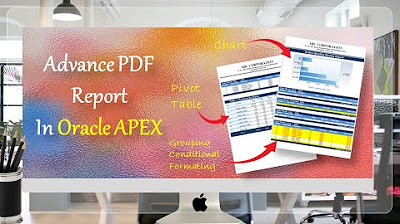
Create Advance PDF Reports in Oracle APEX Comprising Grouping | Chart | Pivot Table - Part 33
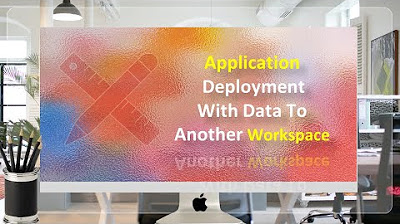
Application Deployment in Oracle APEX with Data - Part 40
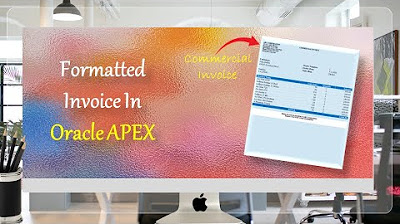
Formatted Reports (Commercial Invoice) in Oracle APEX - Part 34
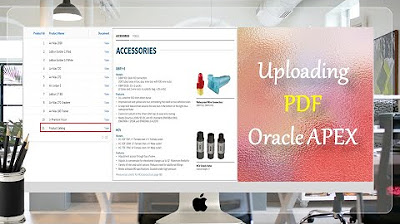
How to Upload PDF, Audio, Video, and other Documents in Oracle APEX - Part 9
5.0 / 5 (0 votes)
