Building an Object Detection App with Tensorflow.JS and React.JS in 15 Minutes | COCO SSD
Summary
TLDRThis video tutorial guides viewers through building a real-time object detection app using React and TensorFlow.js. The host introduces a pre-built template on GitHub to expedite the setup, then demonstrates how to integrate the COCO SSD model from TensorFlow.js for object detection. The tutorial covers setting up the React app, capturing webcam images, processing detections, and rendering them on-screen. It concludes with a live demo showcasing the app's ability to detect and highlight objects in real-time, with an option to switch to a 'party mode' for a more dynamic visual effect.
Takeaways
- 😀 The video is a tutorial on building a real-time object detection app using React and TensorFlow.js.
- 🛠️ A computer vision template is provided on GitHub to help kickstart the development of the object detection app.
- 📚 The tutorial covers three main topics: accessing the computer vision template, setting up and coding with COCO SSD, and making real-time detections with the app and webcam.
- 🔍 The app uses a pre-built TensorFlow.js model that utilizes COCO SSD for real-time object detection.
- 💻 The tutorial guides through setting up a React app, capturing images from a webcam, and rendering detections to the screen.
- 🔑 The 'tensorflow-models/coco-ssd' package is a key dependency for the pre-trained COCO SSD model in the project.
- 🎨 The 'drawRect' function is created to visually represent the detected objects by drawing rectangles and text on the canvas.
- 🔄 The app starts with importing the model, loading the network, making detections, and then drawing the results on the canvas.
- 🎉 The tutorial also suggests enhancing the app with a 'party mode' feature that changes the color of the detections for a more dynamic effect.
- 🔍 The detections are logged in the console, showing details like bounding box coordinates, class of the object, and the confidence score.
- 📈 The tutorial concludes with a demonstration of the app detecting various objects in real-time using the webcam.
Q & A
What is the main topic of the video?
-The main topic of the video is building a real-time object detection app using React JS and TensorFlow.js.
What are the three key things the video covers?
-The video covers accessing the computer vision template, setting up and coding with COCO SSD, and making real-time detections using the app and webcam.
What is the purpose of the GitHub template mentioned in the video?
-The GitHub template is designed to kickstart the development of a real-time object detection app, providing a foundation to build upon.
Which pre-built model is used for object detection in the video?
-The video uses the pre-built TensorFlow.js model that utilizes COCO SSD for object detection.
How does the video guide the setup of the React JS app?
-The video guides the setup by cloning the React computer vision template from GitHub and using the 'create-react-app' library.
What is the role of the 'tensorflow-models/coco-ssd' package in the project?
-The 'tensorflow-models/coco-ssd' package provides the pre-trained COCO SSD model from TensorFlow.js, which is used for making object detections.
How does the video describe the process of capturing images from the webcam?
-The video describes the process as streaming whatever is in the webcam's frame to the TensorFlow.js model for object detection.
What is the purpose of the 'drawRect' function in the utilities.js file?
-The 'drawRect' function is used to draw rectangles and text on the canvas, representing the detected objects from the webcam feed.
How does the video demonstrate updating the app.js file?
-The video demonstrates updating the app.js file by importing the required model, loading the network, making detections, and using the 'drawRect' function to visualize the results.
What additional feature does the video suggest for enhancing the app?
-The video suggests updating the drawing function to change the color of the detections dynamically, creating a 'party mode' effect.
How can viewers access the code and resources mentioned in the video?
-Viewers can access the code and resources by cloning the provided GitHub repository or downloading the code from the custom object detection React JS TensorFlow repo link provided in the video description.
Outlines

此内容仅限付费用户访问。 请升级后访问。
立即升级Mindmap

此内容仅限付费用户访问。 请升级后访问。
立即升级Keywords

此内容仅限付费用户访问。 请升级后访问。
立即升级Highlights

此内容仅限付费用户访问。 请升级后访问。
立即升级Transcripts

此内容仅限付费用户访问。 请升级后访问。
立即升级浏览更多相关视频

Real Time Sign Language Detection with Tensorflow Object Detection and Python | Deep Learning SSD
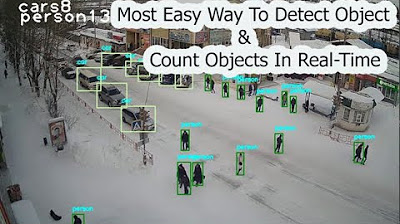
Most Easy Way To Object Detection & Object Counting In Real Time | computer vision | python opencv

Tensorflow Lite with Object Detection on Raspberry Pi!

Is Redis the ONLY database you need? // Fullstack app from scratch with Next.js & Redis
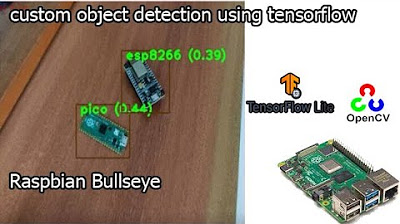
tensorflow custom object detection model | raspberry pi 4 tensorflow custom object detection
Build a 🔥 Chat App with FastAPI and React JS (👾 Discord Clone)
5.0 / 5 (0 votes)
