Smart Water Game for Kids - Tugas Organisasi Komputer
Summary
TLDRThis project demonstrates a USB 32-based system integrating ultrasonic sensors, servo motors, OLED displays, and keypads. The system offers several modes, including auto and manual modes, where the servo moves based on sensor readings. Users can set minimum and maximum distance limits for the servo and test components like sensors and displays. The program also features a timer to manage servo activity based on sensor inputs, making the system flexible for various use cases. The presentation includes a detailed walkthrough of the circuit design, programming, and operational logic.
Takeaways
- 😀 The project is built around an ESP32, which serves as the central controller for various components, including ultrasonic sensors, displays, motors, and keypads.
- 😀 The HCSR04 ultrasonic sensor is used to measure distance, and data is displayed on an SSD 1306 OLED display.
- 😀 Servo motors are controlled based on ultrasonic sensor readings and are used for menu navigation and settings adjustment.
- 😀 The project features a menu system accessible via a keypad, allowing users to select from multiple modes, including auto, manual, and test modes.
- 😀 In auto mode, the servo automatically adjusts its position based on the sensor's distance readings, with specific actions for distances below and above set thresholds.
- 😀 Manual mode allows users to adjust the servo's position manually, providing more control over the system's behavior.
- 😀 The system includes settings to define the minimum and maximum sensor distance limits, with real-time testing options to verify sensor, servo, and OLED functionality.
- 😀 In the auto mode, if the distance detected by the sensor is below 50 cm, the servo moves to a specific position (180 degrees), and if the distance exceeds the set threshold, the servo resets.
- 😀 A timer is implemented to track the duration when certain distance conditions are met, resetting after a specified period if the distance condition is not met.
- 😀 The system also allows for manual input of distance values, and it includes a settings menu where users can adjust distance parameters and test components like the sensor and OLED.
Q & A
What is the main purpose of the project described in the video?
-The project is based on the ESP32 microcontroller and involves several components such as ultrasonic sensors, displays, servo motors, and keypads. The goal is to create a system that measures distance, displays data, and allows for servo motor control through various modes.
How does the ESP32 contribute to the project?
-The ESP32 acts as the main controller, connecting all the components, including the ultrasonic sensor, displays, and servo motors. It manages the logic for reading sensor data and controlling the servo motors based on different modes.
What are the key components used in this project?
-The key components include the ESP32 microcontroller, HCSR04 ultrasonic sensor for distance measurement, SSD1306 OLED display for displaying information, servo motors for movement control, and keypads for user interaction.
What does the ultrasonic sensor do in this project?
-The ultrasonic sensor is used to measure distance. Its readings determine how the servo motors should move and interact with the system. For example, when the sensor detects an object within a specific range, it triggers the servo to move accordingly.
What are the three main modes available in the system?
-The three main modes are: Auto Mode (where the servo moves automatically based on the distance detected by the sensor), Manual Mode (where the user manually adjusts the servo position), and a settings mode (where the user can configure the distance limits for the sensor).
How does the Auto Mode work?
-In Auto Mode, the servo moves automatically based on the sensor's distance readings. If the sensor detects a distance within a predefined range (e.g., below 50 cm), the servo will rotate to 180 degrees. If the distance exceeds the maximum limit (e.g., 300 cm), the servo will return to 0 degrees.
What role do the OLED displays play in this system?
-The system uses two OLED displays. One displays the main status and menu, while the second OLED specifically shows the timer when Auto Mode or Test Mode is active.
What happens when the sensor detects a distance of 300 cm or more in the Auto Mode?
-When the sensor detects a distance of 300 cm or more, the servo will return to 0 degrees. Additionally, a timer will be activated, and if no distance is detected for an hour, the servo will remain off for 30 minutes before being reactivated.
What is the purpose of the settings mode?
-The settings mode allows users to set the minimum and maximum sensor distance limits. This mode is used to adjust how the system behaves based on the detected distances, and it can be accessed through the keypad.
How is the manual system implemented?
-In Manual Mode, the user can manually adjust the servo position by inputting their own desired distance values. This allows for flexibility if the Auto Mode settings do not suit the user's needs.
Outlines

此内容仅限付费用户访问。 请升级后访问。
立即升级Mindmap

此内容仅限付费用户访问。 请升级后访问。
立即升级Keywords

此内容仅限付费用户访问。 请升级后访问。
立即升级Highlights

此内容仅限付费用户访问。 请升级后访问。
立即升级Transcripts

此内容仅限付费用户访问。 请升级后访问。
立即升级浏览更多相关视频

DIY Arduino ultrasonic Sonar - Radar on TFT display

DIY Automatic Door System with Ultrasonic Sensor & Servo Motor! 🚪🤖 (Live Demo)
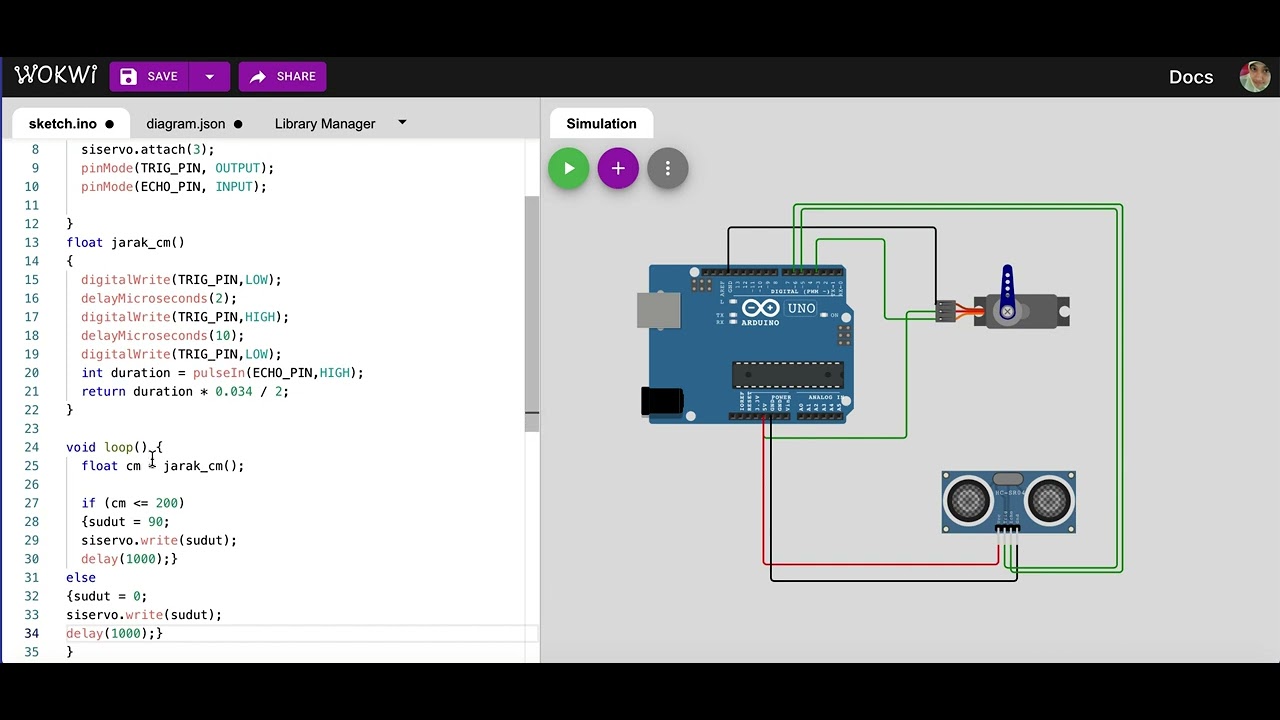
Simulasi kontrol gerakan servo dengan sensor ultrasonik | mikrokontroler arduino di wokwi.com

Project Membuat Palang pintu otomatis Jalan tol
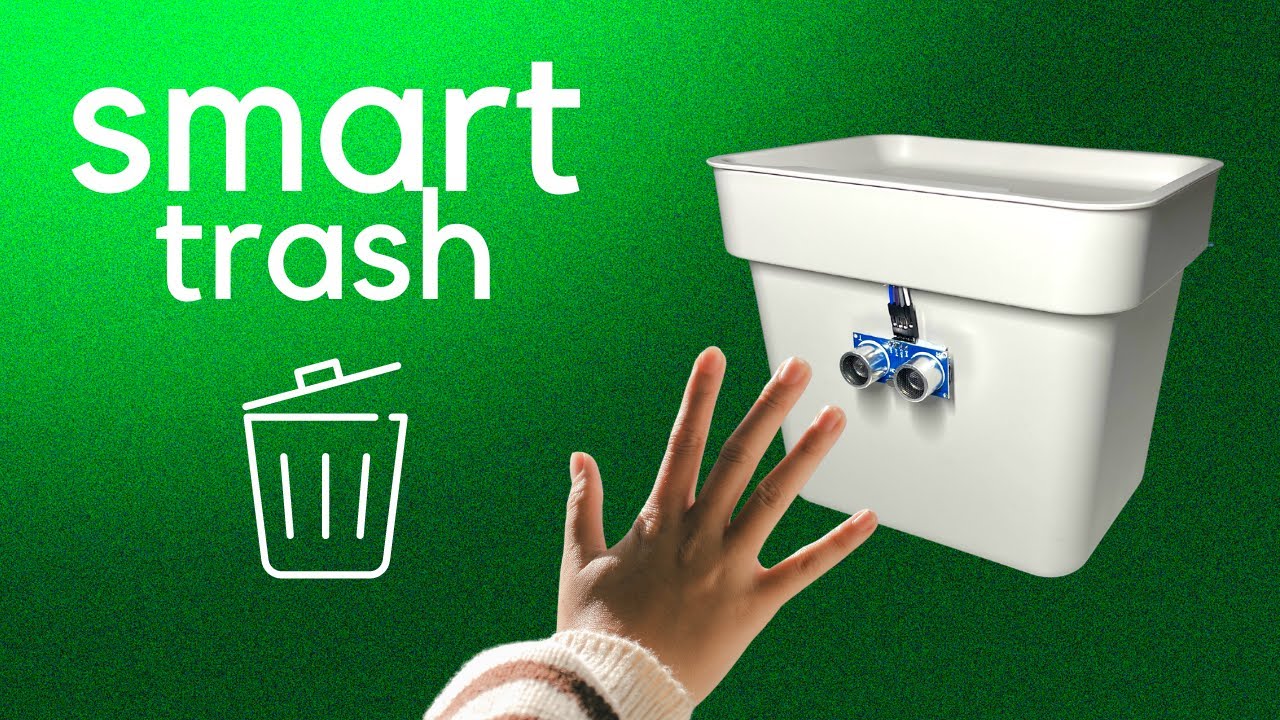
Arduino Trash Bin with Waste Level Detection
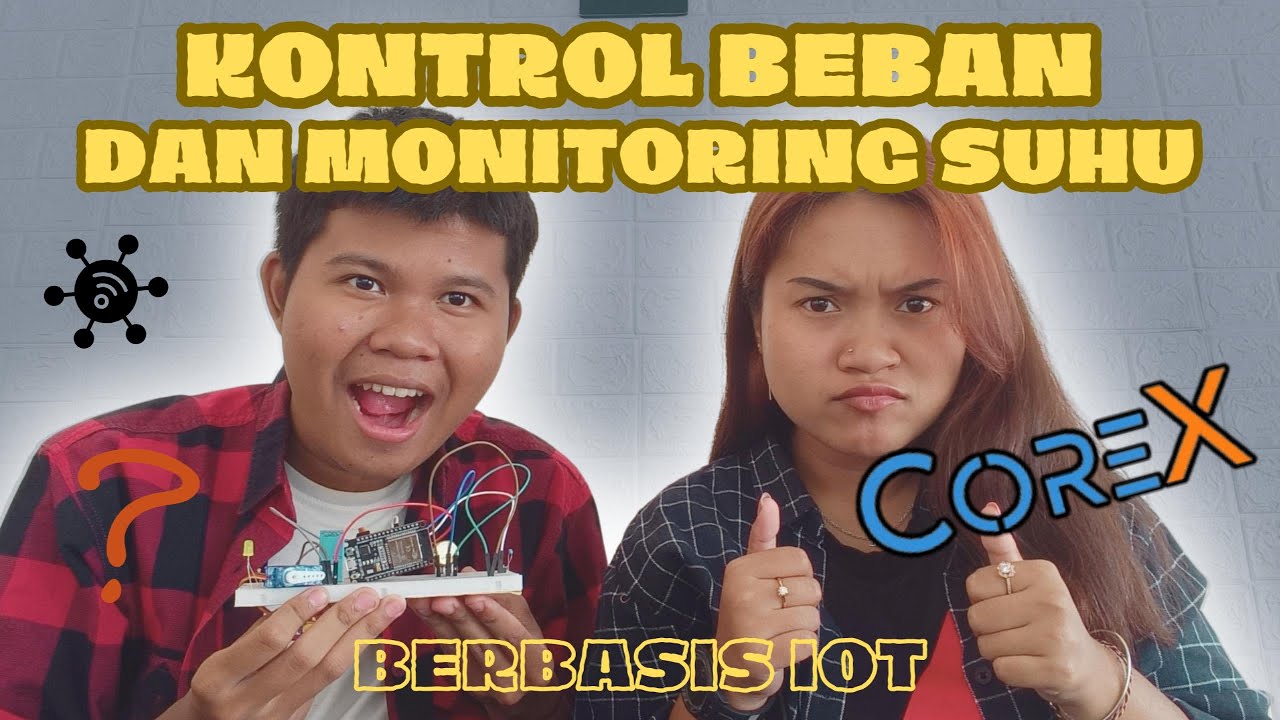
KONTROL BEBAN DAN MONITORING SUHU BERBASIS IOT MENGGUNAKAN SERVER COREX ID DAN ESP32
5.0 / 5 (0 votes)
