3D Rendering in AutoCAD
Summary
TLDRIn this tutorial, the video walks through the process of creating 3D renderings in AutoCAD, specifically focusing on a duplex building model. The steps include setting up the camera angle, adjusting the visual settings, and optimizing the rendering process. The guide covers camera placement, adjusting the lighting, and using tools such as custom views and rendering size settings. The result is a professional-quality 3D rendering with clear details, ideal for users looking to create realistic visuals in AutoCAD for architectural projects.
Takeaways
- 😀 Learn how to create a 3D rendering in AutoCAD.
- 😀 Start by selecting the top view in AutoCAD for better alignment of the model.
- 😀 Use the 'Visualize' tab to access camera options for 3D rendering.
- 😀 Adjust the camera angle to focus on the building model from the desired perspective.
- 😀 Switch to an isometric view to make further adjustments and ensure proper alignment.
- 😀 Use the 'Camera' feature to adjust angles, ensuring the building is properly framed.
- 😀 Open the 'Custom View' and 'Custom Model' options to set the right camera settings.
- 😀 Set 'Sun Status' and 'Lighting' to optimize the rendering effect.
- 😀 Enable the 'Sky' option for better background visualization in the rendering.
- 😀 Adjust the rendering quality to high by selecting 'Medium to High' in the settings.
- 😀 Set the render size to 1920x1080 pixels for a professional-quality image.
Q & A
What is the main focus of the video?
-The video focuses on teaching how to create a 3D rendering in AutoCAD.
What is the first step mentioned to start the 3D rendering process?
-The first step is to go to the 'Top View' in AutoCAD to begin the 3D rendering process.
What should be done after entering the Top View in AutoCAD?
-Once in the Top View, you need to adjust the view to properly align the model, ensuring it’s in the correct position for the 3D rendering.
How can you access the 3D camera options in AutoCAD?
-To access the 3D camera options, go to the 'Visualize' tab and open the 'Create Camera' option.
What should the camera angle be adjusted to?
-The camera angle should be adjusted to face the building directly to capture the 3D rendering from the desired perspective.
Why is it important to adjust the camera during the rendering process?
-It is important to adjust the camera to avoid cutting off parts of the building or getting incomplete renderings.
What steps should be followed to customize the rendering settings?
-To customize the rendering settings, go to the 'Custom Shoes' tab, select 'Custom Model', and adjust various parameters like shading, lighting, and background.
What lighting settings should be applied in the process?
-The lighting settings should be adjusted to 'Difficult Lighting' and the 'Sky' should be turned on for a more realistic rendering.
What resolution is recommended for a professional 3D rendering?
-A common professional resolution for 3D rendering is Full HD, which is 1920 x 1080 pixels.
What happens after clicking the 'Render' button?
-After clicking the 'Render' button, the rendering process starts, and the image gradually becomes clearer as it progresses.
Outlines

此内容仅限付费用户访问。 请升级后访问。
立即升级Mindmap

此内容仅限付费用户访问。 请升级后访问。
立即升级Keywords

此内容仅限付费用户访问。 请升级后访问。
立即升级Highlights

此内容仅限付费用户访问。 请升级后访问。
立即升级Transcripts

此内容仅限付费用户访问。 请升级后访问。
立即升级浏览更多相关视频
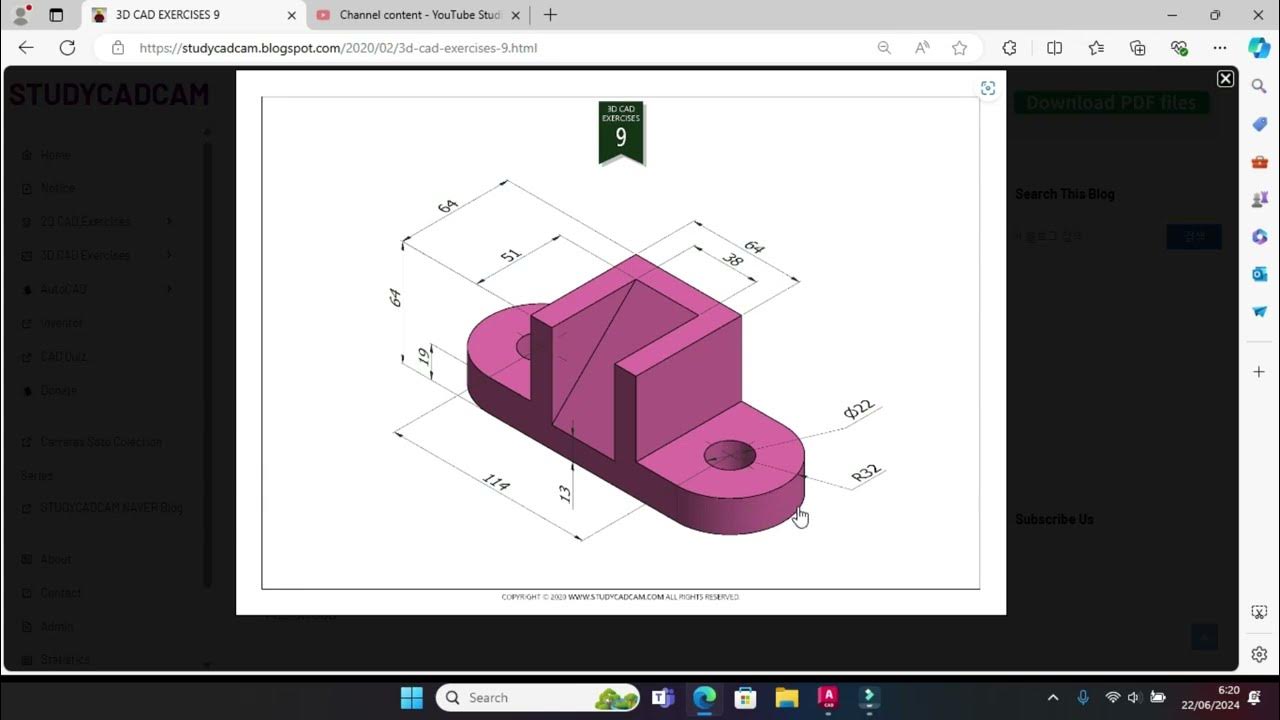
Tutorial Autocad 3D II Studycadcam Exercise 9
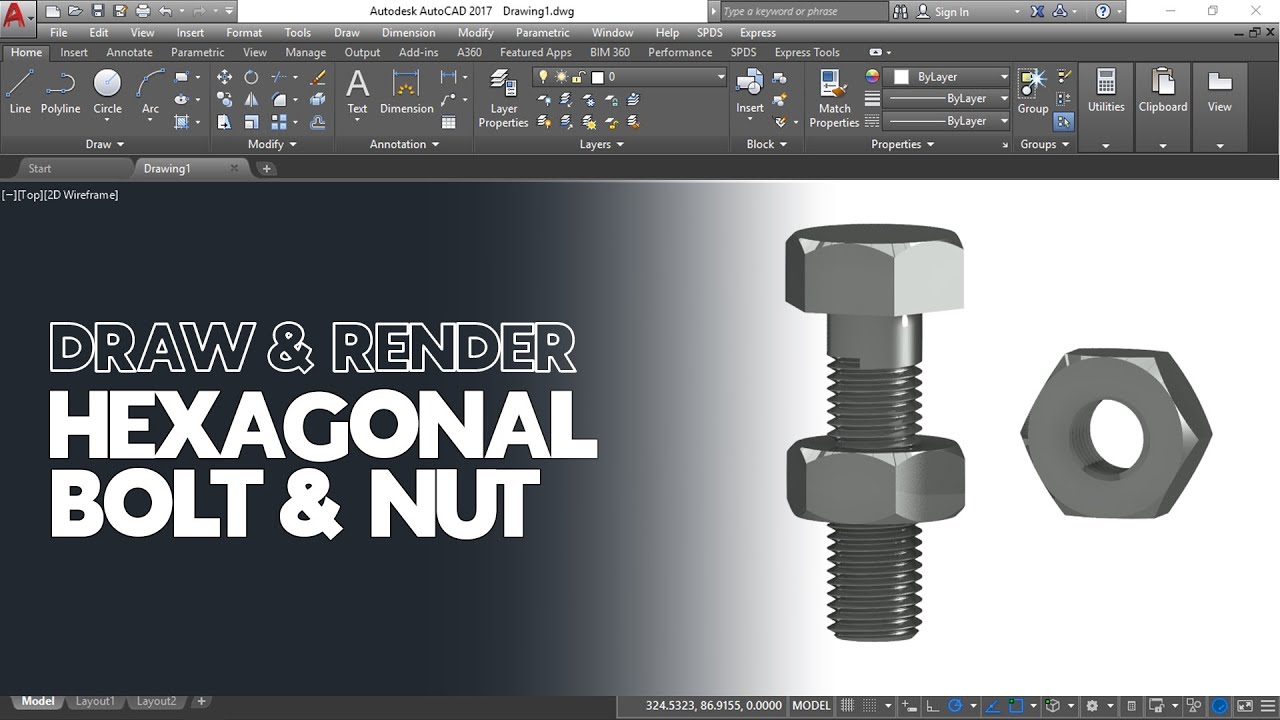
Cara Gambar dan Render Hexagonal Mur dan Baut di AutoCAD
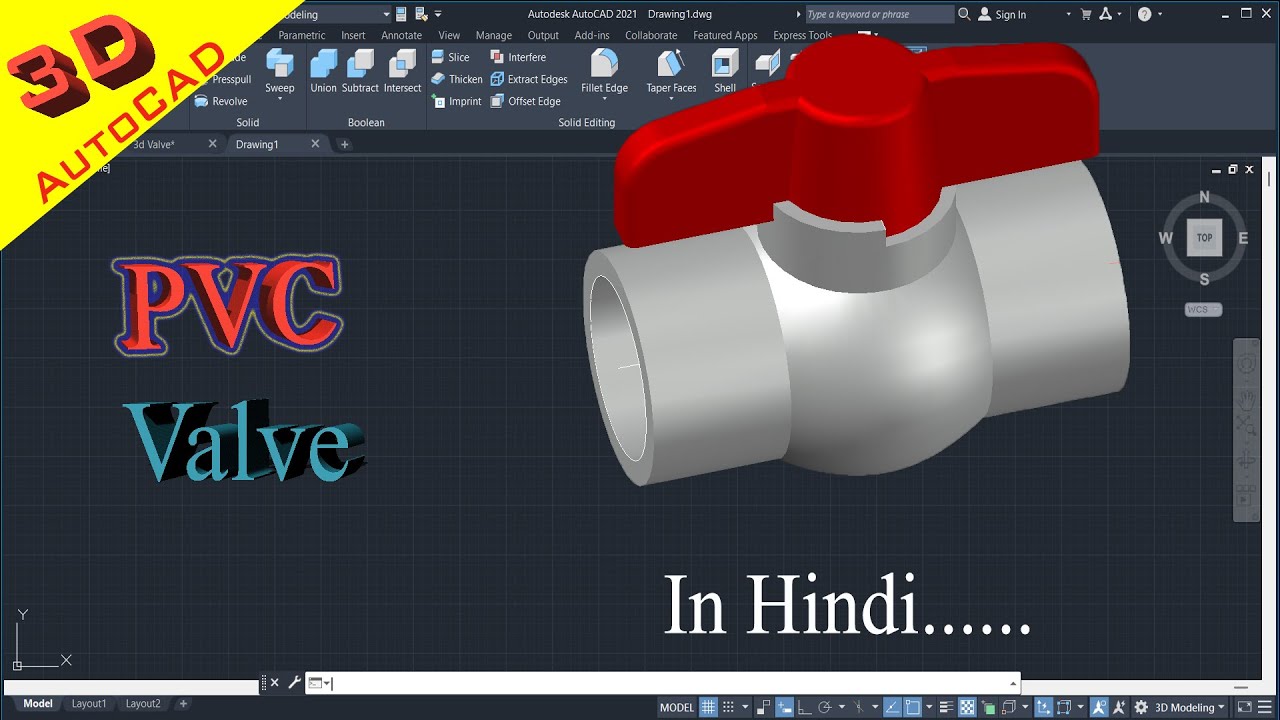
How to draw PVC Valve in AutoCAD 3D. #autocad_hindi_tutorial #autocaddrawing
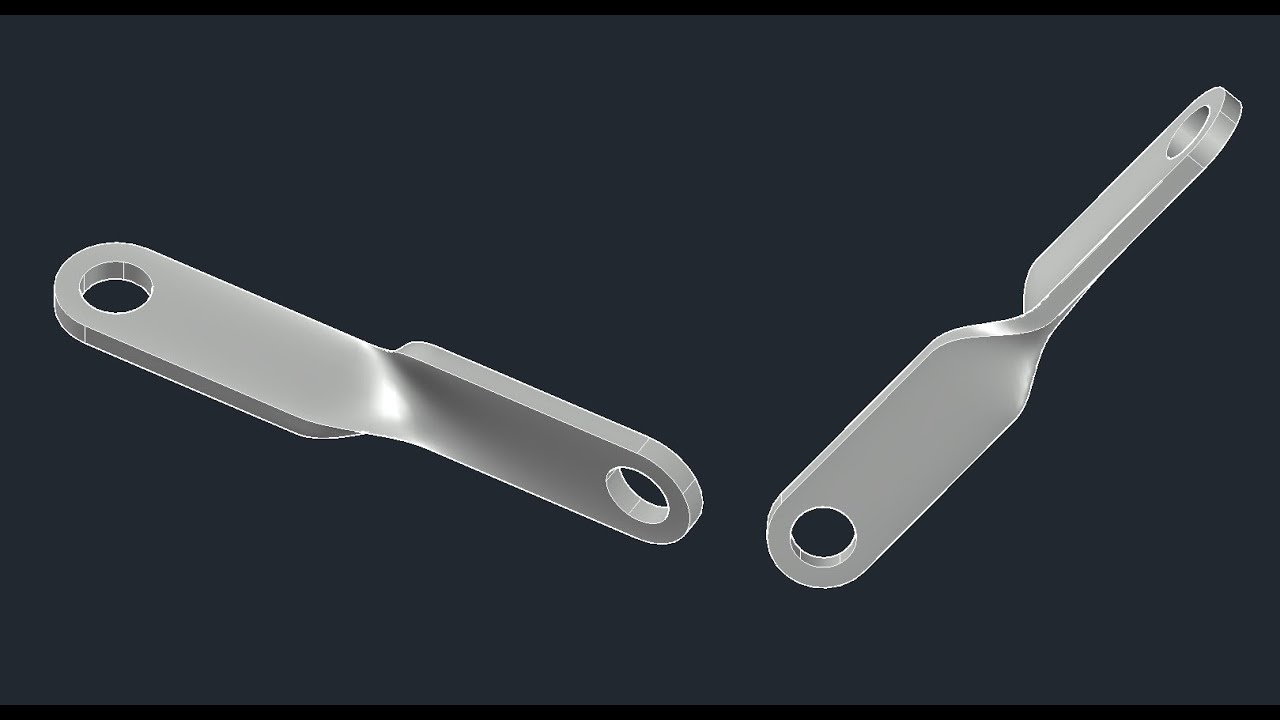
3D bracket with Solid and Surface tools of AutoCAD
cara membuat pulley 3dimensi di Autocad

[#04] DIALUX Evo Software - Indoor Lighting - Doors & Windows
5.0 / 5 (0 votes)
