Transferring your program to the BBC micro:bit

Micro:bit Educational Foundation
28 Feb 202001:14

Summary

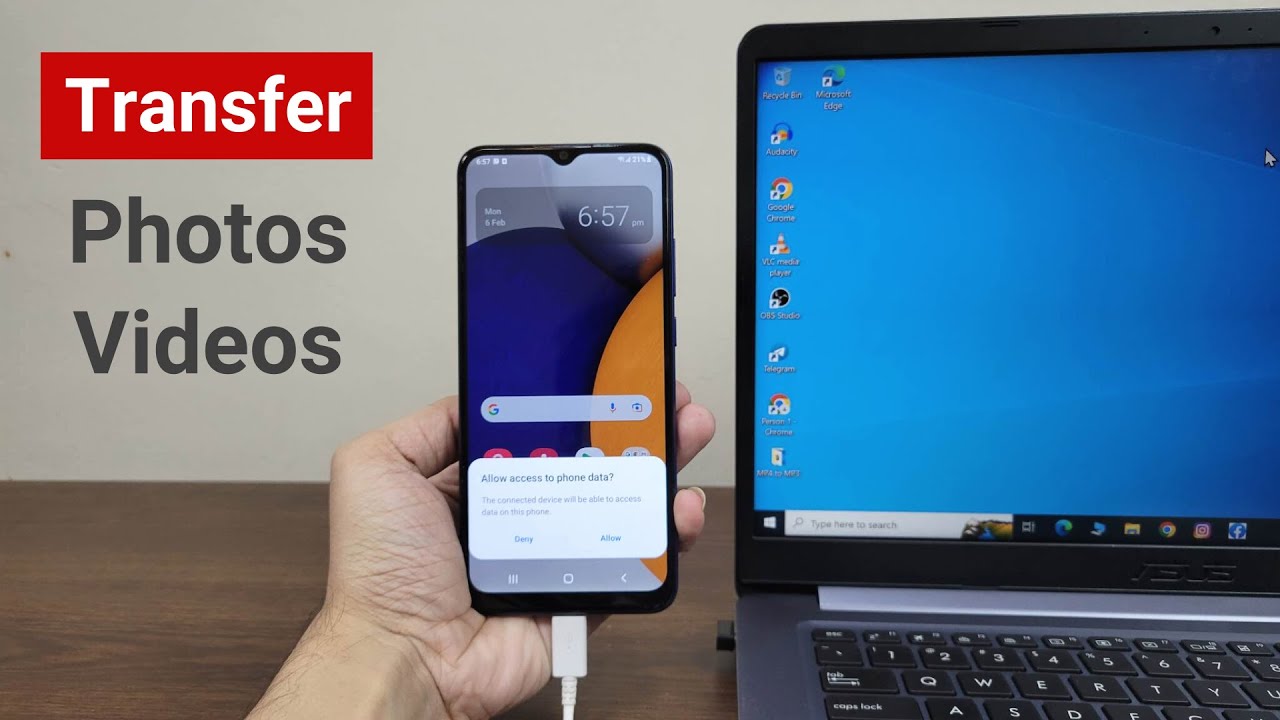
TLDRThis guide walks users through how to transfer their program to a BBC micro:bit in two simple steps. First, download your program from the MakeCode or Python editor as a .hex file. Then, connect your micro:bit to your computer via a micro USB cable. The micro:bit will appear as a USB drive on your computer. Once the file is transferred and the flashing light on the micro:bit stops, your program will be ready to test. It's a straightforward process to bring your micro:bit creations to life.

Takeaways

  • 💾 Download your program from the MakeCode or Python editor as a '.hex' file.
  • 🔌 Connect the micro:bit to your computer using a micro USB cable.
  • 💡 The micro:bit will appear on your computer as a USB drive labeled 'MICROBIT'.
  • 📂 Copy the downloaded '.hex' file to the MICROBIT drive to transfer the program.
  • ✨ This process is called 'flashing' because the program is stored in the micro:bit's flash memory.
  • 🔦 The LED light on the micro:bit will flash while the program is being copied.
  • ✅ Once the flashing stops, the program is successfully transferred and ready to use.
  • 🚀 You can now test your program on the micro:bit.
  • 🔄 Re-flash the micro:bit with different programs by repeating the download and copy steps.
  • 🖥️ Make sure to use a compatible editor like MakeCode or Python for creating the program.

Q & A

  • What is the first step to try out a program on the micro:bit?

    -The first step is to download the program from the editor on your computer as a '.hex' file.

  • What is a '.hex' file, and why is it important?

    -A '.hex' file is a format used to store the program so it can be transferred to the micro:bit. The micro:bit reads and executes this file.

  • What does the term 'flashing' mean in the context of the micro:bit?

    -Flashing refers to transferring the program to the micro:bit's flash memory, where it is stored and executed.

  • What type of cable is needed to connect the micro:bit to a computer?

    -You need a micro USB cable to connect the micro:bit to the USB port of your computer.

  • How does the micro:bit appear on the computer after being connected?

    -The micro:bit appears as a USB drive on the computer, and it is labeled as 'MICROBIT'.

  • What visual indicator shows that the program is being transferred to the micro:bit?

    -The light on the micro:bit flashes during the transfer process, indicating the program is being copied.

  • What happens when the flashing light on the micro:bit stops?

    -Once the flashing light stops, it means the program has been successfully transferred, and you can test your micro:bit creation.

  • Where is the program stored on the micro:bit?

    -The program is stored in the micro:bit's flash memory.

  • Can the program be downloaded from both MakeCode and Python editors?

    -Yes, the program can be downloaded as a '.hex' file from both MakeCode and Python editors.

  • What are the essential tools needed to transfer a program to the micro:bit?

    -You need a computer with an editor (like MakeCode or Python), a micro USB cable, and the micro:bit itself.

Outlines

00:00

🖥️ Getting Started with Your Program on BBC micro:bit

This paragraph introduces the process of running a program on the BBC micro:bit. It explains that the first step is to download the program from the editor, which could be either the MakeCode or Python editor. The program should be saved as a '.hex' file.

🔄 Transferring the Program to Your micro:bit

The second step involves transferring the downloaded program to the micro:bit. The process is referred to as 'flashing' since the program is stored in the micro:bit's flash memory. To do this, the micro USB cable is connected between the micro:bit and the computer, which recognizes the device as a USB drive named 'MICROBIT'. The light on the micro:bit flashes during the transfer, and once it stops, the program is ready to be tested.

Mindmap

Keywords

💡BBC micro:bit

The BBC micro:bit is a small, programmable device used for educational purposes, particularly in coding and electronics. In the context of the video, it is the main tool that users are programming and testing, making it central to the tutorial's theme of learning basic programming and electronics.

💡Program

A program in this context refers to the code or set of instructions that the user writes and uploads to the BBC micro:bit. The video guides viewers through the process of creating and transferring a program, which is the key task users are expected to accomplish.

💡.hex file

A '.hex' file is a type of file format used to store the compiled code that the BBC micro:bit can execute. The video explains that after writing code in editors like MakeCode or Python, the program must be saved as a .hex file before it can be transferred to the micro:bit, highlighting its importance in the programming process.

💡MakeCode and Python editors

MakeCode and Python editors are software tools that allow users to write and edit their code for the BBC micro:bit. The video mentions these editors as the platforms from which users will download their programs, indicating that they are the environments where coding happens.

💡Flashing

Flashing refers to the process of transferring a program from the computer to the BBC micro:bit's flash memory. The video uses this term to describe how the code is stored on the micro:bit, which is a crucial step in making the device run the user’s program.

💡Flash memory

Flash memory is a type of non-volatile memory used in devices like the BBC micro:bit to store data. In the video, it is mentioned as the storage location for the user's program on the micro:bit, making it an essential component for the device's functionality.

💡Micro USB cable

The micro USB cable is a connector used to link the BBC micro:bit to a computer. The video explains its role in the process of transferring the program from the computer to the micro:bit, making it a necessary tool for completing the programming task.

💡USB drive

In the context of the video, the BBC micro:bit appears as a USB drive on the computer once it is connected via a micro USB cable. This allows users to easily transfer files, like the .hex file, to the device. The comparison to a USB drive makes the process more familiar and accessible.

💡Light flash

The light flash on the BBC micro:bit indicates that the program is being copied from the computer to the device. The video instructs viewers to look for this flashing as confirmation that the transfer is in progress, making it a key visual cue for successful programming.

💡Test

Testing in this video refers to the process of running the uploaded program on the BBC micro:bit to see if it works as intended. The video emphasizes testing as the final step after transferring the program, highlighting its importance in verifying that the coding and transfer were successful.

Highlights

Downloading the program from the editor to your computer is the first step.

The program needs to be downloaded as a '.hex' file.

Both the MakeCode and Python editors require the program to be saved as a '.hex' file.

Transfer the '.hex' file from your computer to the micro:bit.

Flashing refers to the process of storing your program in the micro:bit's flash memory.

Use a micro USB cable to connect the micro:bit to your computer.

The micro:bit will appear on your computer like a USB drive labeled 'MICROBIT'.

While copying the program, the light on the micro:bit will flash.

Once the flashing stops, the program has been successfully transferred.

Test your micro:bit creation once the transfer is complete.

The process requires just two steps: downloading and flashing the program.

The micro:bit stores programs in its flash memory for execution.

The flashing light indicates the program is being transferred.

Ensure the micro USB cable is properly connected for a successful transfer.

Both editors—MakeCode and Python—support this workflow for the micro:bit.

Transcripts

play00:03

Once you're happy with your program it's time to try it out on your BBC micro:bit.

play00:09

It's a simple two-step process. Step 1 is to download your program from the

play00:16

editor on your computer. In both the MakeCode and Python editors your program

play00:22

needs to be downloaded as a '.hex' file. Step 2 is to transfer the program from

play00:28

your computer to your micro:bit where it is stored in its memory. We call this

play00:34

flashing because the micro:bit stores your program in its flash memory.

play00:40

To do this plug your micro USB cable into the USB port at the top of your micro:bit

play00:46

then plug the other end of the cable into the USB socket on your computer.

play00:52

You will see your micro:bit appear on your computer like a USB drive. Look for MICROBIT.

play00:59

As the program is copying across you'll see the light flash on your micro:bit

play01:05

then once it stops flashing you can test out your micro:bit creation.

Rate This

5.0 / 5 (0 votes)

相关标签
BBC micro:bitProgram transferHex fileFlashing memoryUSB connectionMakeCode editorPython editorDownload programFlash memoryMicro USB
您是否需要英文摘要?