How to MASTER BAKU on F1 23! | Track Guide
Summary
TLDRThis video offers a detailed guide to mastering the high-speed track of Baku in the game 'Grid'. It's divided into five sections: car setup, and sectors 1-3, culminating in a full lap. The setup tips focus on minimal drag and sufficient downforce for stability and cornering. Each sector's turns are dissected with specific braking points, curb usage, and steering advice to maximize speed and control. The video concludes with full-speed demonstrations of each sector, encouraging viewers to ask questions and request more track guides.
Takeaways
- 🏎️ The video aims to help viewers improve their lap times on the Baku circuit, one of F1's fastest tracks.
- 🔧 A recommended car setup for Baku is provided, focusing on minimal drag and sufficient downforce for high-speed straights and tight corners.
- 📏 Turn 1 requires precise braking just after the 150-meter mark and aiming for both right wheels on the curb to extend the track.
- 🛑 Turn 2 involves tricky braking, with a focus on a full rotation in steering angle and caution to avoid a tight exit.
- 🌳 Turn 3 has a specific braking point marked by a tree, with an emphasis on cutting the inside curb for optimal track use.
- 🚦 Sector 1 includes a left-hander where braking just before the 50-meter board is crucial, and a right-hander where a sharp steering angle is needed.
- 🏁 Sector 2 features the infamous downhill braking section, with the key being careful throttle control to avoid understeer and potential wall contact.
- 🔄 Sector 3 is comparatively easier, with a focus on late braking and maintaining a sweeping line through the corners.
- 🎥 The video provides a full-speed lap breakdown, corner by corner, and sector by sector, to help viewers visualize the racing lines and techniques.
- ❓ The video encourages viewer engagement by inviting feedback, questions, and suggestions for future track guides.
Q & A
What is the main focus of the video 'Grid Drop'?
-The video focuses on providing tips and techniques to improve lap times around the Baku Formula 1 track.
How many sections is the video broken down into?
-The video is broken down into five sections: car setup, sector 1, sector 2, sector 3, and a full lap.
What is the recommended car setup for the Baku track according to the video?
-The recommended setup for Baku is designed to maintain minimal drag while still having enough downforce for cornering and good rotation, ensuring car stability over the curbs.
What is the significance of the meter boards in turn one of Baku?
-The meter boards are used as a reference for braking just after the 150-meter mark, which is crucial for a good entry into the corner.
Why is it important to avoid taking too much curb at the apex of turn one in Baku?
-Taking too much curb at the apex of turn one can cause a loss of stability on exit, potentially leading to contact with the wall or a wheel spin.
What is the recommended braking point for turn two in Baku?
-The recommended braking point for turn two is when the big gap in the wall on the right side of the track is closed.
How should one approach the exit of turn two in Baku to avoid wheel spin?
-To avoid wheel spin on the exit of turn two, one should focus on the exit curve on the right and get the front right tire completely over the white line while being smooth on the throttle.
What is the recommended braking point for turn three in Baku?
-The recommended braking point for turn three is at 125 meters between the 150 and 100-meter marks, marked by a tree on the right.
How can one maximize track space on the exit of turn three in Baku?
-To maximize track space on the exit of turn three, one should aim the front right as close as possible to the wall and use the full extent of the track, being careful not to hit the wall.
What is the recommended approach for the left-hander in sector two of Baku?
-For the left-hander in sector two, one should brake just before the 50-meter board, turn in later than expected, and use as much of the curve on the left as possible to transition into the next right-hander.
What is the key to a successful lap around Baku according to the video?
-The key to a successful lap around Baku is understanding each sector's specific requirements, such as braking points, cornering techniques, and maintaining car stability, and then putting it all together in a full lap.
Outlines

This section is available to paid users only. Please upgrade to access this part.
Upgrade NowMindmap

This section is available to paid users only. Please upgrade to access this part.
Upgrade NowKeywords

This section is available to paid users only. Please upgrade to access this part.
Upgrade NowHighlights

This section is available to paid users only. Please upgrade to access this part.
Upgrade NowTranscripts

This section is available to paid users only. Please upgrade to access this part.
Upgrade NowBrowse More Related Video
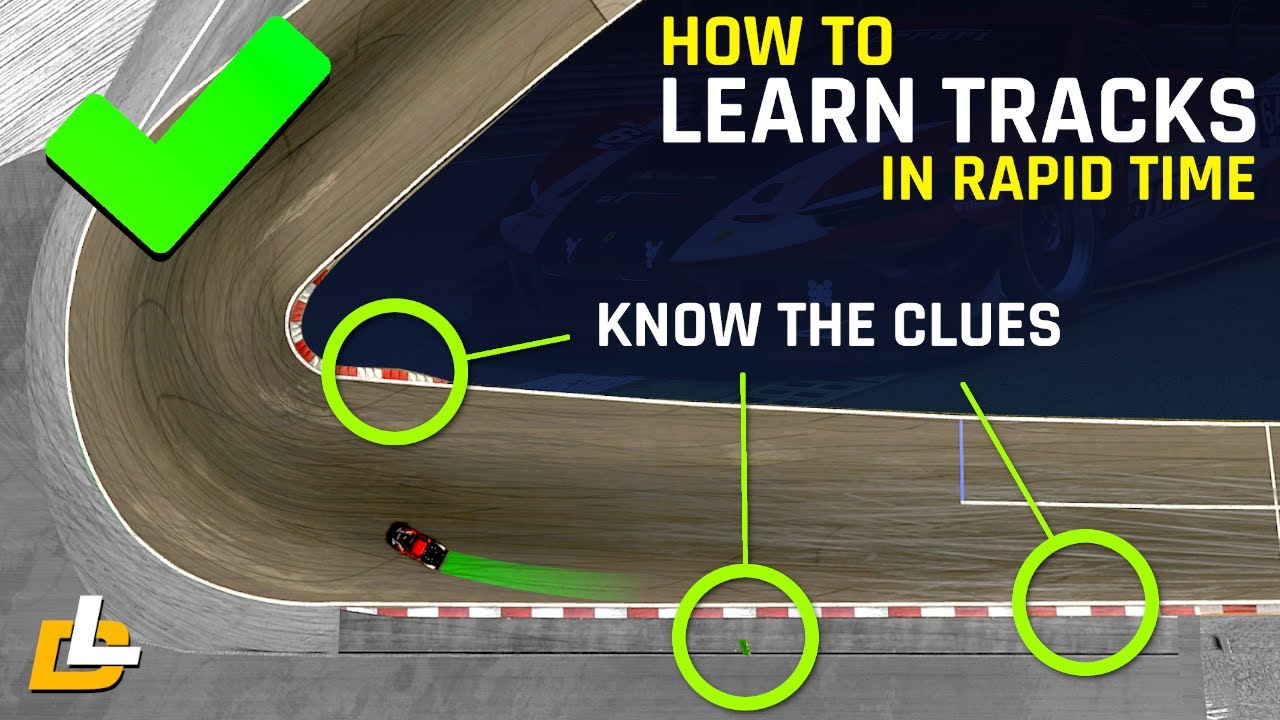
How To Learn Tracks Easily in Sim Racing

How to Play Like an AZIR MAIN! - ULTIMATE AZIR GUIDE
10 Weapon Design Tips for 3d Artists
Master Layout Design In 8 Minutes! (IMPORTANT)
IPA Kelas 7 Semester 1 : Pengukuran I (Besaran dan Satuan)

20-25 MILLION GOLD/HOUR (ZERO EGGS/NO QUEEN SIGMA) - Vampire Suvivors Gold Guide 🥇
5.0 / 5 (0 votes)