Part 1 - NGINX Web Server ( Installation & Configuration )
Summary
TLDRThis video script from techbeats.org introduces viewers to Nginx, an open-source web server known for its user-friendly configuration and advanced features. It offers a three-part series starting with the installation and configuration of Nginx on an Ubuntu machine. The tutorial demonstrates how to set up Nginx to serve websites, handle PHP, and create custom web pages. It also covers reverse proxy, load balancing, and mail proxy functionalities. The script guides through editing configuration files, creating custom error pages, and enhancing the server's performance with static content delivery.
Takeaways
- 😀 Nginx is an open-source web server known for its user-friendly configuration files and advanced features, which has gained popularity in various industries.
- 🌐 The video is a part of a three-part series focusing on the installation and configuration of Nginx, including serving websites and running PHP.
- 🔁 Nginx can function as an HTTP server, reverse proxy server, load balancer, mail proxy server, and HTTP cache.
- 🚀 Compared to Apache, Nginx handles concurrent clients and web traffic more efficiently, making it a preferred choice for many web servers worldwide.
- 📈 The open-source version of Nginx is available for use, and it is known for serving static content faster and having a highly scalable architecture with a single-thread handling multiple connections.
- 🛠️ The tutorial demonstrates installing Nginx on an Ubuntu machine using the apt-get package manager and checking its status with systemctl.
- 📝 The script explains how to configure Nginx by editing the 'nginx.conf' file and creating custom server blocks in the 'sites-available' and 'sites-enabled' directories.
- 🌐 It shows how to create a custom welcome page for a website using Nginx by editing HTML files and configuring the server to serve these files instead of the default page.
- 🔗 The video covers how to set up custom error pages in Nginx, providing a more user-friendly experience when content is not found or server errors occur.
- 🛡️ The next part of the video series will cover securing websites with Nginx, including using self-signed certificates and IP whitelisting for enhanced security.
- 📚 The script encourages viewers to subscribe to the channel for more educational content on technology and web development.
Q & A
What is Nginx and why is it gaining popularity?
-Nginx is an open-source web server known for its user-friendly configuration files and advanced features. It's gaining popularity due to its ability to handle concurrent clients and web traffic more efficiently than Apache, as well as its highly scalable architecture.
What are the main functions of Nginx?
-Nginx can function as an HTTP server, a reverse proxy server, a load balancer, a mail proxy server, and also handle HTTP caching.
How does Nginx differ from Apache in terms of performance?
-Nginx can handle more concurrent clients and web traffic better than Apache, making it a preferred choice for high-traffic websites.
What is the process of installing Nginx on an Ubuntu machine?
-Installing Nginx on Ubuntu is straightforward and can be done using the command 'sudo apt-get install nginx', which installs all necessary packages and dependencies.
How can you check if Nginx is installed and running on your system?
-You can check the status of Nginx by typing 'sudo systemctl status nginx' in the terminal, which will show whether Nginx is active and running.
What is the default web page served by Nginx after installation?
-The default web page served by Nginx is a 'Welcome to Nginx' page, which can be accessed by typing 'localhost' in the browser.
How can you create a custom configuration file for Nginx?
-To create a custom configuration file, you need to navigate to the '/etc/nginx/conf.d' directory and create a new file with a '.conf' extension, such as 'techbeast.local.conf', and then define the server settings within this file.
What command can be used to test the Nginx configuration file for any syntax errors?
-The command 'nginx -t' can be used to test the Nginx configuration file for any syntax errors.
How do you reload Nginx to apply configuration changes?
-To apply configuration changes, you should reload Nginx using the command 'sudo systemctl reload nginx'.
Can you customize error pages in Nginx and how?
-Yes, you can customize error pages in Nginx by specifying the location of custom error pages in the configuration file using the 'error_page' directive and linking it to the desired error page files.
How can you serve multiple pages with different content using Nginx?
-You can serve multiple pages with different content by configuring different 'location' blocks within the Nginx configuration file, each serving a different file or directory as needed.
What is the purpose of the 'try_files' directive in Nginx configuration?
-The 'try_files' directive in Nginx is used to specify a list of files that Nginx should attempt to serve in the order listed if the requested URI is not found.
How can you simulate an internal server error for testing purposes in Nginx?
-You can simulate an internal server error by creating a custom location directive that returns a non-existent file or path, which will trigger a 500 error, and then testing the configuration with 'nginx -t' and reloading Nginx.
Outlines

This section is available to paid users only. Please upgrade to access this part.
Upgrade NowMindmap

This section is available to paid users only. Please upgrade to access this part.
Upgrade NowKeywords

This section is available to paid users only. Please upgrade to access this part.
Upgrade NowHighlights

This section is available to paid users only. Please upgrade to access this part.
Upgrade NowTranscripts

This section is available to paid users only. Please upgrade to access this part.
Upgrade NowBrowse More Related Video

Introduction to Power Electronics - Overview
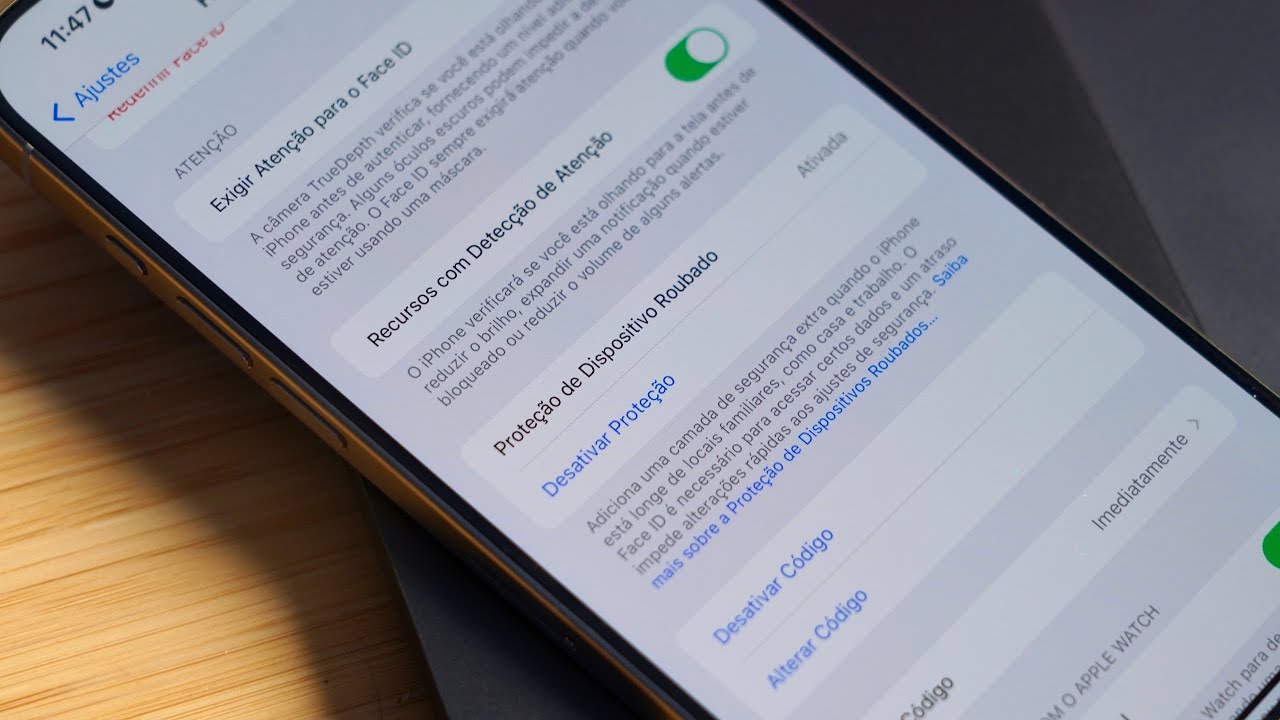
iOS 17.3 protege o seu iPhone contra roubos (e mais novidades!)
Try this SIMPLE trick when scraping product data

4조 8금인데 X친성능? 7경기 헤더만 9골 넣는 독일로 리빌딩!!

【”2023年”に読むと人生変わる本TOP5】1冊でもいいので読むと人生変わる本たちをご紹介!読書習慣がない方でも、これを機にぜひ読んでみてください!【DaiGo 切り抜き】

ALLAH, AGAMA & MANUSIA: Proses dan Tujuan Penciptaan Manusia | PAI ITN Malang

7 Subtle Signs You're More Attractive Than You Think
5.0 / 5 (0 votes)