The ultimate WATERCOLOUR TUTORIAL | For beginners | Drawlikeasir
Summary
TLDRIn this engaging tutorial, Marcel introduces viewers to the art of watercolor painting, sharing his passion for its versatility across various styles. He discusses essential supplies, the importance of choosing the right paper and paints, and covers basic techniques like wet on dry and wet on wet. Marcel provides practical tips to avoid common mistakes and emphasizes the unique properties of watercolor, such as its low opacity and the ability to create natural-looking colored shadows. The video includes a step-by-step guide for beginners to create three different watercolor artworks, from simple cel shading to more complex landscapes, encouraging practice and exploration of this expressive medium.
Takeaways
- 🎨 Marcel introduces a watercolor painting tutorial, emphasizing his love for the medium and its versatility for various art styles.
- 👨🎨 Marcel is not a professional artist but has gained experience using watercolors for about 9-10 months and is eager to share his techniques.
- 🖌️ The choice of watercolors is crucial; aquarelle watercolors with better pigmentation are recommended over opaque watercolors.
- 📄 Watercolor paper selection is important, with cold-pressed offering texture and hot-pressed providing a smooth finish, both having their own advantages.
- 🔖 Marcel suggests using 300gsm paper for its durability and recommends specific art supplies through his website.
- 💧 Water management is key in watercolor painting; using two glasses of water helps in maintaining clean and dirty water separation.
- 🖼️ Wet on dry and wet on wet are fundamental techniques, allowing for hard strokes and soft blending respectively, similar to brush settings in digital art.
- 🌈 Watercolor's low opacity, or constant multiply property, is both a challenge and a strength, enabling natural-looking colored shadows.
- 🎨 Color mixing should be done carefully to avoid muddy results, with a preference for colors adjacent on the color wheel.
- 📝 Marcel provides a checklist of do's and don'ts for beginners, including sketching on separate paper and being mindful of water application.
- 🌳 The tutorial concludes with a practical session where Marcel guides viewers through three watercolor exercises, from simple cel shading to a landscape.
Q & A
What is the main focus of Marcel's video?
-The main focus of Marcel's video is to teach viewers how to paint with watercolors, including techniques and tips for beginners.
Why does Marcel prefer watercolors as a medium?
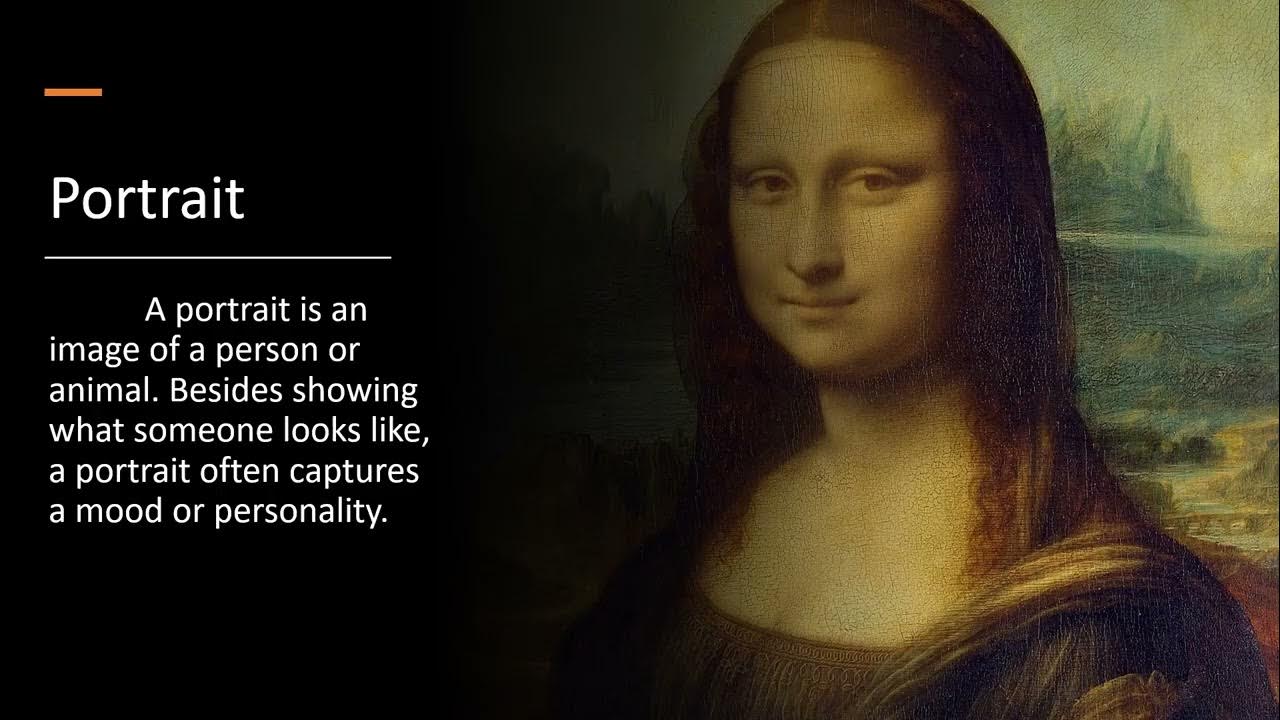
-Marcel prefers watercolors because of its versatility, allowing him to create a wide range of art styles including portraits, landscapes, anime, and manga.
What are the two types of watercolor paints mentioned in the script?
-The two types of watercolor paints mentioned are opaque watercolors, which are cheaper and have less pigmentation, and aquarelle watercolors, which are more vibrant and have better pigmentation.
Why is the choice of paper important when working with watercolors?
-The choice of paper is important because it can affect the final appearance of the artwork. There are cold-pressed papers with texture and hot-pressed papers which are smoother, and the choice depends on the artist's preference and budget.
What are the two main watercolor painting techniques Marcel introduces in the video?
-The two main watercolor painting techniques introduced are 'wet on dry', which creates hard strokes, and 'wet on wet', which creates soft strokes.
How does Marcel suggest avoiding muddy colors when mixing with watercolors?
-Marcel suggests using a larger watercolor set that includes both warm and cool shades of each color to avoid muddy colors, and testing color mixes on a separate sheet of paper before applying them to the artwork.
What is the 'constant multiply' property of watercolors that Marcel discusses?
-The 'constant multiply' property refers to the low opacity of watercolors, which allows the background color to show through even when another color is painted over it, similar to the multiply mode in digital art.
Why does Marcel recommend using a palette when working with watercolors?
-Marcel recommends using a palette because it allows for easy mixing of different colors to create a wide range of shades without needing to purchase additional colors.
What is the purpose of using tape when working with watercolor paper?
-Tape is used to fixate the watercolor paper and prevent it from bending or buckling as it is painted on, especially since watercolor paper is susceptible to warping when wet.
What is Marcel's advice on sketching the artwork before applying watercolors?
-Marcel advises against sketching directly on the watercolor paper, especially for larger motives, due to the paper's sensitivity to erasing. Instead, he suggests sketching on a separate sheet and tracing it onto the watercolor paper.
How does Marcel suggest practicing watercolor painting?
-Marcel suggests practicing with simple motives first, such as cel shading with 'wet on dry' techniques, then progressing to more natural looks with 'wet on wet' techniques, and finally combining these techniques to paint a landscape.
Outlines

This section is available to paid users only. Please upgrade to access this part.
Upgrade NowMindmap

This section is available to paid users only. Please upgrade to access this part.
Upgrade NowKeywords

This section is available to paid users only. Please upgrade to access this part.
Upgrade NowHighlights

This section is available to paid users only. Please upgrade to access this part.
Upgrade NowTranscripts

This section is available to paid users only. Please upgrade to access this part.
Upgrade NowBrowse More Related Video
Lesson 4 Painting

Rangkuman Materi SBK Kelas 9 Bab 1: Seni Lukis

Cómo pintar con Acuarelas | Tutorial BÁSICO para principiantes | Parte 2
Materi Seni Rupa - BERKARYA SENI LUKIS - SMP Kelas 9 / Semester 1 (Kur.2013)

Top 3 Mixed Media Sketchbooks!
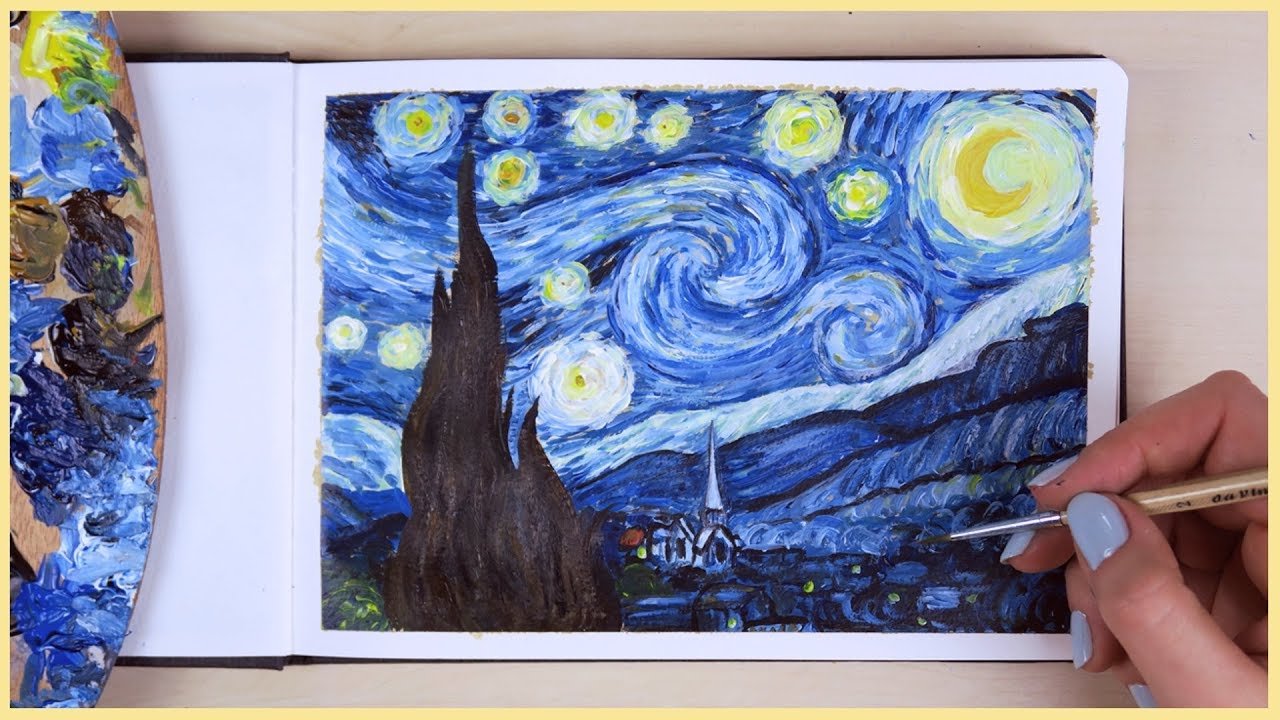
How to Paint the Starry Night with Acrylic Paint Step by Step | Art Journal Thursday Ep. 24
5.0 / 5 (0 votes)