Cara membuat tas ransel dari bungkus kopi part 1
Summary
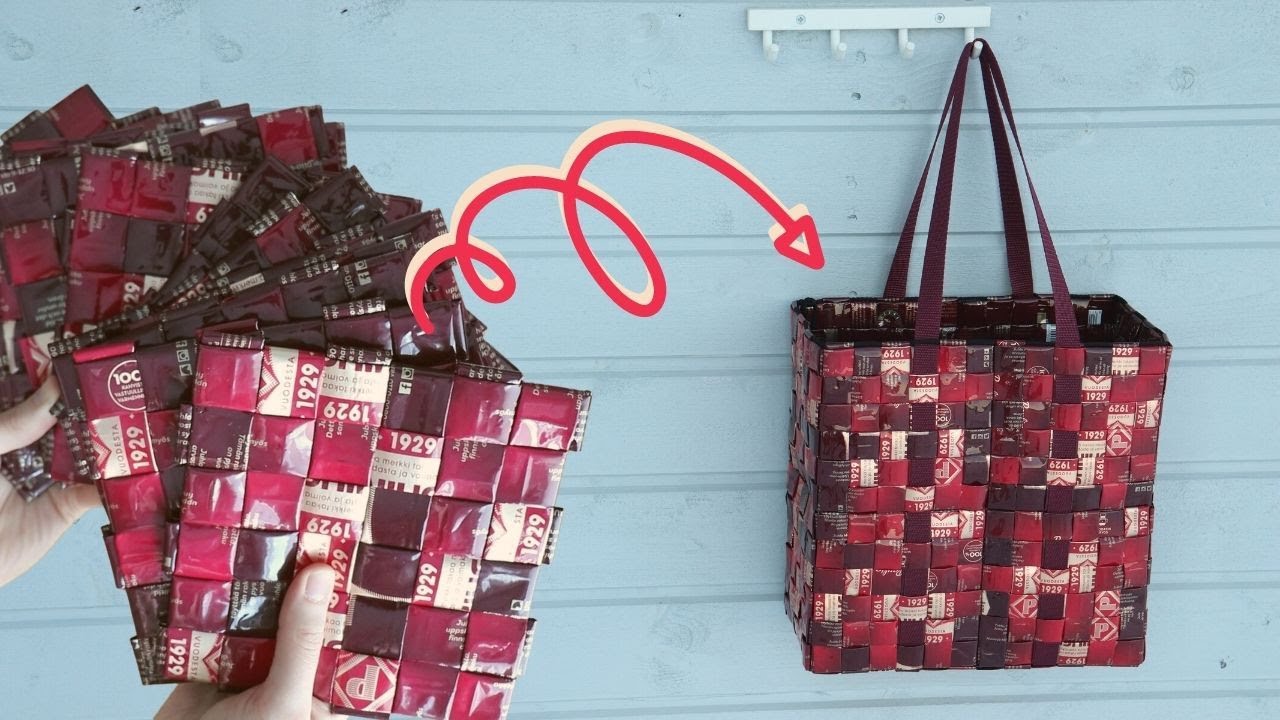
TLDRIn this Hostel 91 video, the host guides viewers through crafting a bag from used coffee plastic wraps. The tutorial begins with cutting the plastic into a cup shape, followed by sewing the base and sides to form the bag's structure. Attention is given to creating neat corners and edges, and the video provides a step-by-step sewing process to achieve a polished final product. Viewers are encouraged to subscribe and check the description for tools and materials. The video concludes with a neatly finished bag, made from recycled materials, showcasing a sustainable and creative approach to fashion.
Takeaways
- 😀 The video is a tutorial on making a bag or rucksack from coffee wrapper plastic waste.
- 📝 The necessary tools and materials are listed, and viewers are encouraged to check the description for details.
- ✂️ The initial step involves cutting the plastic with a length of 7 cm using a bowl as a template.
- 🎨 The tutorial uses a specific motif for the base of the bag, which is mentioned but not described in detail.
- 🔄 The process includes creating the initial corners or base of the bag with specific measurements tailored to the design.
- 📏 The base size of the bag used in the video is three units wide, and the length is five units.
- 🧵 The tutorial demonstrates how to sew the entire part until it is turned to make it neat and of the desired height.
- 📐 The bottom and top parts of the bag are calculated separately, and the side parts are prepared for a future divider.
- 📐 The side parts are sewn in a specific order to create the overall shape of the bag, with careful attention to detail for neatness.
- 🔄 The top corners of the bag are prepared by undoing some stitches and then sewing them back in a specific pattern to form the corners.
- 📐 The final step involves sewing the top part of the bag, adding extra stitches to the top corners and continuing the pattern until it meets at a point, ensuring everything is neat and tight.
- 📚 For those interested in learning via photos or images, the tutorial is also available on a blog mentioned in the video.
Q & A
What is the main topic of the video on channel hostel 91?
-The main topic of the video is about making a bag or rucksack from used coffee wrapper plastic waste.
What is the first step mentioned in the script for making the bag?
-The first step is cutting or trimming the plastic with a length of 7 cm using a cup as the motif.
What motif is used in the initial stage of the bag making process?
-The motif used in the initial stage is a cup motif.
What is the size of the base for the bag mentioned in the script?
-The size of the base for the bag is three units wide.
What is the length of the base used for the bag according to the script?
-The length of the base used for the bag is five units.
How many sides of the bag are mentioned to be sewn together in the script?
-Six sides of the bag are mentioned to be sewn together.
What is the purpose of separating the sides of the bag after sewing the bottom?
-The sides are separated to create a compartment or a partition in the bag.
How many sides are mentioned for creating the top corners of the bag?
-Four sides are mentioned for creating the top corners of the bag.
What is the recommendation for tidying up the remaining edges of the bag after sewing?
-The recommendation is to tuck in the remaining edges of the bag to make it look neat and tidy.
Is there a website mentioned where one can learn more about the process via photos or images?
-Yes, the website 'blog.ni gitu tour.net' is mentioned for additional learning through photos or images.
What is the final outcome of the process described in the script?
-The final outcome is a neatly and attractively made rucksack from coffee wrapper plastic waste.
Outlines

This section is available to paid users only. Please upgrade to access this part.
Upgrade NowMindmap

This section is available to paid users only. Please upgrade to access this part.
Upgrade NowKeywords

This section is available to paid users only. Please upgrade to access this part.
Upgrade NowHighlights

This section is available to paid users only. Please upgrade to access this part.
Upgrade NowTranscripts

This section is available to paid users only. Please upgrade to access this part.
Upgrade NowBrowse More Related Video
How to make a bag from coffee bags - Upcycling plastic coffee bags
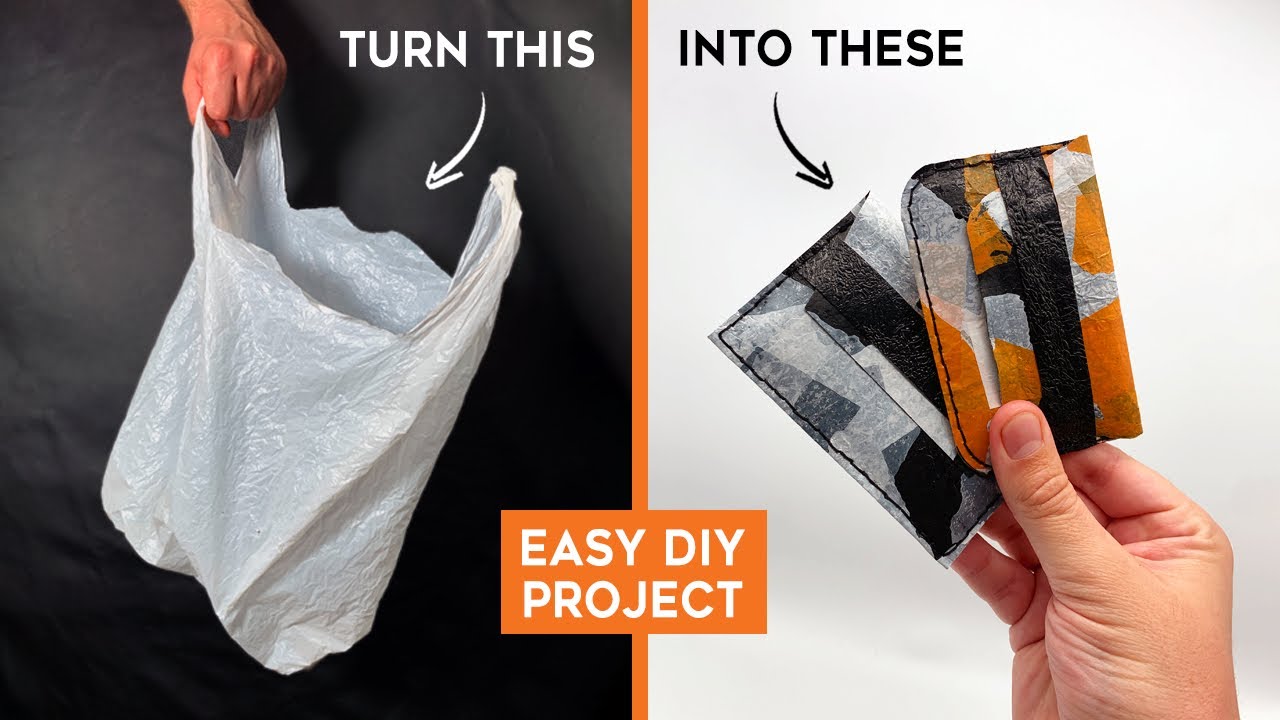
Beginners' Guide to Plastic Bag Recycling - How to Make a Wallet

TUTORIAL PLASTIC CANVAS BAG / PURSE / HANDBAG

10 Toxic Kitchen Items You Should Declutter Immediately (what to do instead, part 2)
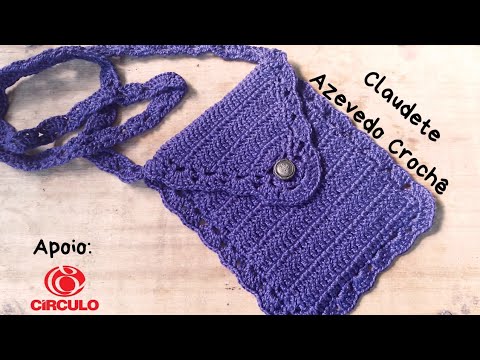
Crossbody Bolsa em Crochê por Claudete Azevedo (versão canhoto)

(Part 2) Bahasa Indonesia Kelas 2 SD Bab 7 : Sayang Lingkungan (Hal. 153-166) || KuMer
5.0 / 5 (0 votes)