Men In Black Neuralyzer - DIY PROP SHOP
Summary
TLDRIn this DIY Prop Shop episode, Odin demonstrates how to craft a functional replica of the Neuralizer from Men In Black without spending a fortune. Using everyday items like a travel toothbrush set, toilet paper rollers, and salvaged electronics, he carefully constructs the spring-loaded device with a light-up feature. The process involves creative problem-solving, cutting and shaping materials, wiring LEDs, and assembling control dials to mimic the iconic memory-erasing gadget. Odin shares step-by-step techniques, tips for handling tricky components, and final assembly, offering an inspiring guide for prop enthusiasts who want to recreate a movie-accurate, working Neuralizer at home.
Takeaways
- 😀 Odin demonstrates how to create a DIY prop: the Men in Black neuralizer.
- 😀 The neuralizer is a device that erases memories and can implant new ones.
- 😀 He starts with a travel toothbrush set from Amazon to form the outer shell.
- 😀 A toilet paper roller is repurposed for the spring-loaded mechanism.
- 😀 Finding the correct spring strength was key; a thrift store spring worked best.
- 😀 Styrene sheets and protective tape are used to create and protect the control surface.
- 😀 Hair ties are used as shock absorbers to help the neuralizer pop up correctly.
- 😀 Electronics are salvaged from a headlamp and a mini LED glow stick to create the flashing light.
- 😀 Custom wiring and a momentary switch allow the light to change colors (red to white).
- 😀 Final assembly involves precise cutting, gluing, and adding dials for the memory settings.
- 😀 Odin emphasizes careful adjustments and patience for successful functionality and aesthetics.
- 😀 The finished neuralizer replicates both the spring-up action and flashing lights seen in the movie.
Q & A
What is the main project featured in this DIY Prop Shop video?
-The main project is creating a replica of the neuralizer from the Men In Black movies, which is a device that erases memories.
What materials did Odin initially consider for constructing the neuralizer body?
-Odin considered using PVC pipe pieces and epoxy clay to shape the ends, but eventually chose a travel toothbrush set for the main body.
How did Odin plan to create the spring-loaded mechanism for the neuralizer?
-He used a toilet paper roller as the internal mechanism and experimented with different springs, ultimately finding a lighter spring from a thrift store to control the pop-up action.
Why did Odin use a hair tie in the assembly process?
-The hair tie acted as a shock absorber to help the spring-loaded part of the neuralizer pop up to the desired position.
How did Odin make the light at the top of the neuralizer functional?
-He repurposed LEDs from a headlamp and a mini glow stick, wired them to a small switch, and installed them behind a clear plastic lens for the flashing effect.
What challenges did Odin face when cutting and shaping the neuralizer parts?
-He had to carefully cut the toothbrush cap, grind out the chrome parts, and remove excess material while ensuring the device didn’t break or explode due to heat from the Dremel tool.
How did Odin create the control surface with the dials on the neuralizer?
-He used sheet styrene for the surface, added small circles for the dials using parts from a travel game, spray-painted them black, and glued them carefully onto the panel.
What was the purpose of using CAT 5 wire, and what problem did it cause?
-He used CAT 5 wire because he had plenty of it, but it was stiff and made wiring the LEDs more difficult compared to softer stranded wire.
How did Odin ensure that the neuralizer could be opened for battery replacement?
-He created small strips on the control surface so it could be screwed on and removed, allowing access to the batteries without dismantling the whole device.
What final features make this neuralizer different from the original movie prop?
-Unlike the movie version, this replica both pops up and flashes its lights at the same time, providing a functional interactive effect.
What tools and techniques did Odin use for shaping and assembling the neuralizer?
-He used a Dremel tool, drill press, epoxy glue, hot glue, masking tape, and careful cutting and sanding techniques to shape, assemble, and attach the parts.
Why did Odin repurpose parts from inexpensive items like a headlamp and a travel toothbrush set?
-Repurposing these items allowed him to build the neuralizer affordably while achieving realistic shapes, mechanical movement, and functional lighting effects.
Outlines

This section is available to paid users only. Please upgrade to access this part.
Upgrade NowMindmap

This section is available to paid users only. Please upgrade to access this part.
Upgrade NowKeywords

This section is available to paid users only. Please upgrade to access this part.
Upgrade NowHighlights

This section is available to paid users only. Please upgrade to access this part.
Upgrade NowTranscripts

This section is available to paid users only. Please upgrade to access this part.
Upgrade NowBrowse More Related Video

Cleaning Matt/Matte Black Motorcycles Easy Way 4k Turtle Wax Black in a Flash. Link in Description

Tempat Pensil Dari Botol Bekas || Kerajinan Botol Bekas || Kerajinan Limbah Anorganik
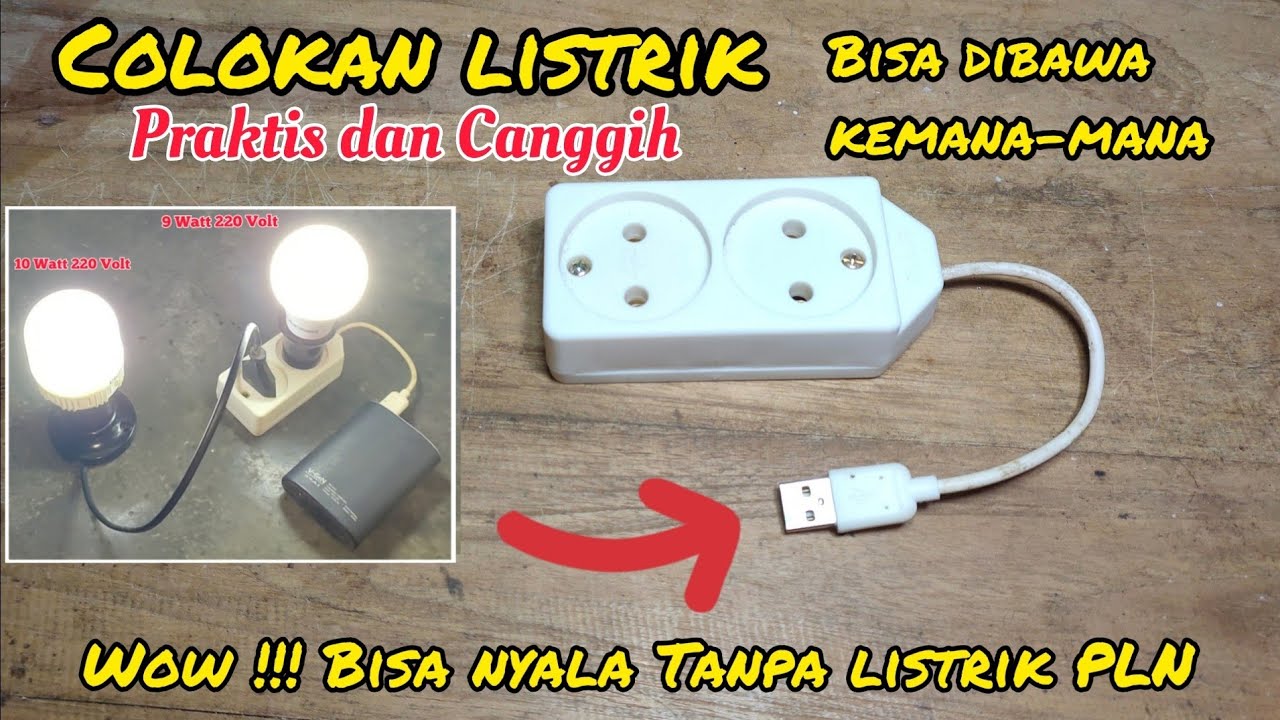
Cara buat stop kontak canggih tanpa listrik PLN, sangat berguna saat mati lampu
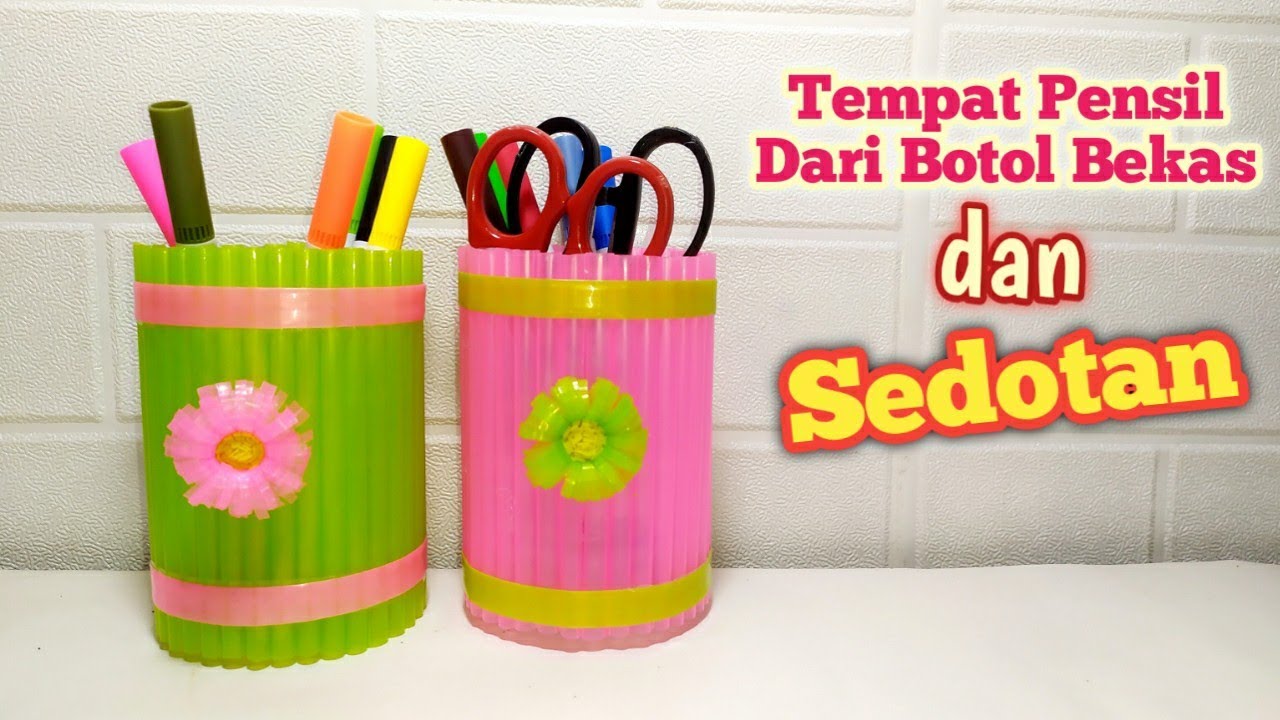
Cara Mudah Membuat Kerajinan Tempat Pensil dari Sedotan dan Botol Bekas | Straw Craft Ideas

Pembuatan produk bahan komposit | Asbak dari resin epoxy dan serbuk kayu

Fence Contractors Hate Me For Showing You This!
5.0 / 5 (0 votes)