How to Terminate a Fusion Splice-On Connector to a 2-3 MM Cable with the KF4A
Summary
TLDRThis video demonstrates the process of terminating a fusion splice-on connector to a 2-3 mm cable, specifically using a 3mm cable and SC connector. It covers essential steps such as setting up the splicer, preparing the cable, cleaning and cleaving the fiber, and completing the splice with proper connector installation. The tutorial also details the use of specialized tools like the stripper, cleaver, and heat shrink oven, guiding viewers through each stage of the process, ensuring accuracy and proper technique for a successful termination.
Takeaways
- 😀 Turn on the splicer and ensure all settings are correctly configured before starting the process.
- 😀 Attach the back screw, back boot, and heat shrink onto the cable to prepare it for the splice.
- 😀 Use a slitter to remove about 1 inch of the outer jacket from the cable using snips.
- 😀 Twist the Kevlar fiber to keep it out of the way before inserting the cable into the HS 2.5 holder.
- 😀 Ensure proper alignment of the cable and close the doors of the stripper for successful stripping.
- 😀 Clean the fiber using a cleaning wipe with cleaning fluid after the cable is stripped.
- 😀 Cleave the fiber using a cleaver and remove the holder once the cleaving process is complete.
- 😀 Place the holder in the splicer to begin the fusion splice once fiber is prepared and cleaved.
- 😀 Prepare the connector by stripping, cleaning, and cleaving the connector fiber in the same manner.
- 😀 Align the fibers and complete the fusion splice by pressing the play button, followed by the tensile test to ensure strength.
- 😀 Slide the heat shrink over the connector and use an oven to heat and shrink the material before cooling it for 10 seconds.
- 😀 Assemble the connector by attaching the back boot, front shell, and securing the back nut firmly onto the connector.
Q & A
What is the first step in preparing for a fusion splice-on connector termination?
-The first step is to turn on the splicer and ensure that all parameters are correctly set for the specific application. If needed, access the menu to adjust the settings.
What tool is used to remove the outer jacket of the cable?
-A slitter is used to slit approximately 1 inch of the outer jacket. After slitting, a pair of snips is used to remove the outer jacket completely.
How should the Kevlar be handled during the preparation of the cable?
-The Kevlar should be twisted to keep it out of the way and held against the outer jacket to avoid interference during the stripping process.
What is the role of the HS 2.5 holder in this process?
-The HS 2.5 holder is used to securely hold the cable during the stripping process, ensuring accurate and clean removal of the fiber coating.
How is the fiber cleaned after stripping?
-After stripping, a cleaning wipe is used, and cleaning fluid is dispensed onto the wipe to thoroughly clean the fiber.
What tool is used for cleaving the fiber?
-A cleaver is used to cleave the fiber, ensuring a clean, precise cut that is necessary for the splicing process.
How is the connector fiber prepared before splicing?
-The connector fiber undergoes the same stripping and cleaning process as the cable fiber. It is then cleaved to ensure the fiber ends are properly prepared for splicing.
What happens during the arc fusion process in the splicer?
-During the arc fusion process, the splicer aligns the fibers, and an electrical arc is generated to fuse the fibers together, creating a strong, low-loss connection.
What is the purpose of the heat shrink in this process?
-The heat shrink is used to cover the Kevlar and secure the fiber within the connector, providing protection and insulation to the splice area.
How do you finalize the termination after the fusion splice?
-After the fusion splice, the heat shrink is applied and cooled, the back boot is snapped onto the connector, the front shell is placed on, and the back nut is screwed firmly to complete the connector assembly.
Outlines

This section is available to paid users only. Please upgrade to access this part.
Upgrade NowMindmap

This section is available to paid users only. Please upgrade to access this part.
Upgrade NowKeywords

This section is available to paid users only. Please upgrade to access this part.
Upgrade NowHighlights

This section is available to paid users only. Please upgrade to access this part.
Upgrade NowTranscripts

This section is available to paid users only. Please upgrade to access this part.
Upgrade NowBrowse More Related Video

How To Strip and Terminate Coaxial Cable

Cara pasang kabel LAN (pasang konektor RJ45 ke kabel UTP) dengan konfigurasi Straight
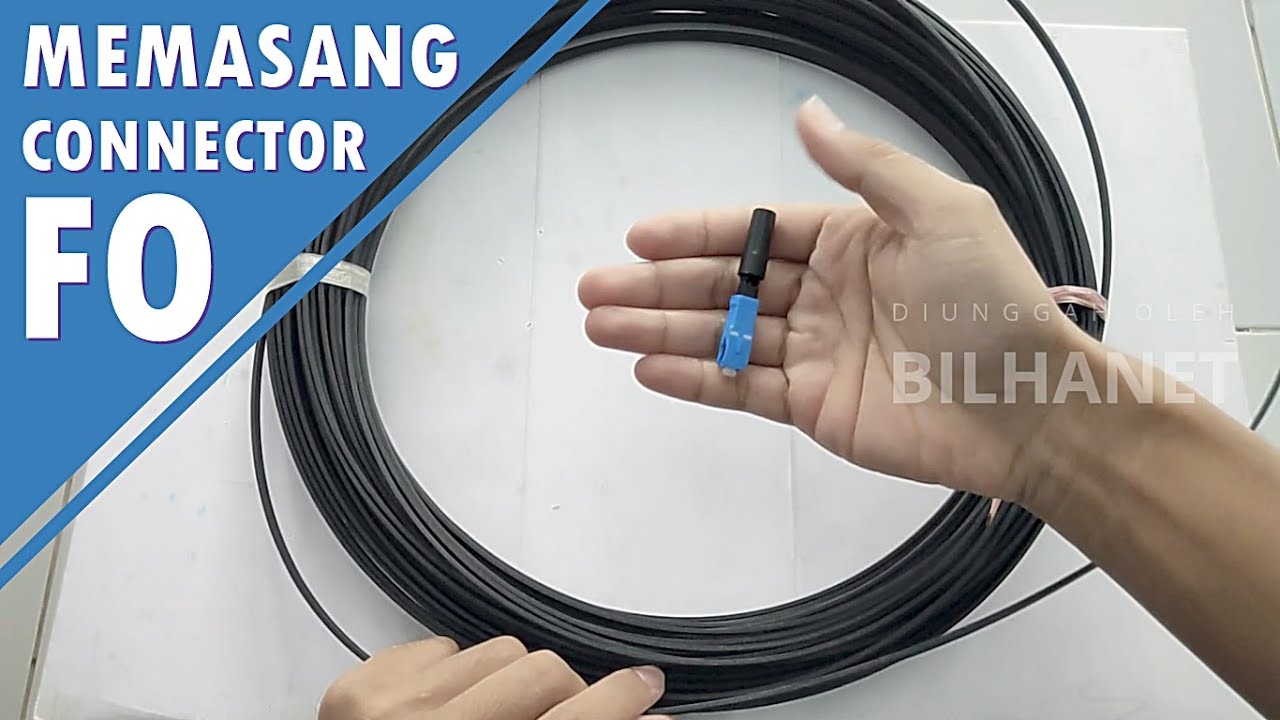
Cara Pasang Fast Connector Fiber Optic Sendiri secara Manual (Tanpa Alat Splicer)
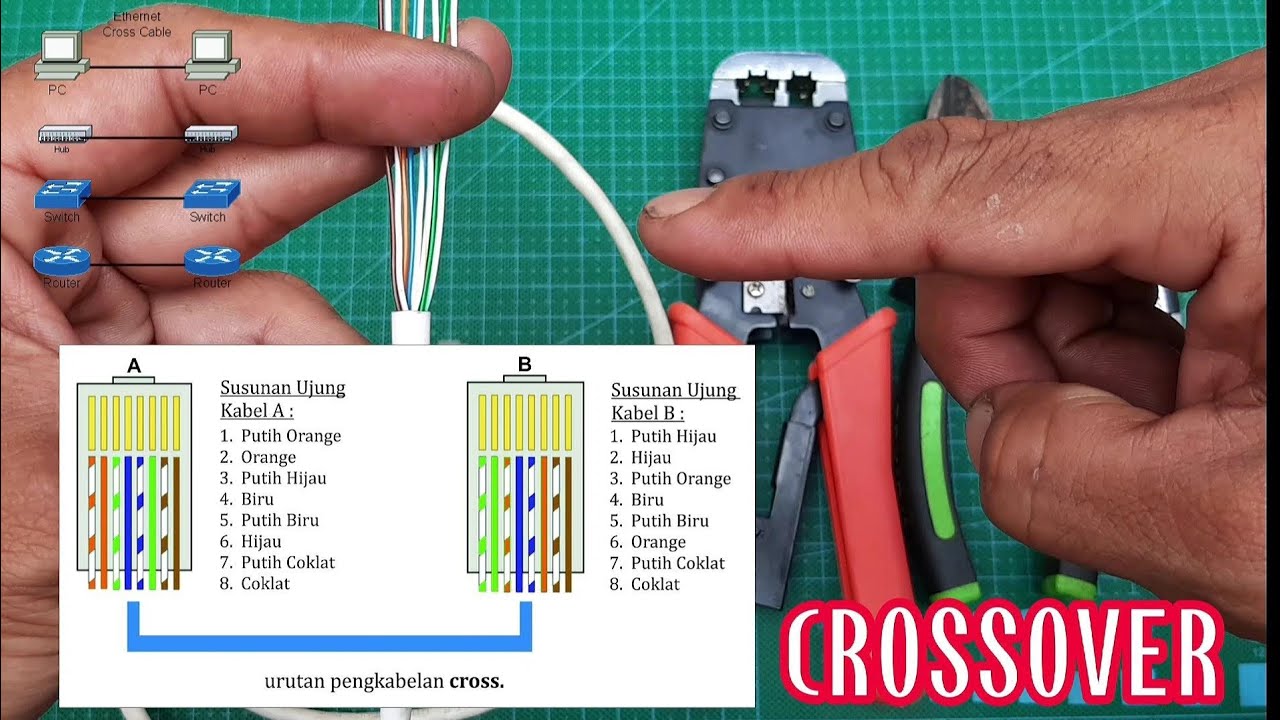
Cara Membuat Kabel LAN (CROSSOVER) LAN INTERNET #tutorials #cross #tutorial

CARA MENYAMBUNG KABEL FIBER OPTIC DENGAN MEKANIKAL SPLICING!

Come crimpare il cavo ethernet. Guida per realizzare un cavo ethernet fai da te.
5.0 / 5 (0 votes)