Tutorial GPS EFIX Mode RTK Internal Radio
Summary
TLDRThis video tutorial guides users through setting up the RTK internal radio with JNE Serviks using the Evil app. It covers creating a new project, selecting the correct coordinate system, connecting the receiver via Bluetooth, configuring the base and rover settings, and logging survey data. The video also demonstrates various methods for data collection, including continuous surveying, ensuring users can effectively set up and use the RTK system for precise measurements.
Takeaways
- 😀 To set up the RTK internal radio from JNE serviks, first open the Elevenia app and create a new project to store the RTK data.
- 😀 When creating a new project, you need to define the project name, surveyor name, and adjust the timezone and coordinate system to match your location.
- 😀 If you haven't used a coordinate system before, you can manually add one by selecting the appropriate continent, region, and coordinate zone for your area.
- 😀 Once the coordinate system is selected, you can configure the base station and rover settings, specifying units, coordinate display, and other parameters like antenna height and point names.
- 😀 The system allows you to connect the Evil controller to the receiver via Bluetooth, choosing the receiver to be used as the base station or rover.
- 😀 After connecting the receiver, set it up as a base station by entering work mode settings, including choosing the communication protocol (RTCM3.2) and other base parameters like frequency, power, and channel.
- 😀 For the base receiver, you can either automatically acquire its coordinates from satellites or manually input fixed coordinates if available.
- 😀 After configuring the base station, repeat the process for the rover receiver, using similar settings but with slight modifications for rover-specific configurations.
- 😀 Once both base and rover are configured and connected, you can start data logging by selecting the desired survey method (e.g., point survey or continuous survey).
- 😀 Continuous survey allows automatic data logging at a specified interval (e.g., every 2 seconds), making it ideal for ongoing measurements during movement.
- 😀 After data logging, ensure to stop the survey when done, and the system will save the points, updating the point names and storing all collected data.
Q & A
What is the first step when setting up RTK internal radio using the Evil app?
-The first step is to open the Evil app, which should already be installed on your device.
How do you create a new project in the Evil app?
-To create a new project, click the 'Project' menu and then select 'New' at the bottom left. Enter a project name and set the desired coordinates and other settings.
What information needs to be filled out when creating a new project?
-When creating a new project, you need to enter the project name, the surveyor's name (optional), and the date, which will be automatically adjusted to the local timezone.
How do you select the coordinate system for your location?
-You can either select a previously used coordinate system from the list or add a new one by clicking 'ESC' to open the coordinate system selection dialog, where you can choose the continent, region, and coordinate zone.
What are the three coordinate systems available in the Evil app for Indonesia?
-The three coordinate systems available are UTM, IGRS, and MGRS. The UTM system is commonly used in this example.
What settings should be configured for the base receiver during setup?
-For the base receiver, you need to select 'Autobest' mode, set the data link to internal radio, choose the RTCM 3.2 correction format, set the frequency to 456.05 MHz, and select a power of 1 watt.
How do you set up the rover receiver after configuring the base?
-After setting up the base, you connect the rover receiver in the same manner by selecting it from the Bluetooth manager and creating a new 'Autobest' work mode for the rover with similar configuration settings.
What is the importance of 'Fixed Position' when setting up the base?
-'Fixed Position' ensures that the base receiver's location remains fixed during the survey, allowing more accurate measurements by setting a specific point for the receiver.
What is the purpose of the 'Get Position' function in the app?
-The 'Get Position' function allows the base receiver to obtain its coordinates directly from satellites, providing accurate geolocation data for the setup.
How do you log survey data in the Evil app during the survey?
-To log survey data, select a point on the survey interface and click the 'Log Data' icon. You can choose between methods like 'Single Point Survey' or 'Continuous Survey' to automatically record data at regular intervals.
What is the difference between 'Single Point Survey' and 'Continuous Survey'?
-In 'Single Point Survey,' data is logged for each individual point manually. In 'Continuous Survey,' the app automatically logs data at specified intervals as the user moves along a route.
Outlines

This section is available to paid users only. Please upgrade to access this part.
Upgrade NowMindmap

This section is available to paid users only. Please upgrade to access this part.
Upgrade NowKeywords

This section is available to paid users only. Please upgrade to access this part.
Upgrade NowHighlights

This section is available to paid users only. Please upgrade to access this part.
Upgrade NowTranscripts

This section is available to paid users only. Please upgrade to access this part.
Upgrade NowBrowse More Related Video

Create a Math Quiz App in MIT App Inventor 2 || Quiz Mobile App || MIT App Inventor Educational App

I Used AI To Build This $900K/mo App In A Day

MIT AI App Inventor SpeechBoard Informatika Kelas XI Bab 5 #mitai #inventor #ai
Instalação das máquinas virtuais usando o VirtualBox e imagem do Linux Debian.

Coin Flip Tutorial
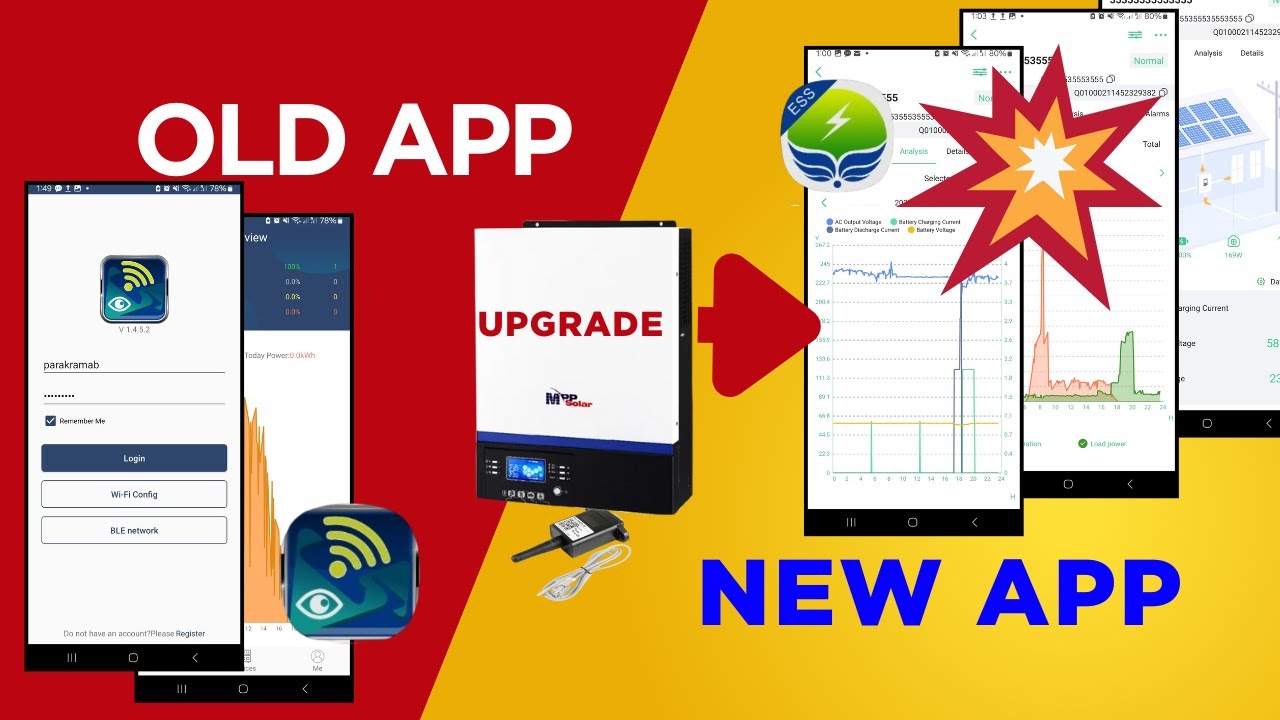
SmartESS App Changed Everything for My MPP Solar Inverter!
5.0 / 5 (0 votes)