How to set up C++ in Visual Studio Code
Summary
TLDRIn this video tutorial, you'll learn how to set up C++ with Visual Studio Code. Starting with downloading and installing Visual Studio Code, followed by setting up the GCC compiler and MSYS2, the tutorial guides you through verifying your installation and adding necessary environment paths. You'll then install the C++ extension pack and create a simple 'Hello World' C++ program. With step-by-step instructions, this video ensures a smooth setup, helping beginners quickly dive into C++ development. Like and subscribe for more tutorials on programming basics!
Takeaways
- 😀 Download Visual Studio Code from code.visualstudio.com and choose the correct version for your operating system.
- 😀 Ensure to download the blue Visual Studio Code version, not the purple one.
- 😀 Once downloaded, run the installer for Visual Studio Code and follow the setup steps.
- 😀 Install a C++ compiler (GCC) by following the setup instructions on the Visual Studio Code C++ setup page.
- 😀 Install MSYS2 to set up the required toolchain for GCC by following the installation prompts.
- 😀 Add the MinGW (MW) path to the Windows environment variables for the C++ compiler to work properly.
- 😀 Check that the installation was successful by typing 'gcc --version' in the command prompt to verify the compiler is installed.
- 😀 Install the C/C++ extension pack in Visual Studio Code to gain all the tools necessary for writing C++ code.
- 😀 Create a new C++ file in Visual Studio Code, saving it with a .cpp extension to denote it as a C++ file.
- 😀 Run your C++ program by using the 'Run C/C++ File' option in Visual Studio Code and test with a simple 'Hello World' program.
Q & A
What is the first step in setting up C++ with Visual Studio Code?
-The first step is to download Visual Studio Code from the official website (code.visualstudio.com). Make sure you download the correct version for your operating system, either Windows or Mac.
What should you do after downloading the Visual Studio Code installer?
-After downloading the installer, open it, accept the agreement, and proceed with the installation. Make sure to select the option to create a desktop icon before clicking 'Install'.
How do you install a C++ compiler for Visual Studio Code?
-To install a C++ compiler, navigate to the C++ section on the Visual Studio Code website and follow the instructions for installing GCC on your operating system. For Windows, this involves installing the MSYS2 toolchain and GCC compiler.
What is MSYS2 and why is it important for setting up C++?
-MSYS2 is a software distribution and a command line environment that provides a package manager and development tools for Windows. It is important because it helps you install the necessary components, like the GCC compiler, to build and run C++ code.
What is the process of adding MW to the Windows Path environment variable?
-To add MW to the Path, search for 'environment variables' in the search bar, go to 'Edit the system environment variables', and then click on 'Environment Variables'. In the 'User variables' section, edit the 'Path' variable, paste the MW path, and confirm by clicking 'OK'.
How can you verify that your C++ compiler is installed correctly?
-Open Command Prompt and type 'gcc --version', 'g++ --version', and 'gdb --version'. If the compiler is installed correctly, these commands will return version information for each of these tools.
What extension do you need to install in Visual Studio Code for C++ development?
-You need to install the 'C/C++ extension pack' in Visual Studio Code. This extension provides all the necessary tools and features to write and run C++ code.
What is the process of creating a new C++ file in Visual Studio Code?
-To create a new C++ file, open Visual Studio Code, click on 'File' and then 'New File'. After creating the file, select 'C++' as the language, and save the file with a '.cpp' extension.
How do you run a C++ program in Visual Studio Code?
-To run a C++ program, click the 'Run' button in Visual Studio Code. Choose 'Run C/C++ file', and the program will compile and run. If it’s the first time, you might see some warnings, but you can ignore them and run the program again.
What should you do if you encounter issues when running a C++ program for the first time in Visual Studio Code?
-If issues arise, such as warnings or errors, try closing and reopening the Visual Studio Code terminal or restart Visual Studio Code. These initial issues can usually be resolved by re-running the code after exiting out of any prompts.
Outlines

This section is available to paid users only. Please upgrade to access this part.
Upgrade NowMindmap

This section is available to paid users only. Please upgrade to access this part.
Upgrade NowKeywords

This section is available to paid users only. Please upgrade to access this part.
Upgrade NowHighlights

This section is available to paid users only. Please upgrade to access this part.
Upgrade NowTranscripts

This section is available to paid users only. Please upgrade to access this part.
Upgrade NowBrowse More Related Video
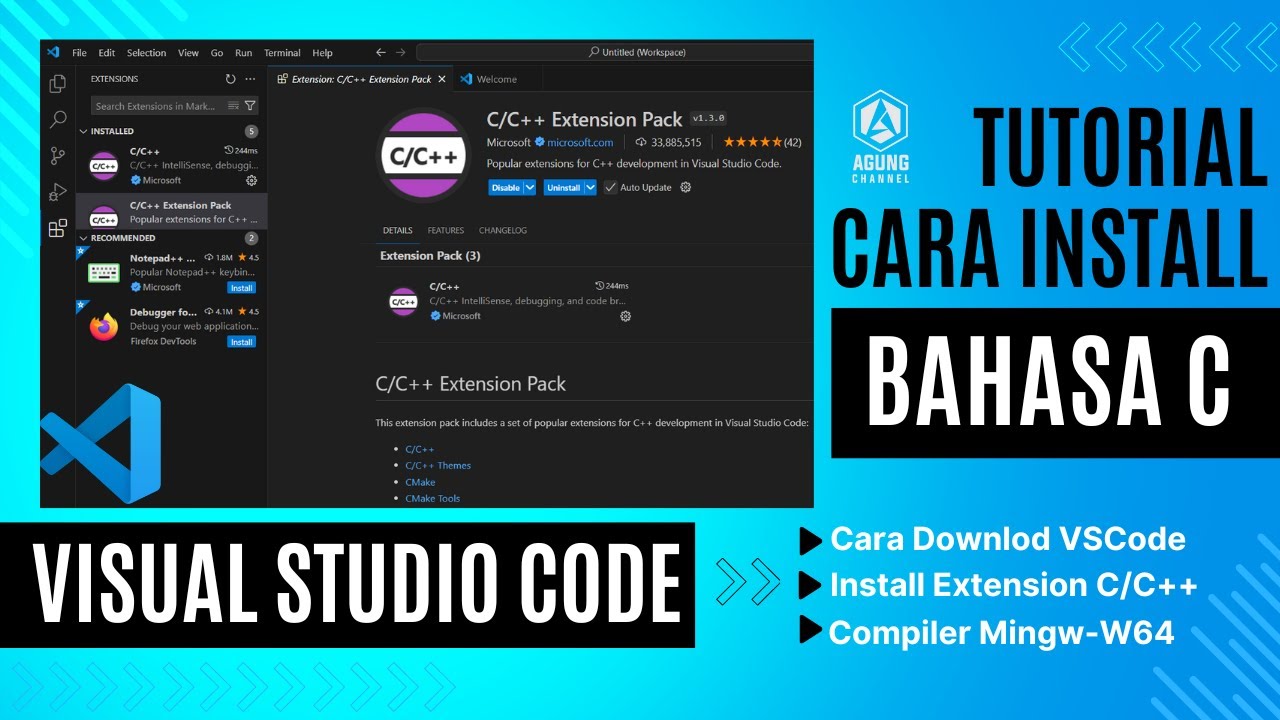
CARA DOWNLOAD VISUAL STUDIO CODE WINDOWS 11 DAN INSTALL EXTENSION BAHASA C DAN C++ BESERTA COMPILER
How To Install C Programming Software In Laptop | C Installation Tutorial For Beginners |Simplilearn
Set Up C++ Development With Visual Studio Code on Mac | VSCode C++ Development Basics MacOS (2024)

Installing and Getting Started with .NET in VS Code [Pt 2] | .NET for Beginners
Como Conectar ao MySQL com C/C++ no Windows
How to connect to XAMPP MySQL from VSCode Easily (2024)
5.0 / 5 (0 votes)