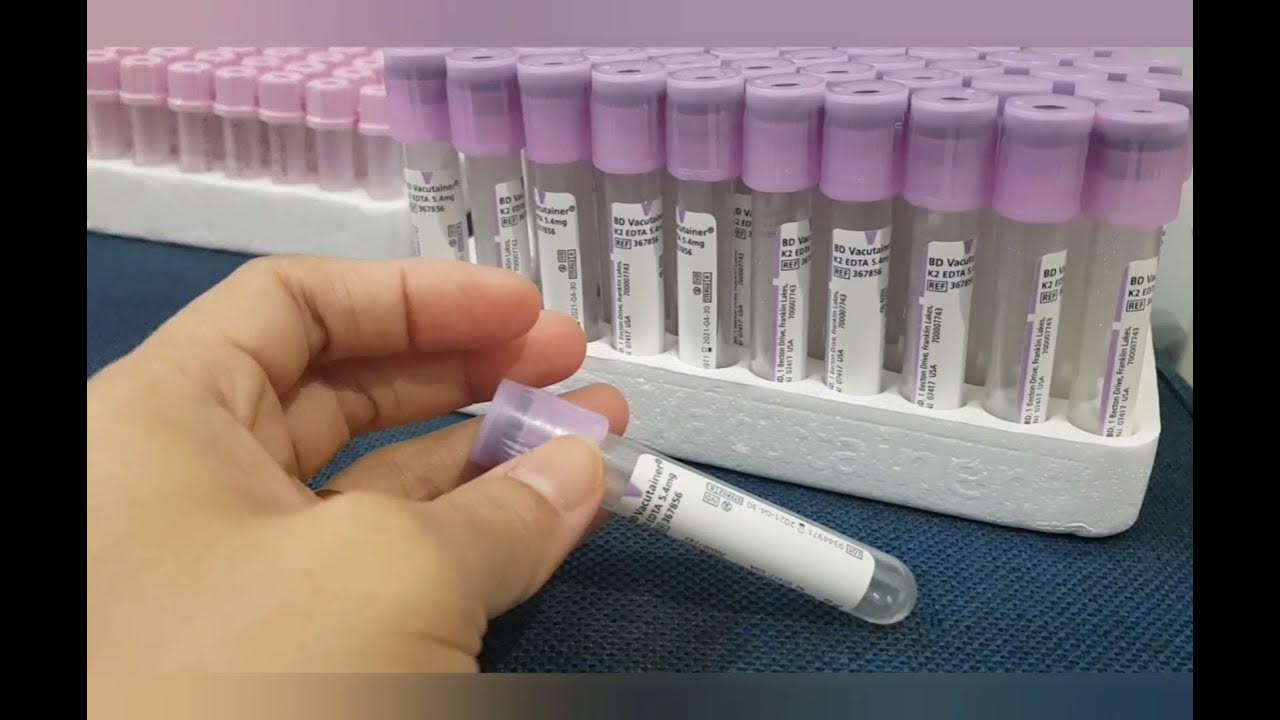
Cara Menggunakan Fotometer
Summary
TLDRIn this video, Wulan Nurdianti, Etika Yulistia, and Nabila from Dedika Technology Medical Laboratory at Anwar Medika Hospital demonstrate the proper use of a photometer to measure blood glucose levels. The process includes preparing materials like glucose reagent, glucose standard, and serum. After setting up the device and performing initial washes, they calibrate the photometer using a glucose standard, then measure the glucose level in the sample, which results in a reading of 86.8 mg. They conclude by cleaning the device after use and powering it off.
Takeaways
- 😀 The video provides a step-by-step guide on how to correctly use a photometer for glucose measurement.
- 😀 The presenters introduce themselves as Wulan Nurdianti, Etika Yulistia, and Nabila from Dedika Teknologi Laboratorium Medis at Rumah Sakit Anwar Medika, class of 2017.
- 😀 The first step in using the photometer is to gather the required materials: glucose reagent, glucose standard, and serum.
- 😀 The photometer must be powered on by plugging it in, adjusting the voltage, and raising the power alert at the back of the device.
- 😀 The device requires an initial wash with a 5% reagent for approximately 10 minutes before starting the measurement process.
- 😀 After the first wash, the device asks for a second wash using aquades for another 10 minutes to prepare for accurate measurements.
- 😀 Once the photometer is ready, the main menu will appear, prompting users to proceed with the glucose measurement.
- 😀 The first measurement involves using a blank to calibrate the device.
- 😀 For calibration, a glucose standard sample (10 µL) mixed with 500 µL of glucose reagent is placed into the photometer.
- 😀 A blood glucose sample (10 µL) mixed with 500 µL of glucose reagent is then placed for the final glucose measurement.
- 😀 After the test, the photometer shows the glucose concentration in the sample (e.g., 86.8 mg/dL).
- 😀 The photometer should be cleaned after use with both 5% reagent and aquades before turning it off.
Q & A
What is the purpose of using a photometer in this demonstration?
-The photometer is used to measure glucose levels in blood.
What are the materials required for the glucose measurement process?
-The materials required are glucose reagent, glucose standard, and serum.
How do you power on the photometer?
-To power on the photometer, plug it in, turn on the voltage, and lift the power alert at the back.
What is the first cleaning step the photometer requests?
-The photometer requests a wash with 5% extrem for about 10 minutes.
What is the next cleaning step after the 5% extrem wash?
-The photometer then requests a wash with aquades for approximately 10 minutes.
What is the initial measurement step after the cleaning process?
-The initial measurement step is to input a blank sample of 500, followed by pressing the button to proceed.
What is used for calibration in the measurement process?
-A glucose standard is used for calibration, which includes 10 micro of glucose standard added to 500 micro of glucose.
What is the correct procedure for adding the glucose sample?
-The glucose sample is added in the same manner as the standard: 10 micro of glucose added to 500 micro.
What does the photometer display after measuring the glucose level?
-The photometer displays the result of the glucose measurement, in this case, 86.8 mg.
What should be done after completing the measurement process?
-After completing the measurement, the photometer should be turned off and cleaned after 10 minutes of use.
Outlines

This section is available to paid users only. Please upgrade to access this part.
Upgrade NowMindmap

This section is available to paid users only. Please upgrade to access this part.
Upgrade NowKeywords

This section is available to paid users only. Please upgrade to access this part.
Upgrade NowHighlights

This section is available to paid users only. Please upgrade to access this part.
Upgrade NowTranscripts

This section is available to paid users only. Please upgrade to access this part.
Upgrade Now5.0 / 5 (0 votes)


