Mudah untuk Pemula!!! Cara Membuat Ecoprint pada Tote Bag Teknik Pounding/ Pukul
Summary
TLDRThis tutorial guides you through the process of ecoprinting on a tote bag using the pounding technique. The video covers all essential steps, from preparing the materials (like tawas powder, leaves, and flowers) to applying the technique on the fabric. The tutorial emphasizes creativity in arranging the leaves and flowers, followed by the pounding process, and ends with fixing the color using tawas. The result is a vibrant, eco-friendly design that can be proudly displayed. The video encourages patience and creativity, making it perfect for those interested in natural fabric printing.
Takeaways
- 😀 Eco-printing involves using natural elements like leaves and flowers to create designs on fabric, and in this tutorial, it's applied to a toothbag.
- 😀 The process starts by preparing the toothbag through 'scoring' and 'mordanting' (pre-treatment) to make the fabric receptive to natural dyes.
- 😀 A plastic sheet is placed inside the toothbag as a barrier to prevent the natural elements from imprinting on the other side.
- 😀 Fresh leaves and flowers, such as moringa and periwinkle, are carefully placed on the fabric to create eco-prints.
- 😀 A mallet is used to pound the leaves and flowers to transfer their colors and patterns onto the fabric.
- 😀 The pounding process must be done slowly and steadily to ensure an even and clear print.
- 😀 It's important to remove any remaining leaves or flowers from the fabric after pounding to avoid excess residue.
- 😀 The design can vary based on the creativity of the user, and flowers or leaves can be arranged freely.
- 😀 A key step in eco-printing is the use of a mordant solution (e.g., alum) to fix the colors and ensure they do not wash out.
- 😀 After the mordanting process, the toothbag should be air-dried, allowing the colors to set and the natural dyes to fully bond with the fabric.
Q & A
What is the main technique used in this tutorial?
-The main technique used in this tutorial is eco-printing with the pounding method, where natural materials like leaves and flowers are pressed onto fabric to create prints.
Why is plastic placed inside the toabag during the pounding process?
-The plastic sheet is used as a barrier to ensure that only one side of the toabag gets the eco-print, preventing the leaves and flowers from passing through to the other side of the fabric.
What types of leaves and flowers are used in this tutorial?
-In this tutorial, moringa leaves and tapak dara flowers are used, along with a potential test with kenikir flowers for different color results.
How should the leaves be arranged on the toabag?
-The leaves should be placed directly on top of the toabag, as this method makes it easier to arrange them, especially for leaves that are difficult to handle, such as moringa leaves.
What role does the wooden mallet play in this technique?
-The wooden mallet is used to pound the leaves into the fabric. The consistent pounding helps transfer the natural pigments from the leaves and flowers to the toabag fabric, creating the eco-print.
How long should the toabag be left after pounding?
-After pounding, the toabag should be left for about 15 minutes to allow the color from the leaves and flowers to fully transfer and settle into the fabric.
What is the purpose of the alum solution in the tutorial?
-The alum solution is used as a fixative to lock in the colors and prevent the prints from fading. It ensures the eco-print stays vibrant and doesn't wash out.
Can other fixatives be used besides alum?
-Yes, other fixatives like Tunjung or lime can be used. Alum produces brighter colors, while Tunjung leads to darker tones, and lime results in deeper shades.
What should be done after the fixation process?
-After fixation, the toabag should be hung to air dry, allowing it to fully set before use.
Why is it important to use fresh leaves and flowers for eco-printing?
-Fresh leaves and flowers are preferred because they contain more active pigments, which result in clearer and more vibrant eco-prints. Dried leaves may not produce as strong or vivid colors.
Outlines

This section is available to paid users only. Please upgrade to access this part.
Upgrade NowMindmap

This section is available to paid users only. Please upgrade to access this part.
Upgrade NowKeywords

This section is available to paid users only. Please upgrade to access this part.
Upgrade NowHighlights

This section is available to paid users only. Please upgrade to access this part.
Upgrade NowTranscripts

This section is available to paid users only. Please upgrade to access this part.
Upgrade NowBrowse More Related Video
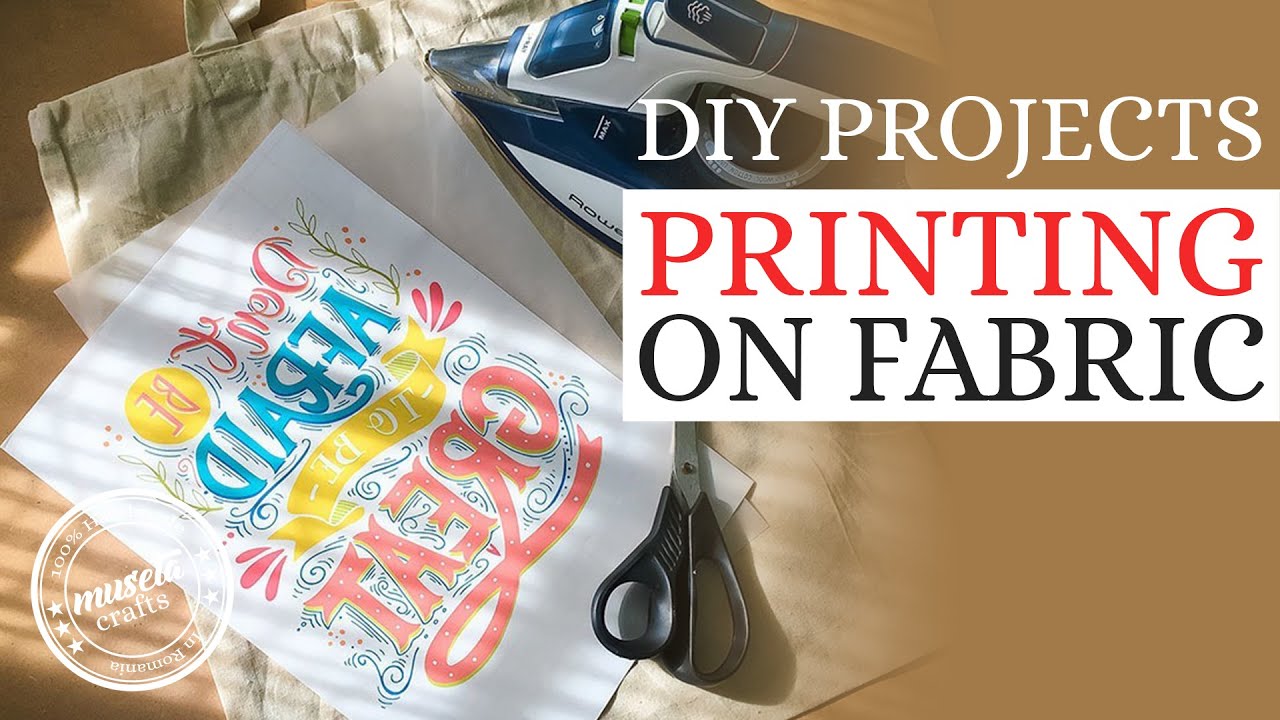
How To Print On Fabric Super Easy With Transfer Paper

How to Sew Tote Bag for Beginners | GA003

Teknik paling sederhana || cara membuat ecoprint dengan teknik pounding
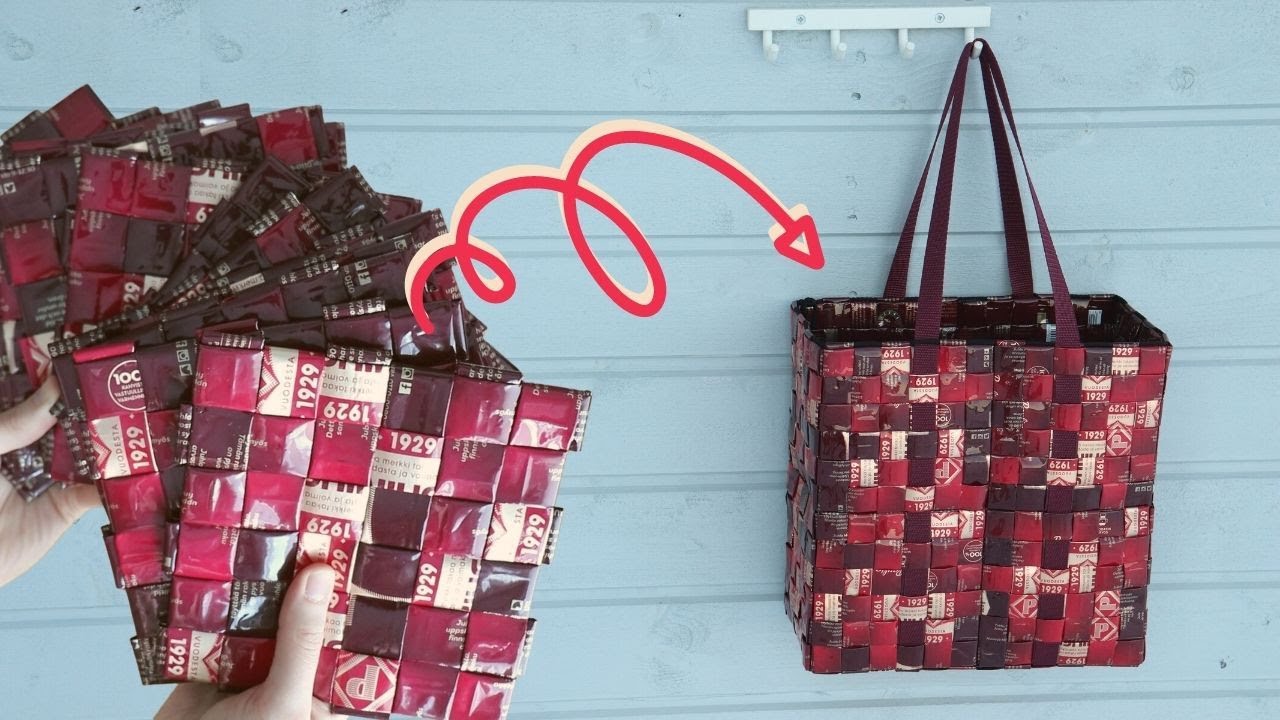
How to make a bag from coffee bags - Upcycling plastic coffee bags

Materi Ecoprint

Cara Membuat Tote Bag Tie Dye dengan Pewarna Wenter/ Wantex || Tote Bag Jumputan || Tote Bag Shibori
5.0 / 5 (0 votes)