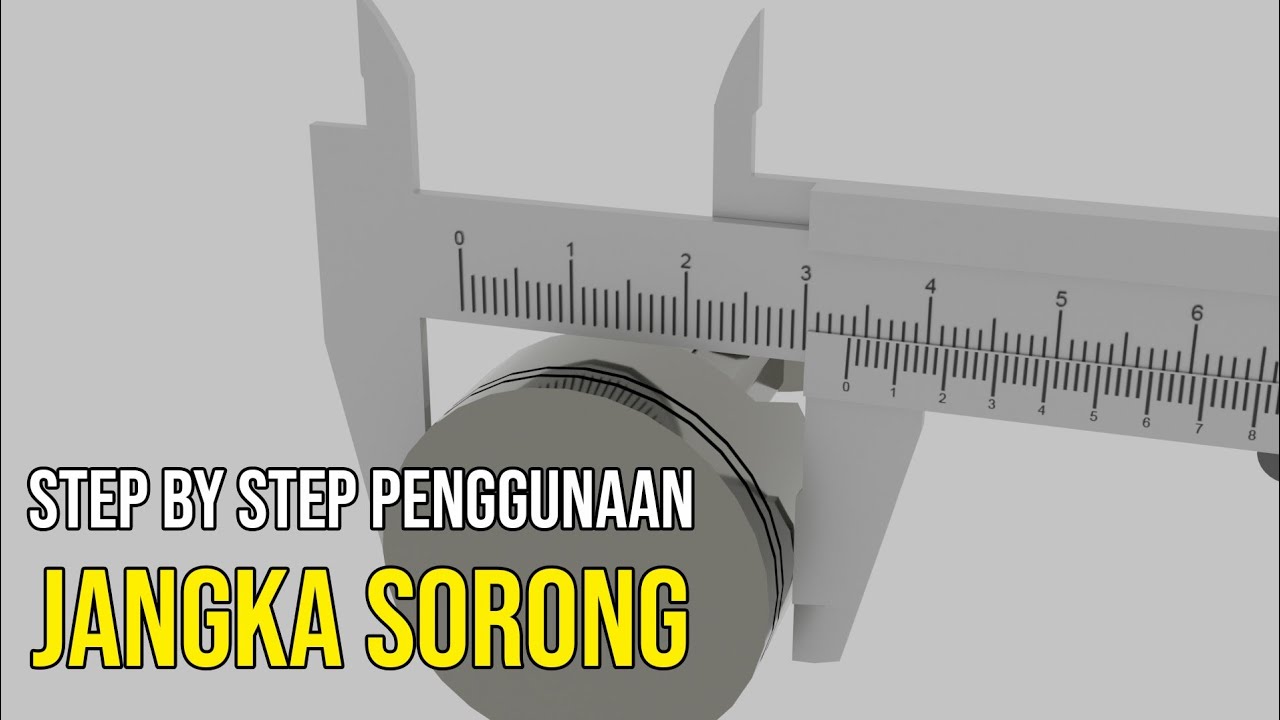
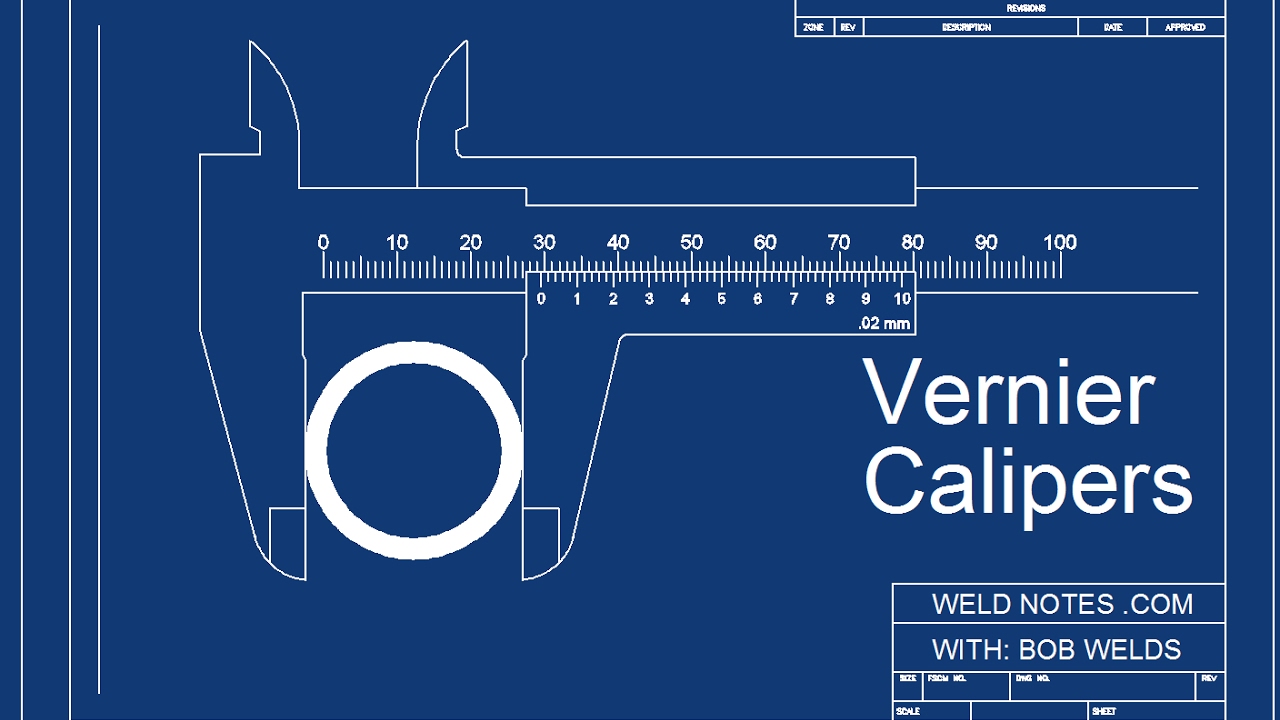
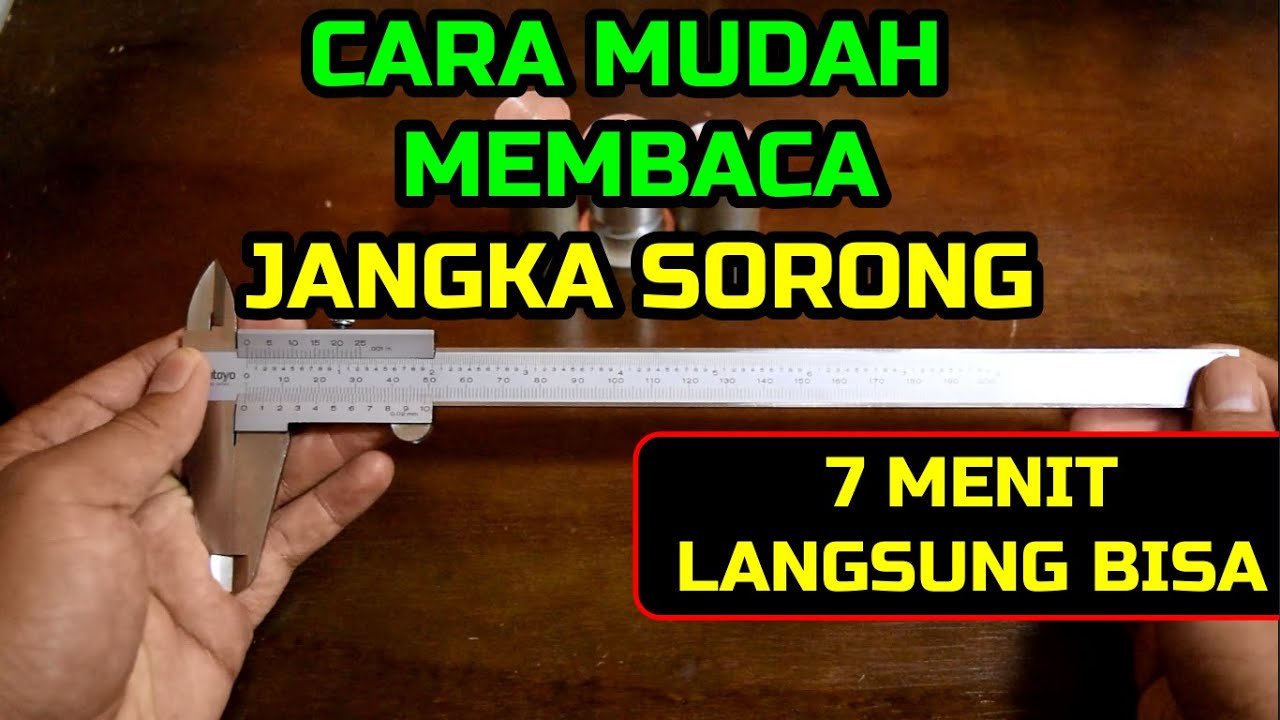
Cara Membaca Jangka Sorong Ketelitian 0.02 mm, 0.05 mm dan 0.1 mm
Summary
TLDRThis video tutorial provides a comprehensive guide on how to read a caliper with varying levels of precision, focusing on scales with accuracies of 0.02 mm, 0.1 mm, and 0.05 mm. The instructor demonstrates step-by-step how to interpret both the main scale and the Nonius scale to accurately measure dimensions. Detailed examples are provided for each level of precision, including how to convert measurements from millimeters to centimeters. The video is an educational resource aimed at helping users understand the proper techniques for using a caliper in mechanical and scientific measurements.
Takeaways
- 😀 The script demonstrates how to read and use a vernier caliper, focusing on how to measure with precision.
- 😀 The vernier caliper has different scales that provide varying levels of precision, such as 0.02 mm, 0.1 mm, and 0.05 mm.
- 😀 The main scale on the caliper is measured in millimeters (mm) and is used to determine the approximate value of the measurement.
- 😀 The nonius scale, which is the secondary scale, provides finer precision. It allows the user to read measurements with greater accuracy by observing where the marks align.
- 😀 A key to accurate measurements is identifying where the lines of the nonius scale align with the main scale.
- 😀 The script explains how to calculate the final measurement by adding the main scale value and the fractional value from the nonius scale.
- 😀 For a 0.02 mm precision, the user adds the value found on the nonius scale (calculated by multiplying the number of aligned lines by 0.02) to the main scale reading.
- 😀 An example measurement showed a result of 7.065 mm or 0.07065 cm after calculating the value from both scales.
- 😀 When using a caliper with a 0.1 mm precision, the script demonstrated how to calculate measurements like 16.8 mm or 1.68 cm.
- 😀 The 0.05 mm precision method requires dividing 1 mm by the number of lines on the nonius scale (20 lines) to determine the precision level.
- 😀 A final example with a 0.05 mm scale showed how to measure 12.25 mm or 1.225 cm, by adding the nonius scale value (0.25 mm) to the main scale reading.
Q & A
What is the main focus of the video script?
-The video script focuses on explaining how to read a vernier caliper and understand its different scales, such as the main scale and the Nonius scale, with varying levels of precision (0.02mm, 0.1mm, and 0.05mm).
What is a vernier caliper and why is it used?
-A vernier caliper is a tool used for precise measurements, particularly of internal and external dimensions, depths, and steps. It combines a main scale and a sliding scale (Nonius) to offer high accuracy.
What is the precision of the first example in the video?
-The first example in the video uses a vernier caliper with a precision of 0.02mm.
How is the main scale on a vernier caliper read?
-The main scale on a vernier caliper is read by identifying the position of the zero point of the Nonius scale relative to the main scale. The example shows that the main scale reads 7mm.
How do you determine the reading from the Nonius scale?
-The reading from the Nonius scale is determined by finding the line on the Nonius scale that aligns perfectly with any line on the main scale. In the example, the third line from the Nonius scale aligns, corresponding to 0.06mm.
What is the final measurement in the first example, and how is it converted to cm?
-The final measurement in the first example is 7.065mm, which is converted to 0.07065 cm by dividing by 10.
How is the precision of 0.1mm used in the second example?
-In the second example, the precision of 0.1mm is used, and the Nonius scale reading is aligned with line number 8, resulting in a measurement of 16.8mm or 1.68cm.
What does the number of divisions on the Nonius scale indicate?
-The number of divisions on the Nonius scale indicates the precision of the vernier caliper. In the example, the Nonius scale has 20 divisions, meaning each division corresponds to a 0.05mm increment.
How do you read a vernier caliper with a 0.05mm precision?
-To read a vernier caliper with 0.05mm precision, you first find the main scale reading and then align the Nonius scale. In the example, the main scale reads 12mm, and the fifth division of the Nonius scale adds 0.25mm, giving a total of 12.25mm or 1.225cm.
What should you do if you're unsure about the alignment of the Nonius scale?
-If you're unsure about the alignment of the Nonius scale, you should double-check that the lines on the Nonius scale are perfectly aligned with those on the main scale. This ensures accurate measurement.
Outlines

This section is available to paid users only. Please upgrade to access this part.
Upgrade NowMindmap

This section is available to paid users only. Please upgrade to access this part.
Upgrade NowKeywords

This section is available to paid users only. Please upgrade to access this part.
Upgrade NowHighlights

This section is available to paid users only. Please upgrade to access this part.
Upgrade NowTranscripts

This section is available to paid users only. Please upgrade to access this part.
Upgrade NowBrowse More Related Video

Cara Menggunakan + Menghitung Jangka Sorong

How to Read a Metric Vernier Caliper

TUTORIAL JANGKA SORONG : Mengukur Ketebalan, Diameter Luar, Diameter Dalam, serta Kedalaman

Paquímetro analógico - como usar e como fazer a leitura

CARA MEMBACA JANGKA SORONG | KETELITIAN 0.02 mm | VERNIER CALIPER | SIGMAT

Telecurso 2000 - Metrologia - 05 Leitura no Sistema Métrico
5.0 / 5 (0 votes)